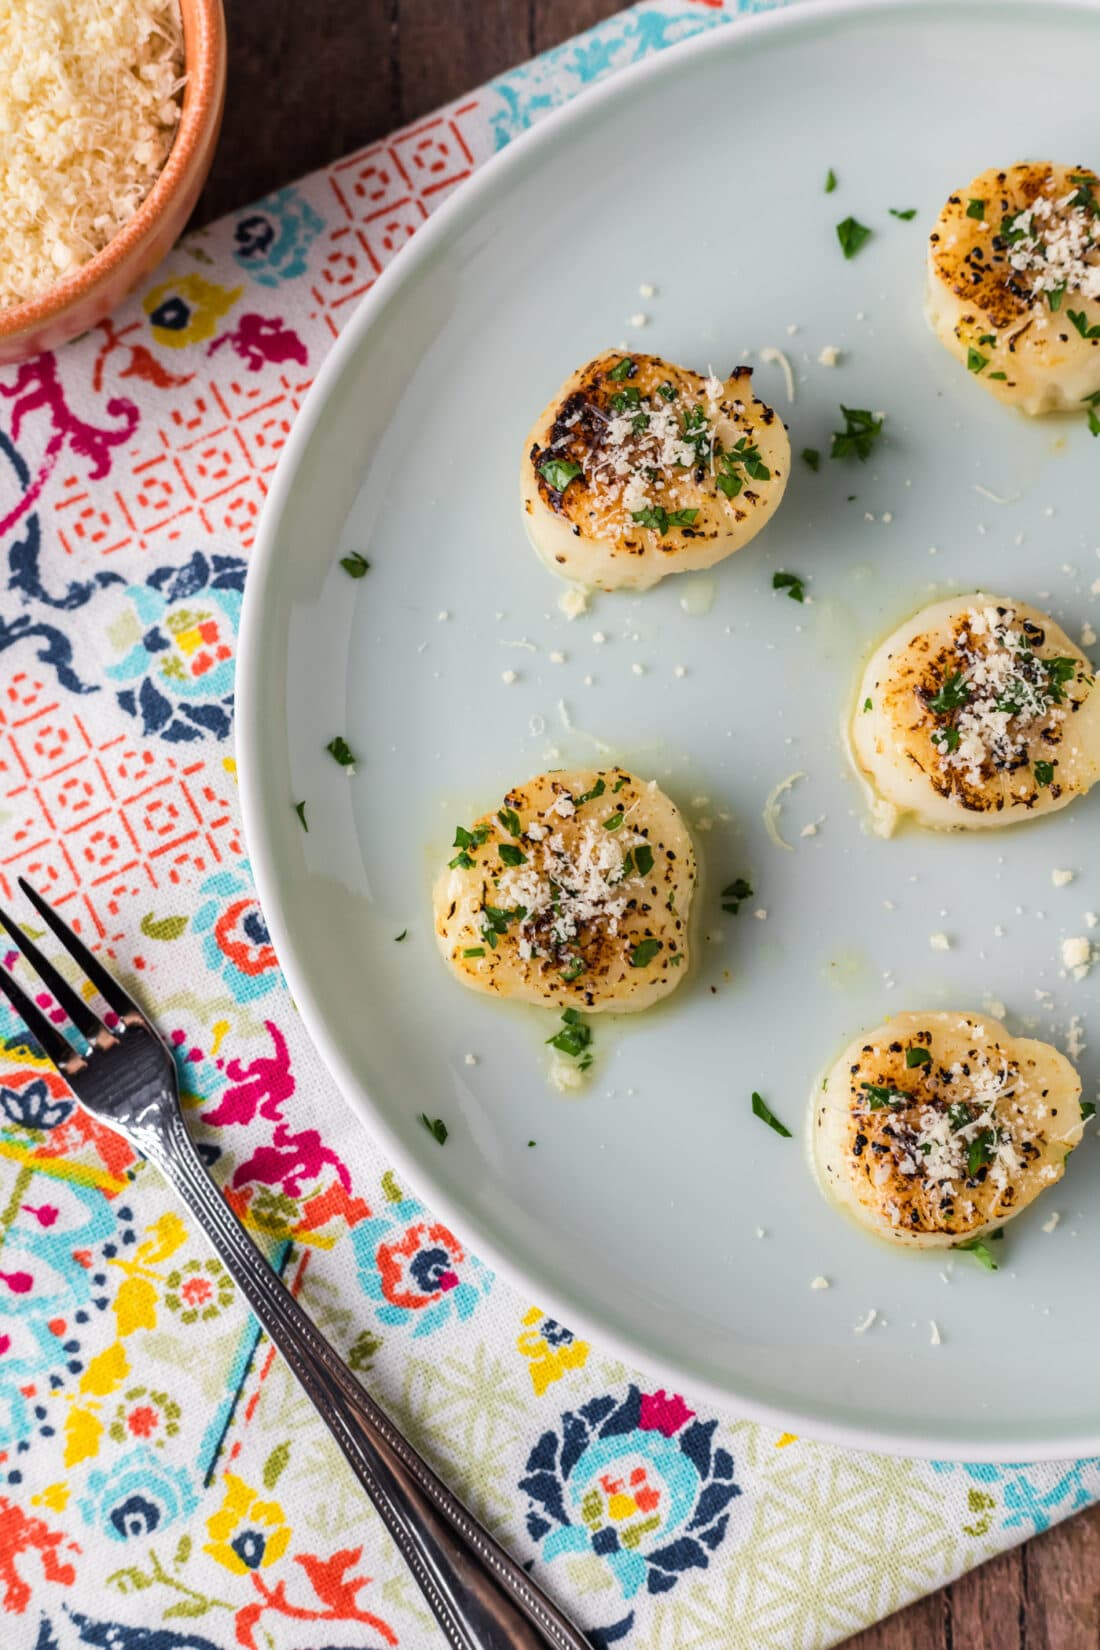
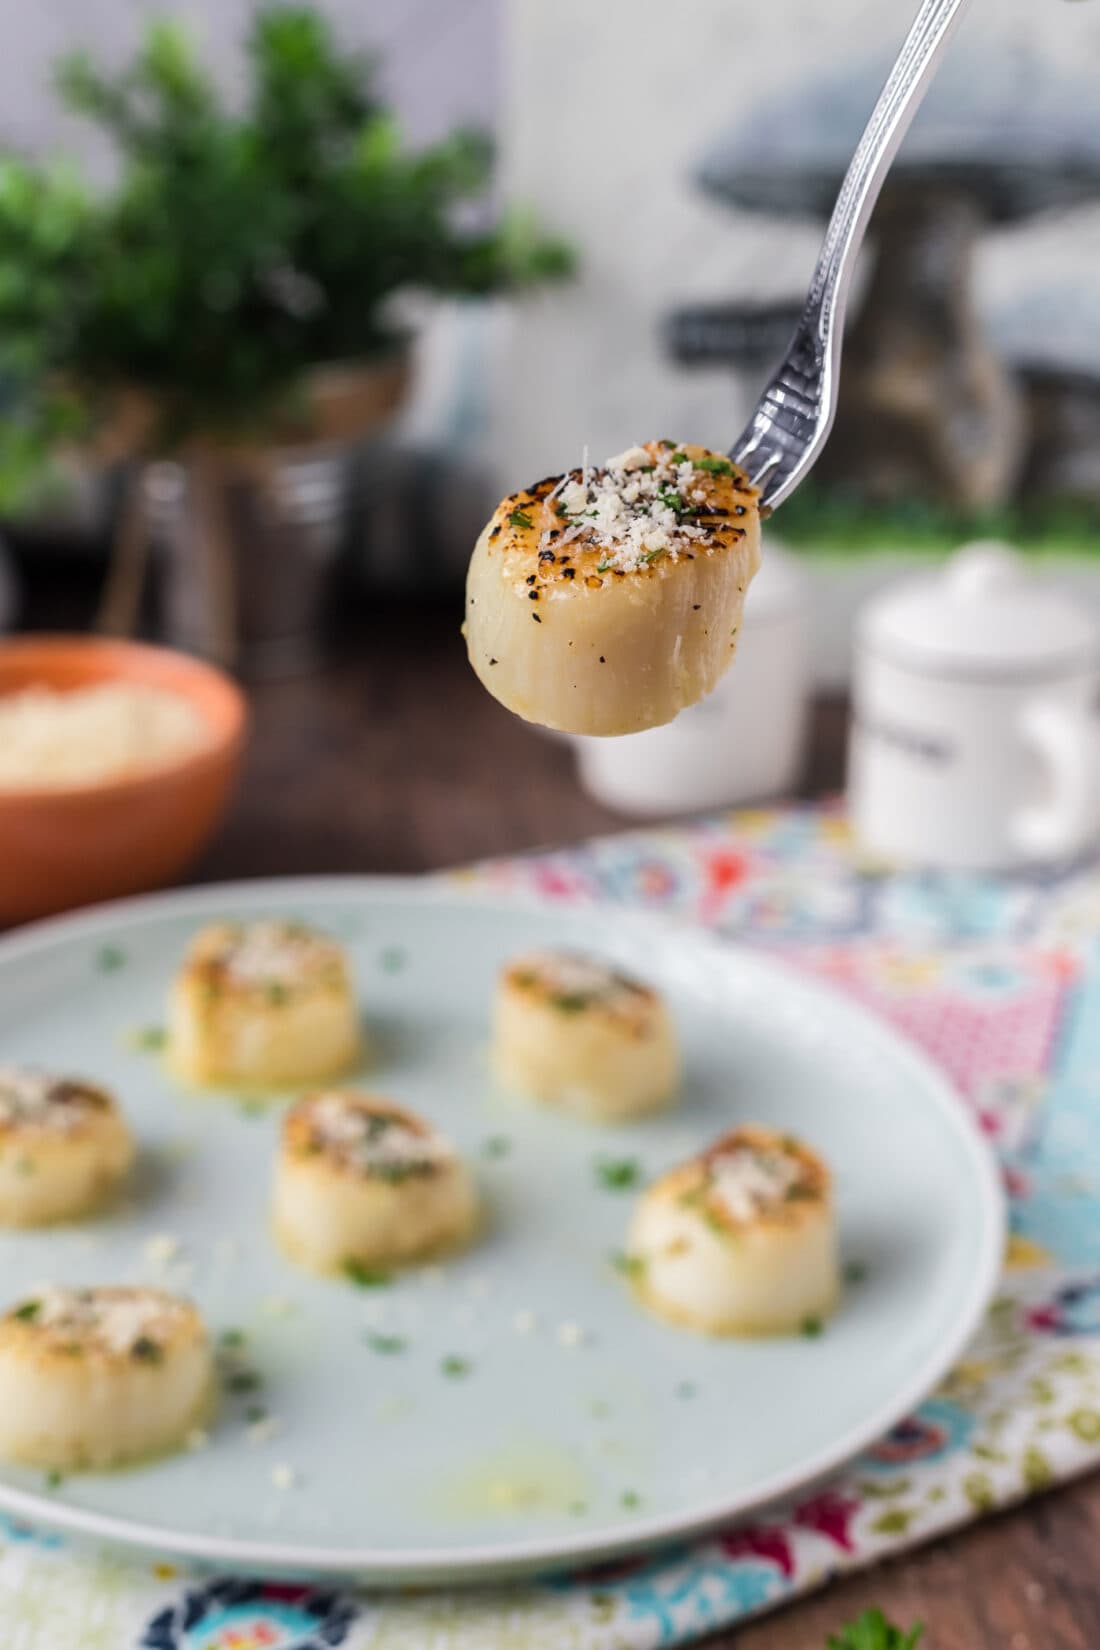
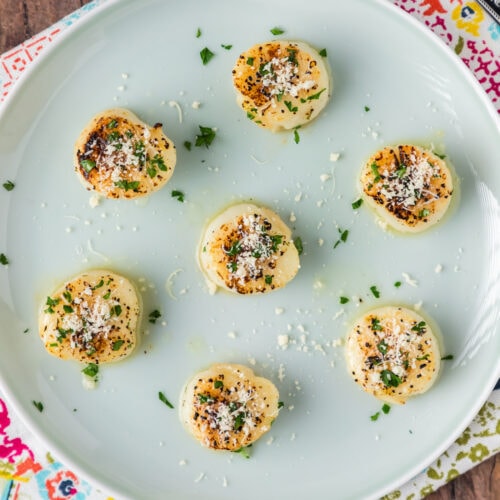
This broiled scallops recipe produces a delicate caramelized crust that makes way to an ultra-tender center. Perfect for a quick and easy main course or appetizer ready in around 20 minutes.
Why this recipe works
Baked, grilled, or broiled scallops – one thing is for sure, these little seafood morsels are insanely tender and one of the easiest things to prepare. This recipe in particular takes the hands-off approach with a quick smear of butter and a hot bake under the broiler that produces the perfect buttery crust.
Ingredients you will need
Get all measurements, ingredients, and instructions in the printable version at the end of this post.
Ingredient Info and Substitution Suggestions
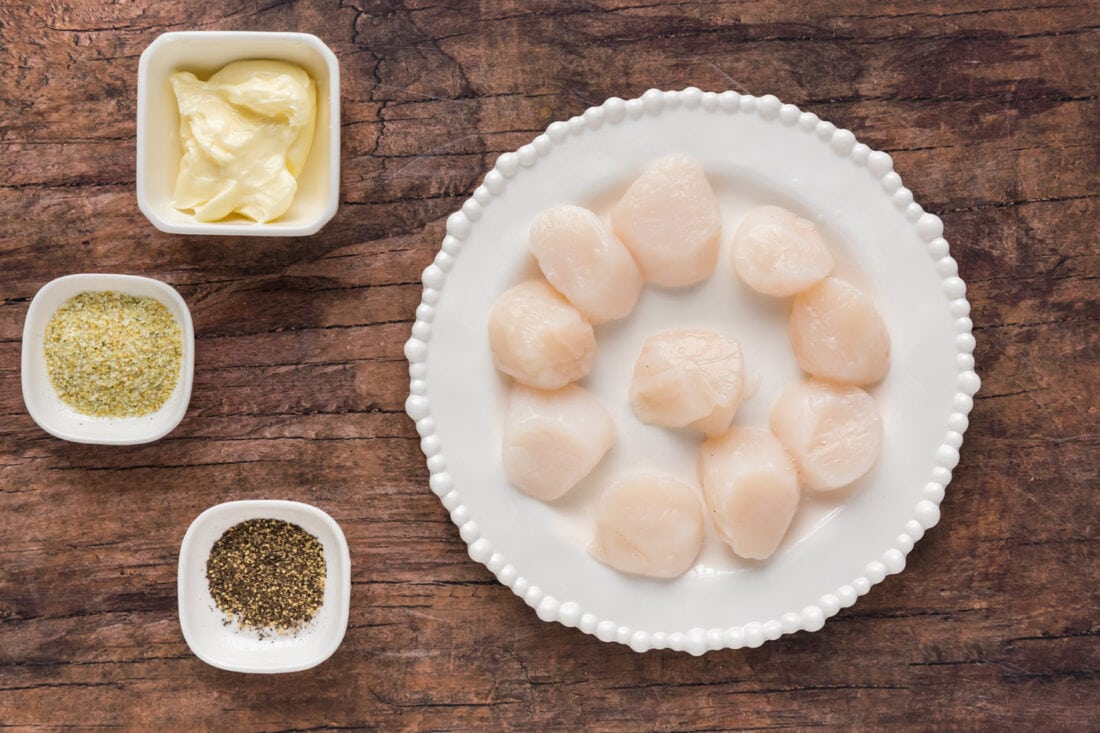
SCALLOPS – You will want to purchase large sea scallops for this recipe. You may notice them labeled “wet” and “dry” at the grocery store. Wet scallops are soaked in a preservative to extend shelf life, but this causes the scallops to retain more moisture when cooked. We prefer to use dry sea scallops. Be sure to thaw them first then pat them dry after rinsing so the butter mixture doesn’t slide right off in the oven.
How to Make Broiled Scallops
These step by step photos and instructions are here to help you visualize how to make this recipe. You can Jump to Recipe to get the printable version of this recipe, complete with measurements and instructions at the bottom.
- Preheat your oven’s broiler. Line a baking sheet with aluminum foil. Place oven rack in the second position.
- Rinse scallops and pat dry with paper towels.
- Be sure your butter is really soft but not melted. It should have a pudding-like texture.
- Lightly brush a thin layer of the soft butter (you will not use it all) onto the aluminum foil on your baking sheet.
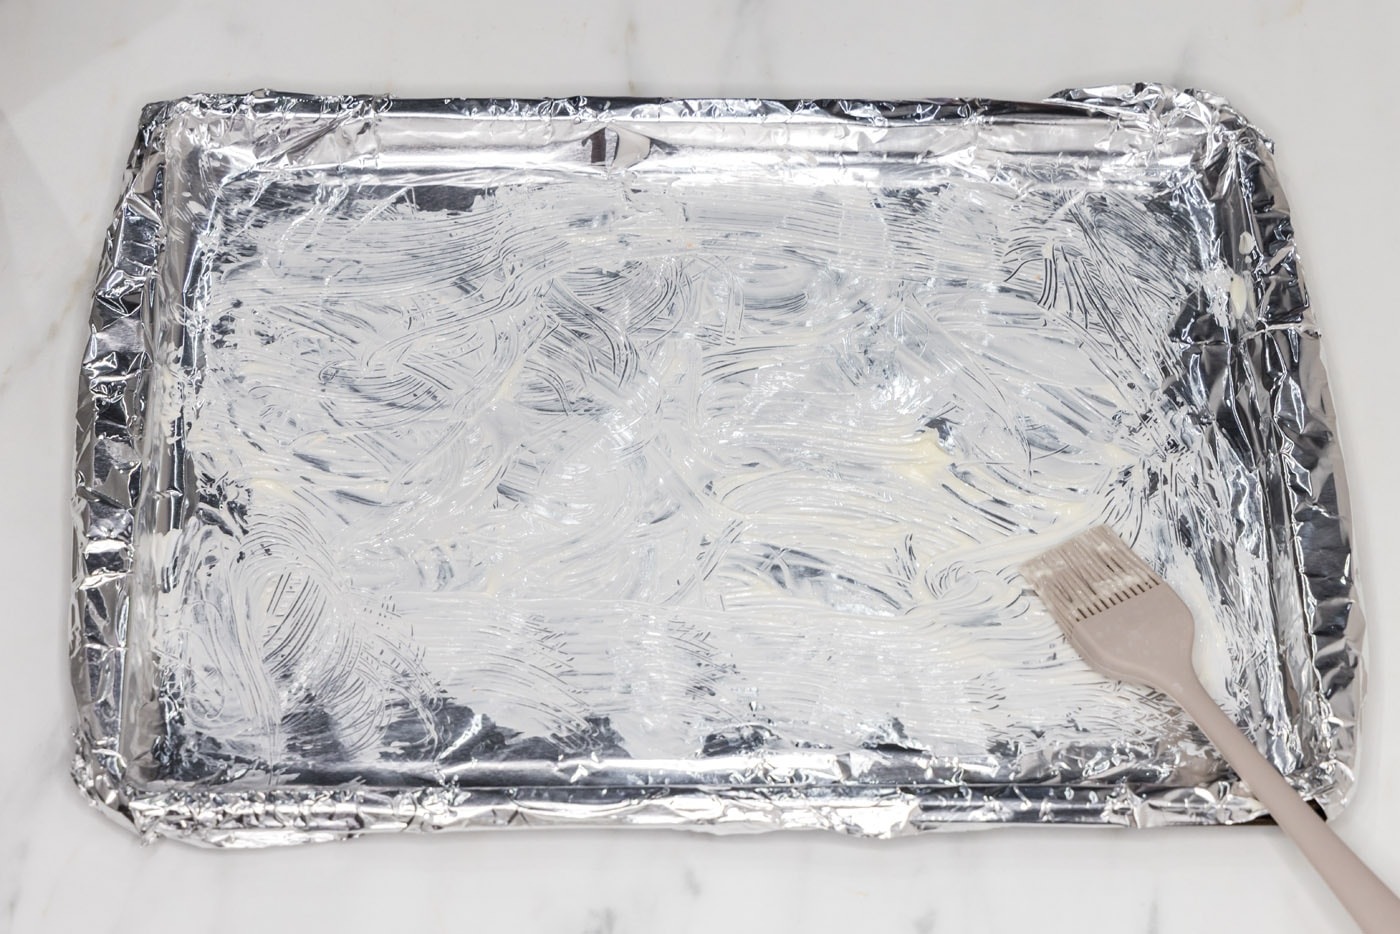
- To the remaining butter in the bowl, add the garlic salt and black pepper. Stir to combine.
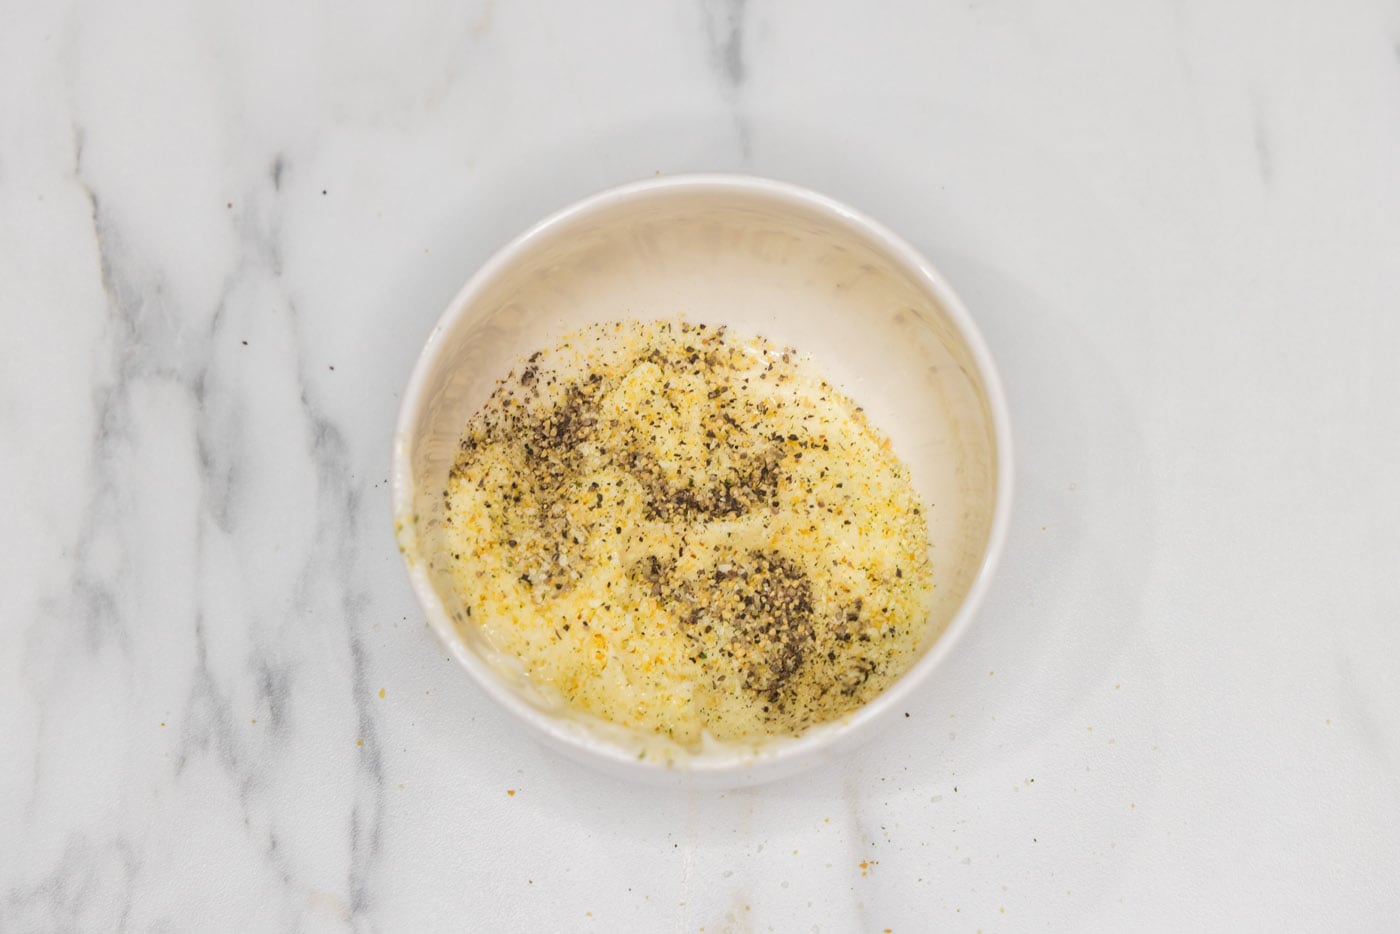
- Place scallops onto the buttered aluminum foil.
- Using a basting brush, add dollops of butter mixture to the top of each scallop. Again, you will not use all the butter.
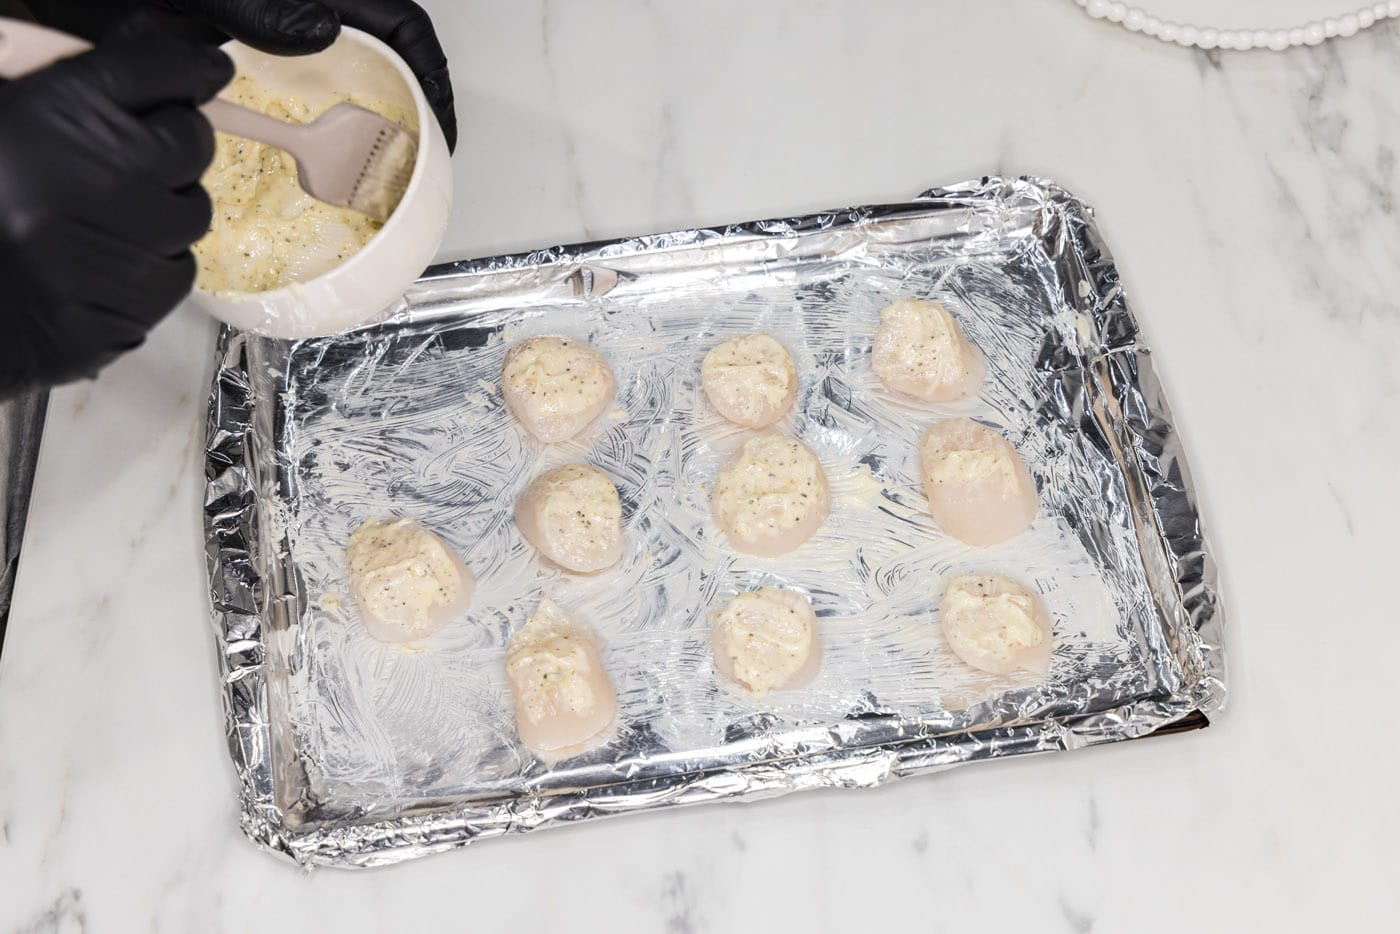
- Place pan of scallops into the oven on the highest rack. Broil for 7-10 minutes, watching them carefully so they don’t burn.
TIP – It’s important to keep an eye on the scallops while under the broiler as every oven is different.
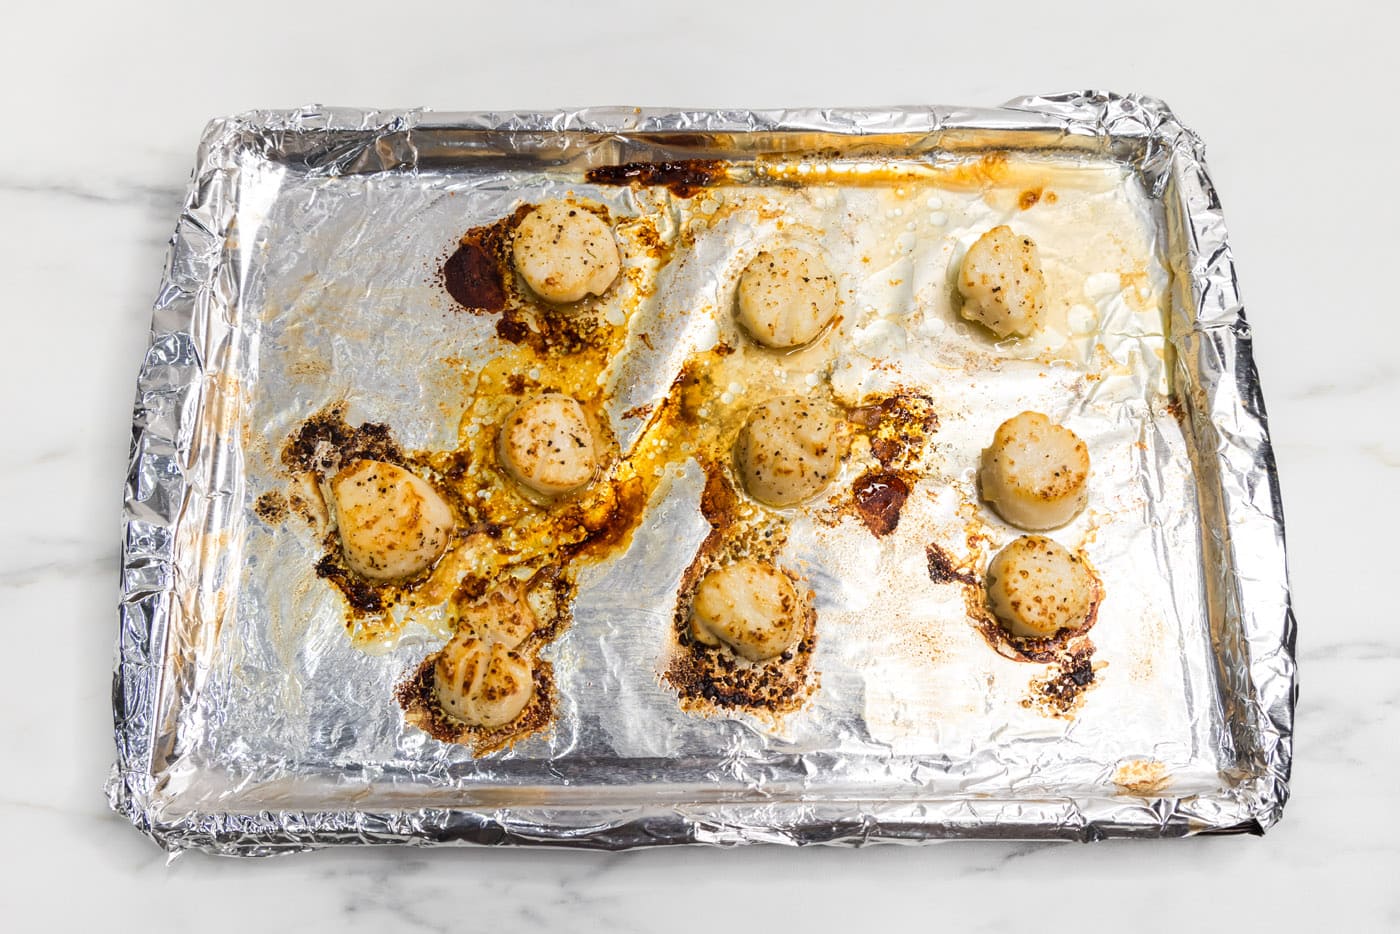
- Remove from oven and dollop the remaining butter onto the scallops. Sprinkle with parmesan cheese if desired.
Frequently Asked Questions & Expert Tips
Store the broiled scallops in an air-tight container kept in the refrigerator for up to two days. Scallops are best served right away as they spoil rather quickly.
Scallops are done cooking when they are opaque in color, with the outside being lightly browned. When you press down on the scallop it should feel tender-firm and not overly squishy. If the scallops are squishy, they’re undercooked and if they are firm with not a lot of give, they are overcooked. Everyone’s broiler is different. It’s important to keep an eye on it so the scallops don’t overcook or become charred. Overcooked scallops will take on an unappetizing rubbery texture.
Serving Suggestions
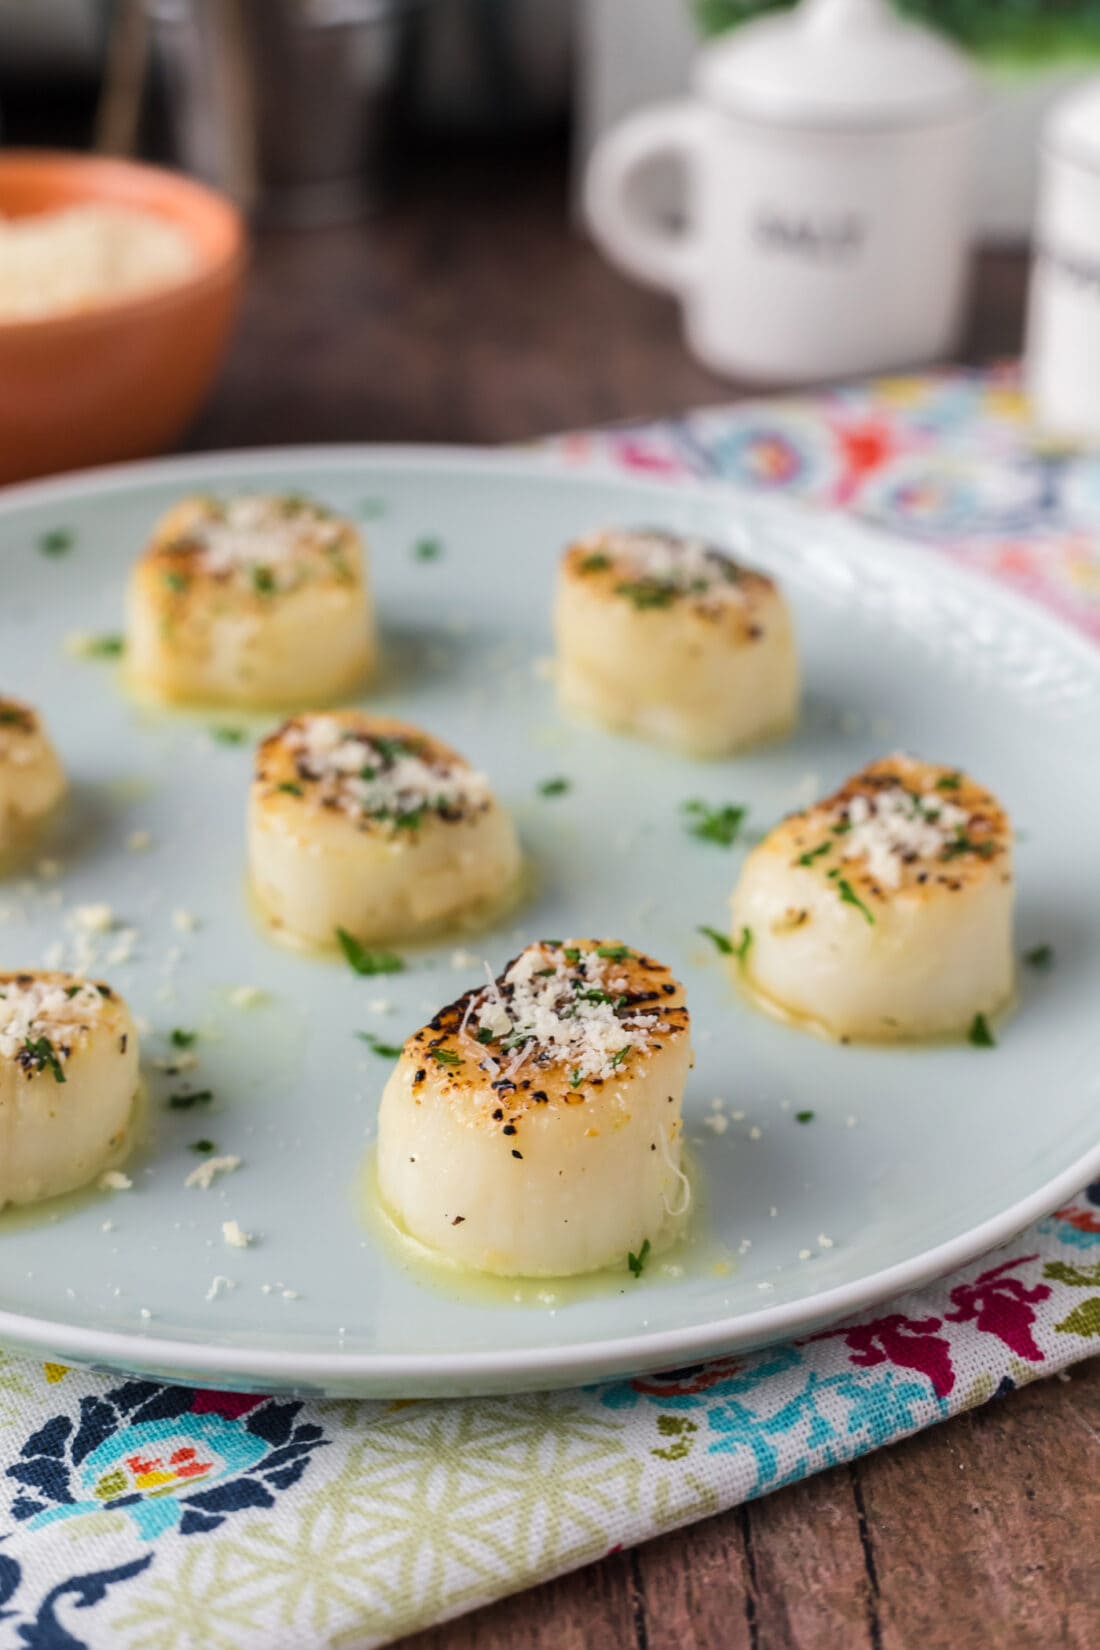
Serve broiled scallops as a main course with roasted vegetables or over a bed of rice. They’re also great tossed into pasta dishes or served as an appetizer with melted garlic butter for dipping. Optionally garnish with a squeeze of lemon juice, grated parmesan cheese, or chopped parsley. Enjoy!
More Scallop Recipes
I love to bake and cook and share my kitchen experience with all of you! Remembering to come back each day can be tough, that’s why I offer a convenient newsletter every time a new recipe posts. Simply subscribe and start receiving your free daily recipes!
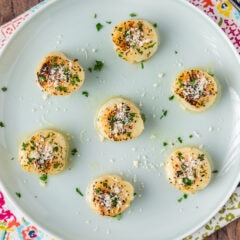
Broiled Scallops
IMPORTANT – There are often Frequently Asked Questions within the blog post that you may find helpful. Simply scroll back up to read them!
Print It Rate ItIngredients
- 1 pound large sea scallops
- 3 Tablespoons unsalted butter well softened
- 1 ½ teaspoons garlic salt
- 1 ½ teaspoons black pepper
Optional Garnish
- grated parmesan cheese
- chopped parsley
- lemon juice
Things You’ll Need
Before You Begin
- You will want to purchase large sea scallops for this recipe. You may notice them labeled “wet” and “dry” at the grocery store. Wet scallops are soaked in a preservative to extend shelf life, but this causes the scallops to retain more moisture when cooked. We prefer to use dry sea scallops. Be sure to thaw them first then pat them dry after rinsing so the butter mixture doesn’t slide right off in the oven.
Instructions
- Preheat your oven’s broiler. Line a baking sheet with aluminum foil. Place oven rack in the second position.
- Rinse scallops and pat dry with paper towels.
- Be sure your butter is really soft but not melted. It should have a pudding like texture.
- Lightly brush a thin layer of the soft butter (you will not use it all) onto the aluminum foil on your baking sheet.
- To the remaining butter in the bowl, add the garlic salt and black pepper. Stir to combine.
- Place scallops onto the buttered aluminum foil.
- Using a brush, add dollops of butter mixture to the top of each scallop. Again, you will not use all the butter.
- Place pan of scallops into the oven on the highest rack. Broil for 7-10 minutes, watching them carefully so they don’t burn.* Everyone’s broiler is different. It’s important to keep an eye on it so the scallops don’t overcook or become charred. Overcooked scallops will take on an unappetizing rubbery texture.
- Remove from oven and dollop remaining butter onto the scallops. Sprinkle with parmesan cheese if desired.
Expert Tips & FAQs
- Store the broiled scallops in an air-tight container kept in the refrigerator for up to two days. Scallops are best served right away as they spoil rather quickly.
- Scallops are done cooking when they are opaque in color, with the outside being lightly browned. When you press down on the scallop it should feel tender-firm and not overly squishy. If the scallops are squishy, they’re undercooked and if they are firm with not a lot of give, they are overcooked.
Nutrition
Chef Antoine Davis
Latest posts by Chef Antoine Davis (see all)
- Salmon Pasta - December 26, 2024
- Chicken Tinga - December 24, 2024
- Steamed Shrimp - December 17, 2024


Leave a Reply