We can show you how to roast garlic so well that you’ll be slathering it over every dish you can think of. Soft caramelized bulbs come out delicate and golden brown every time with a little help of olive oil, aluminum foil, and a toasty oven.
Why this recipe works
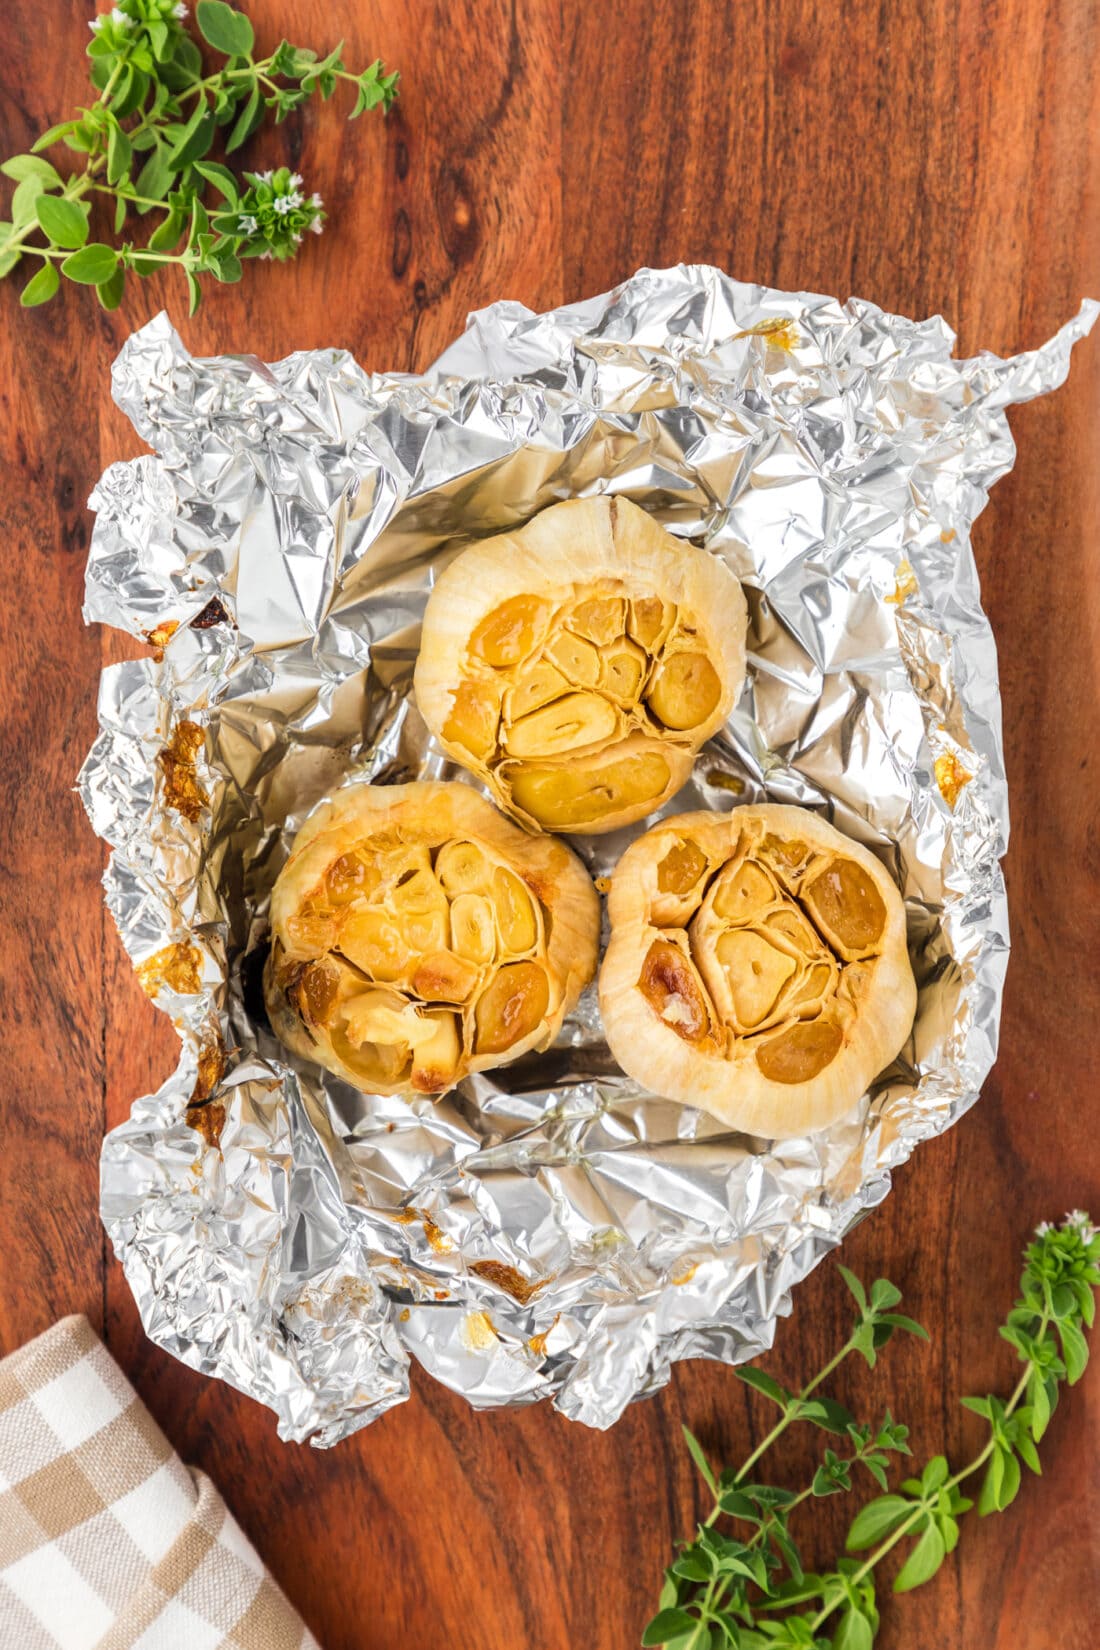
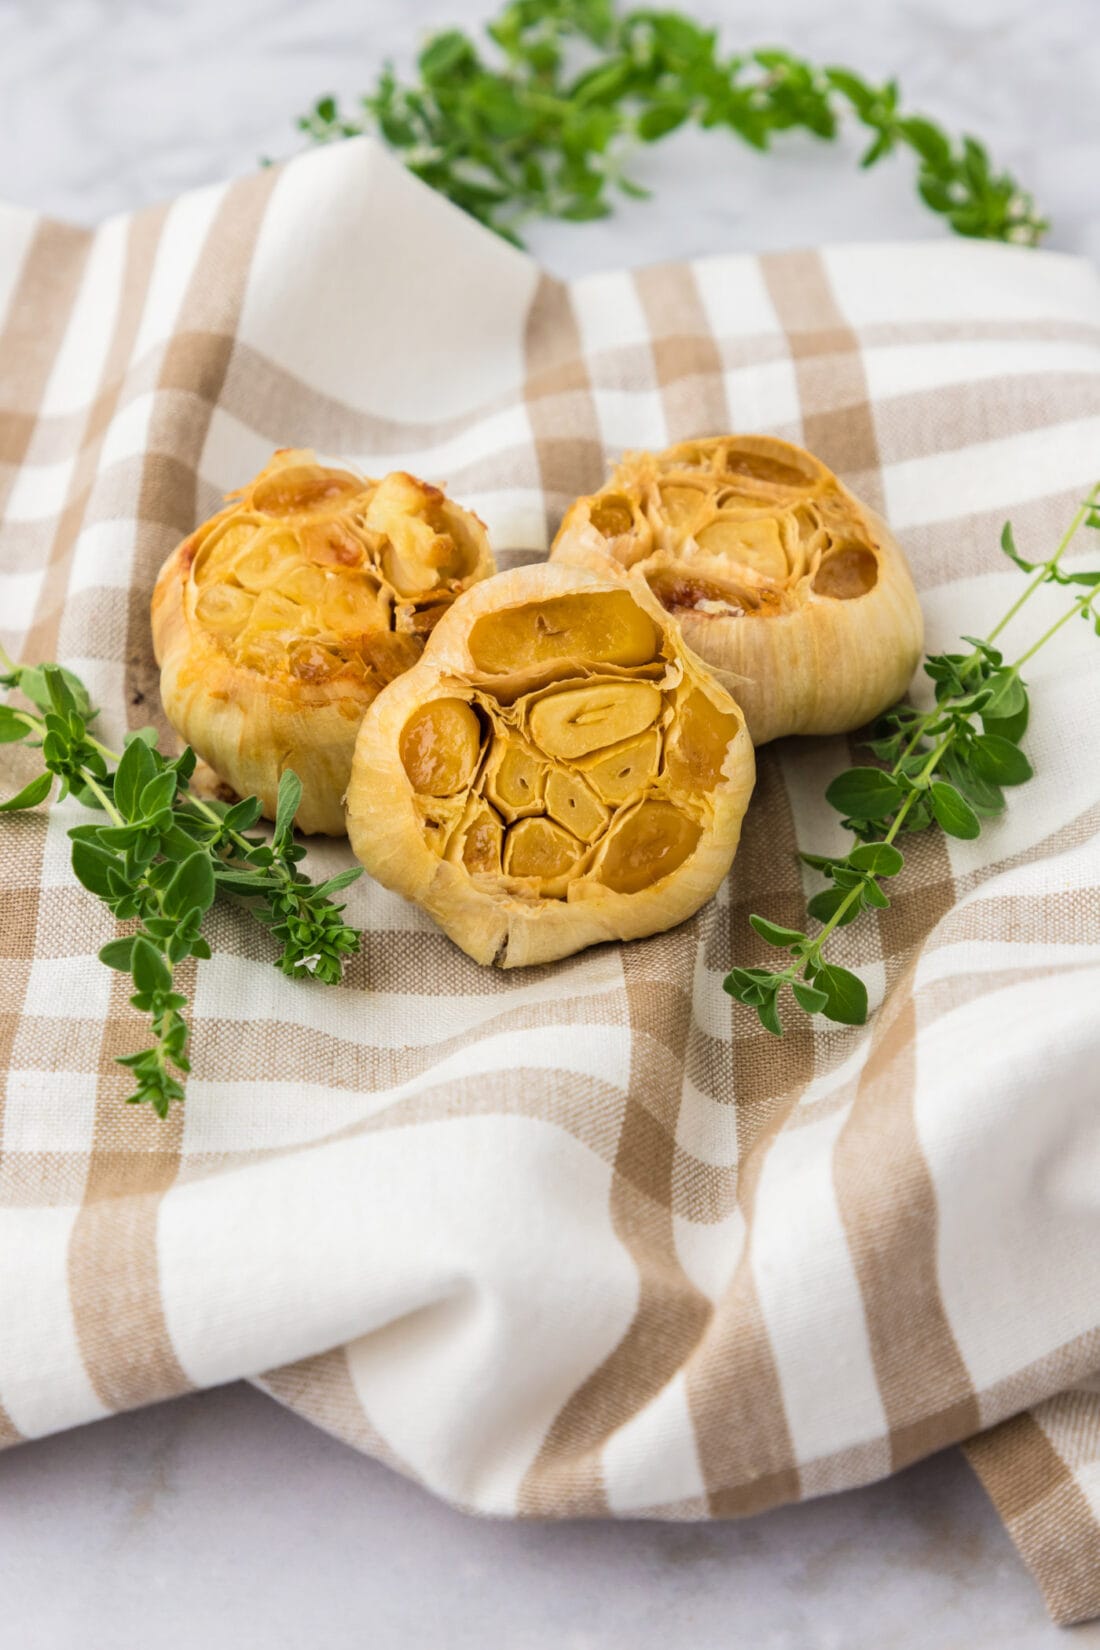
Learn how to roast garlic perfectly every time with minimal effort and two simple ingredients. A drizzle of olive oil, fresh bulbs of garlic, and a blanket of aluminum foil leave you with soft roasted garlic to incorporate into mashed potatoes, hummus, soups, and even for slathering over a thick, juicy steak. The longer the bulbs roast, the richer the flavor and the creamier the consistency gets, and it’s incredibly easy to master.
Ingredients you will need
Get all measurements, ingredients, and instructions in the printable version at the end of this post.
Ingredient Info and Substitution Suggestions
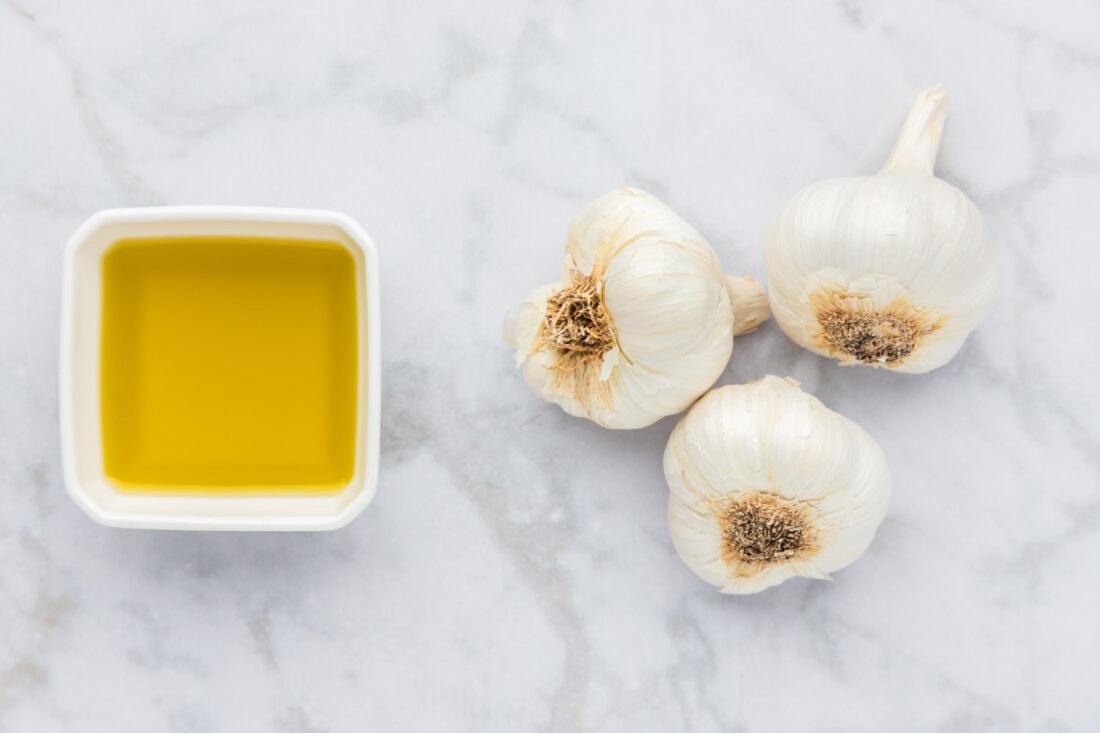
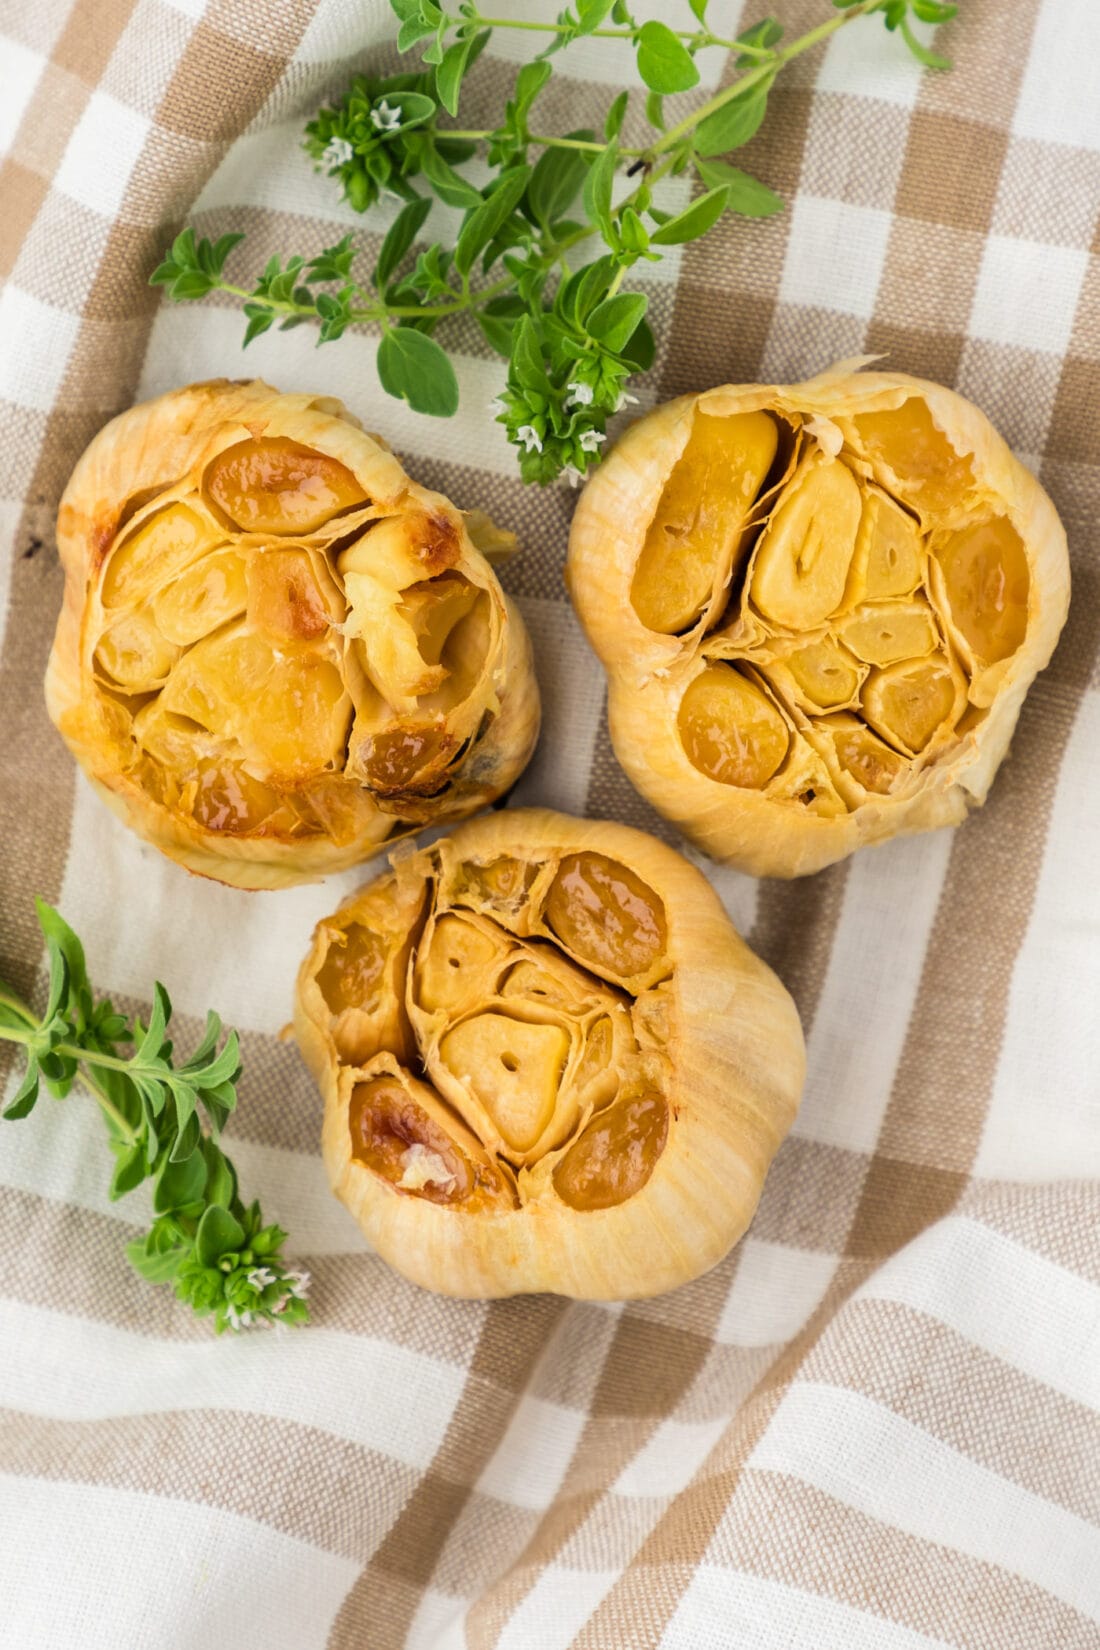
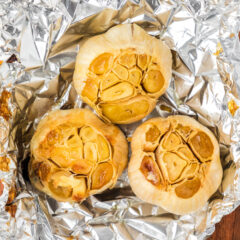
GARLIC – We roasted our bulbs for 60 minutes to get a soft paste consistency. Depending on your desired consistency, you can roast the garlic for closer to 40-45 minutes as well. The bulbs are done roasting when they are golden on top and easily pierced with a fork.
OIL – The olive oil helps retain moisture so the bulbs don’t end up dry or brittle. Simply drizzle it on top of the cut side of the bulbs before roasting.
How to Make Roasted Garlic
These step by step photos and instructions are here to help you visualize how to make this recipe. You can Jump to Recipe to get the printable version of this recipe, complete with measurements and instructions at the bottom.
- Preheat oven to 400 F.
- Remove the loose papery layer from the garlic bulbs. Leave some on for the roasting process.
- Lay bulbs sideways and slice off the tips of the garlic cloves (not at the root end).
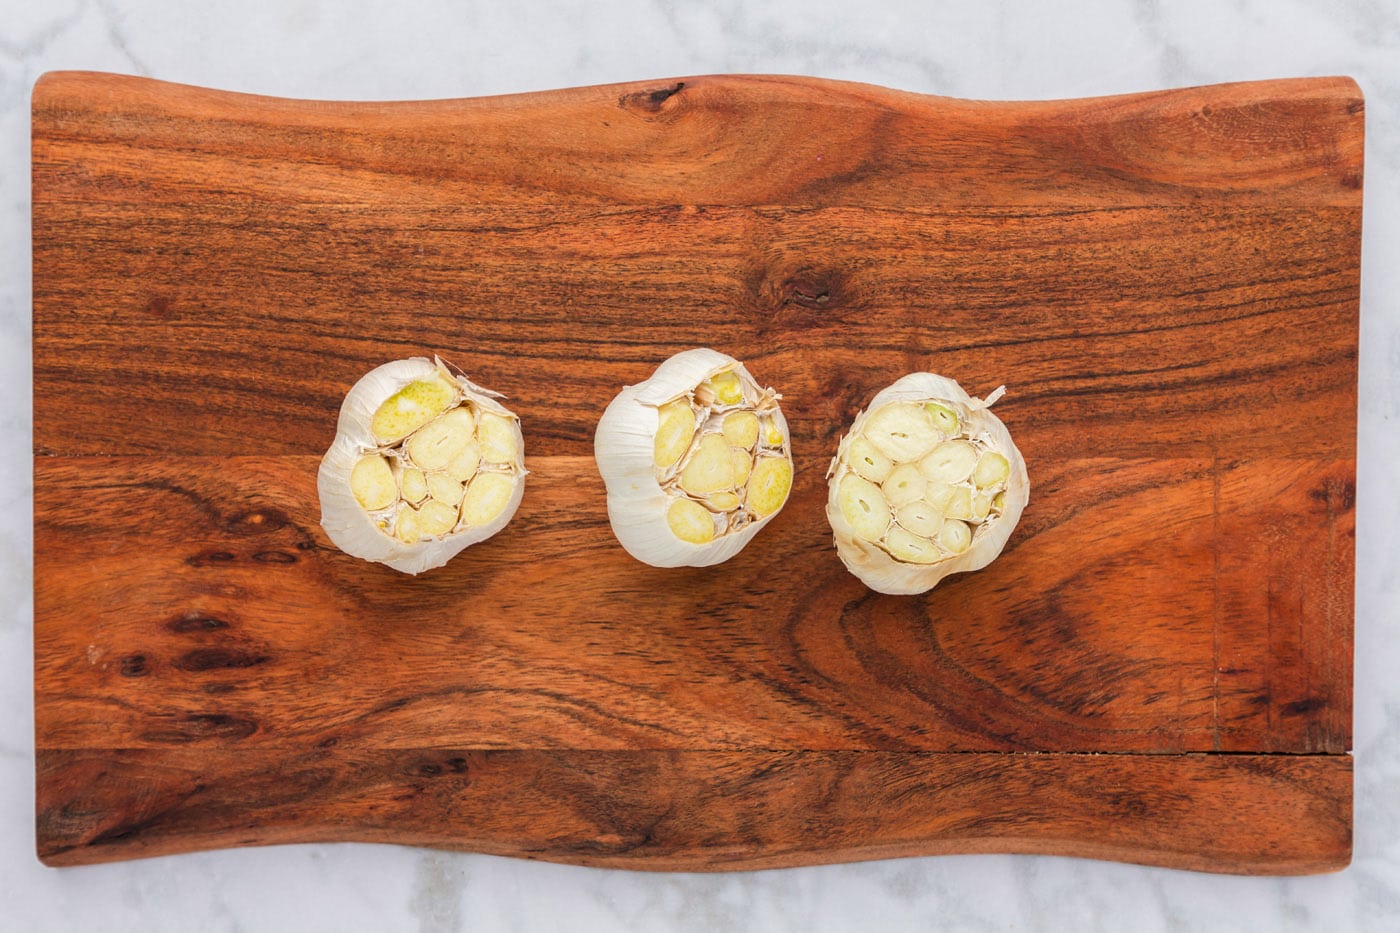
- Place garlic cloves root side down onto a large piece of aluminum foil. Drizzle cut side of bulbs with olive oil.
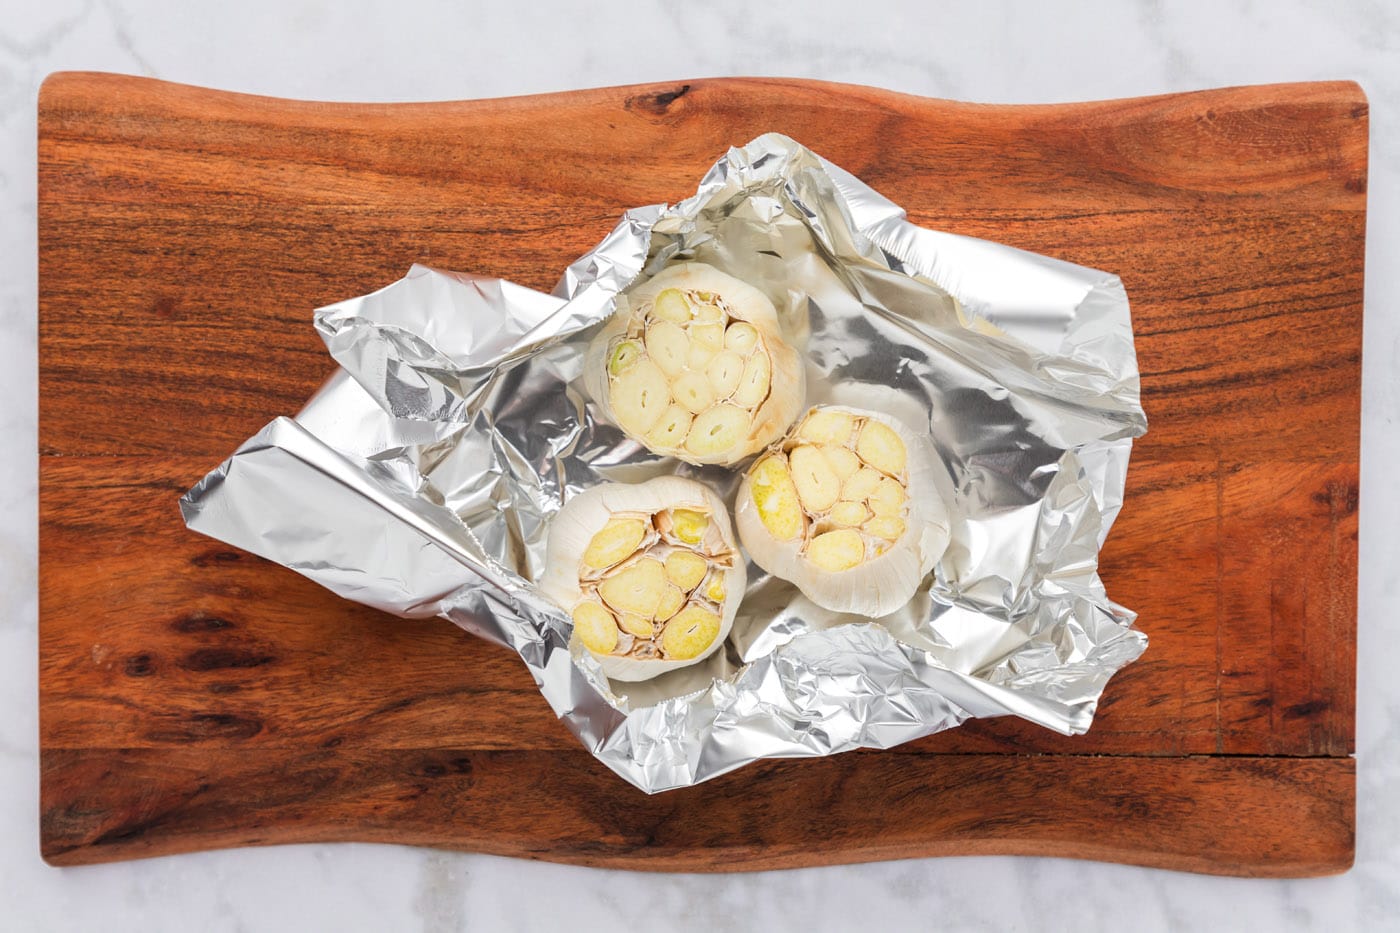
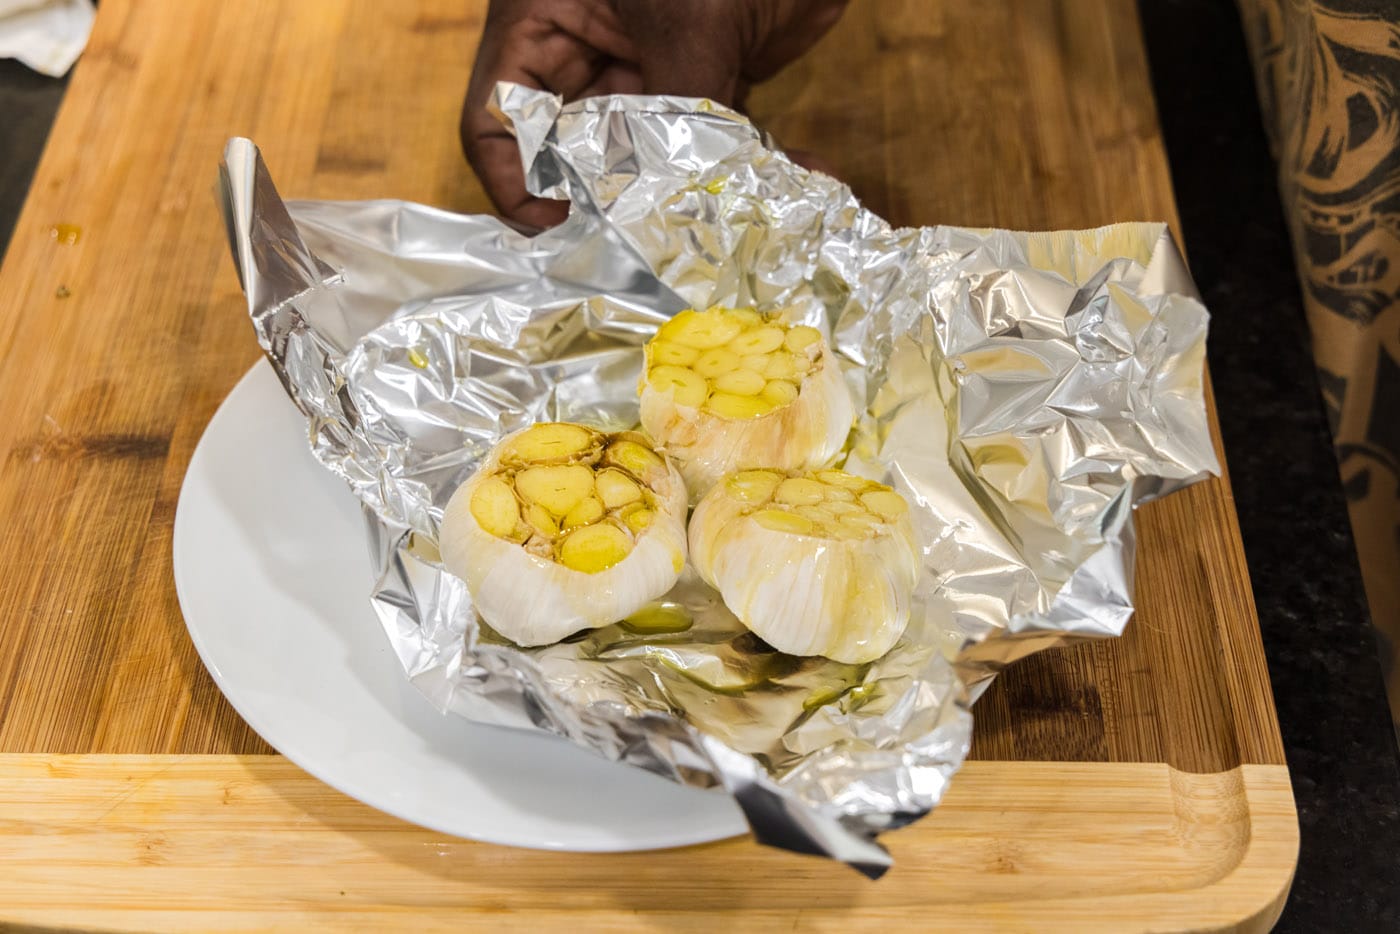
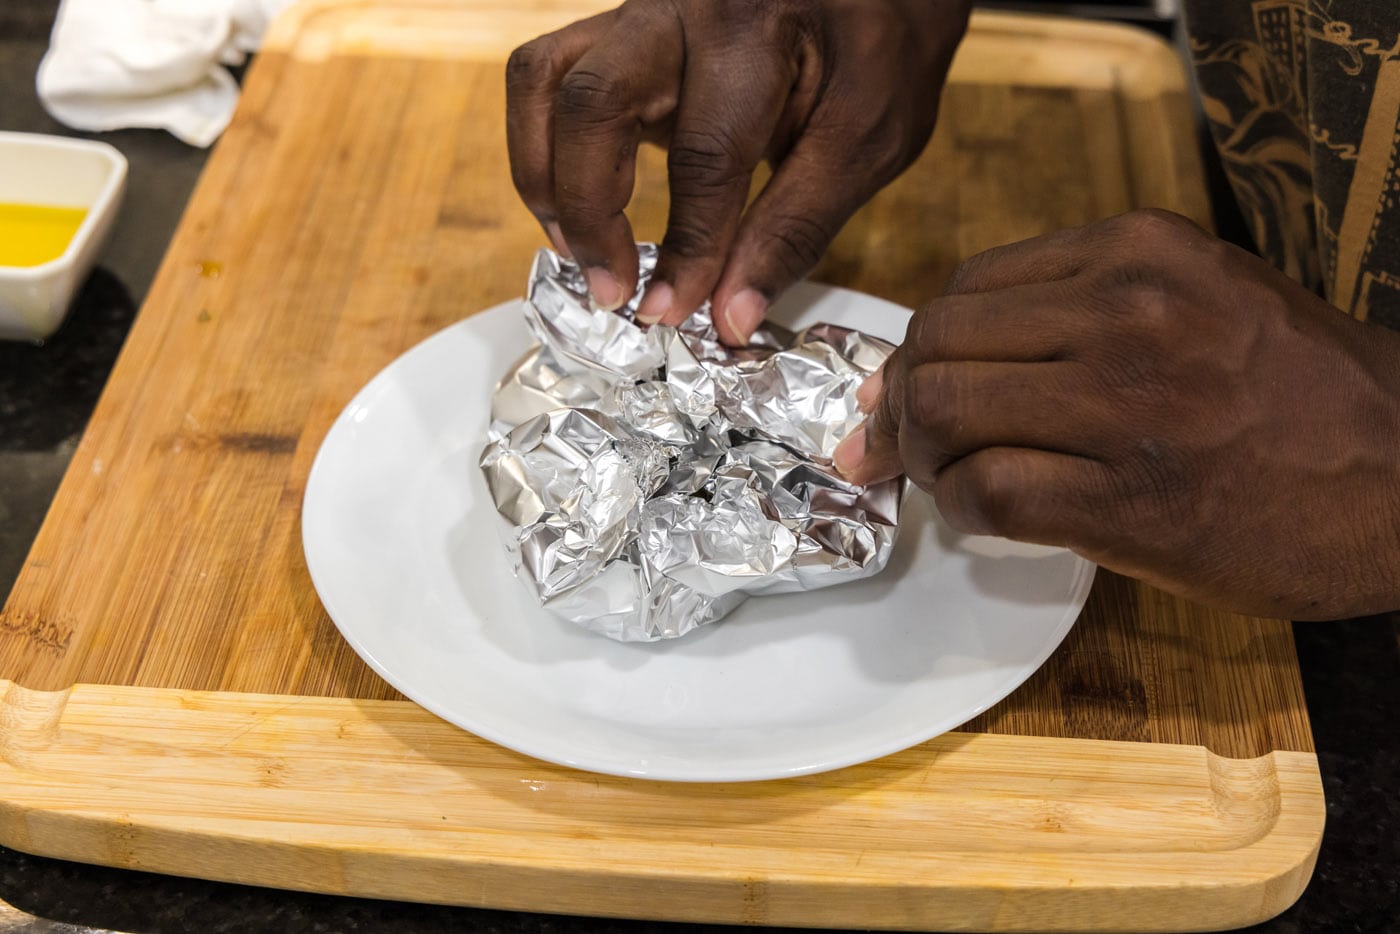
- Close up aluminum foil around the garlic bulbs and place on a baking sheet. Bake in the oven for 45-60 minutes.
Frequently Asked Questions & Expert Tips
Store roasted garlic in an air-tight container kept in the refrigerator for up to 5 days. I would recommend separating the cloves from the head, or mashing them, before storing them. If you plan on storing them longer than 5 days, place the cloves in a shallow container or jar and cover them completely with olive oil to help retain moisture. This will help them keep for closer to 2 weeks.
To roast individual garlic cloves, you’ll want to peel them first then place them on a foil-lined baking sheet. Drizzle with oil and wrap the cloves in the aluminum foil. Roast in a 400F oven for up to 40 minutes, depending on desired consistency. As stated above, the cloves should be soft and easily pierced with a fork or knife.
To freeze, remove the cloves from the head of the garlic. You can either mash them or leave them as whole individual cloves for freezing. Store in an air-tight container or sealed ziptop bag and freeze for up to 2 months. You can easily freeze mashed roasted garlic in tablespoon portions scooped into ice cube trays. Thaw at room temperature.
Serving Suggestions
Now that we’ve answered the burning question, how to roast garlic – how do you serve roasted garlic? Because we roast ours until the consistency is that of a soft, spreadable paste, it makes a mouth watering spread over the top of warm bread, steak, chicken, you name it! It’s also divine when mixed with softened butter.
Roasted garlic is also a great addition to soups, stews, and dips of all kinds. What’s your favorite way to use a bounty of roasted garlic?
More Garlic Recipes
- Garlic Knots
- Garlic Chicken
- Garlic Butter Sauce
- Garlic Green Beans
- Cheesy Garlic Bread
- Garlic Mashed Potatoes
I love to bake and cook and share my kitchen experience with all of you! Remembering to come back each day can be tough, that’s why I offer a convenient newsletter every time a new recipe posts. Simply subscribe and start receiving your free daily recipes!
How to Roast Garlic
IMPORTANT – There are often Frequently Asked Questions within the blog post that you may find helpful. Simply scroll back up to read them!
Print It Rate ItIngredients
- 3 bulbs fresh garlic
- olive oil
Things You’ll Need
Before You Begin
- We roasted our bulbs for 60 minutes to get a soft paste consistency. Depending on your desired consistency, you can roast the garlic for closer to 40-45 minutes as well. The bulbs are done roasting when they are golden on top and easily pierced with a fork or knife.
- The olive oil helps retain moisture so the bulbs don’t end up dry or brittle. Simply drizzle it on top of the cut side of the bulbs before roasting.
Instructions
- Preheat oven to 400 F.
- Remove the loose papery layer from the garlic bulbs. Leave some on for the roasting process.
- Lay bulbs sideways and slice off the tips of the garlic cloves (not at the root end).
- Place garlic cloves root side down onto a large piece of aluminum foil. Drizzle cut side of bulbs with olive oil.
- Close up aluminum foil around the garlic bulbs and place on a baking sheet. Bake in the oven for 45-60 minutes.
Expert Tips & FAQs
- Store roasted garlic in an air-tight container kept in the refrigerator for up to 5 days. I would recommend separating the cloves from the head, or mashing them, before storing them. If you plan on storing them longer than 5 days, place the cloves in a shallow container or jar and cover them completely with olive oil to help retain moisture. This will help them keep for closer to 2 weeks.
- To roast individual garlic cloves, you’ll want to peel them first then place them on a foil-lined baking sheet. Drizzle with oil and wrap the cloves in the aluminum foil. Roast in a 400F oven for up to 40 minutes, depending on desired consistency. As stated above, the cloves should be soft and easily pierced with a fork or knife.
- To freeze, remove the cloves from the head of the garlic. You can either mash them or leave them as whole individual cloves for freezing. Store in an air-tight container or sealed ziptop bag and freeze for up to 2 months. You can easily freeze mashed roasted garlic in tablespoon portions scooped into ice cube trays. Thaw at room temperature.
Nutrition
Chef Antoine Davis
Latest posts by Chef Antoine Davis (see all)
- Lemon Chicken - December 3, 2024
- Shrimp Egg Rolls - November 28, 2024
- Sous Vide Chicken Breast - November 26, 2024



Leave a Reply