Whip up a batch of quick and easy cake mix donuts in around 30 minutes. There’s no oil and no frying involved here, just a cake mix, a donut pan, and a handful of pantry staples ingredients are all you need!
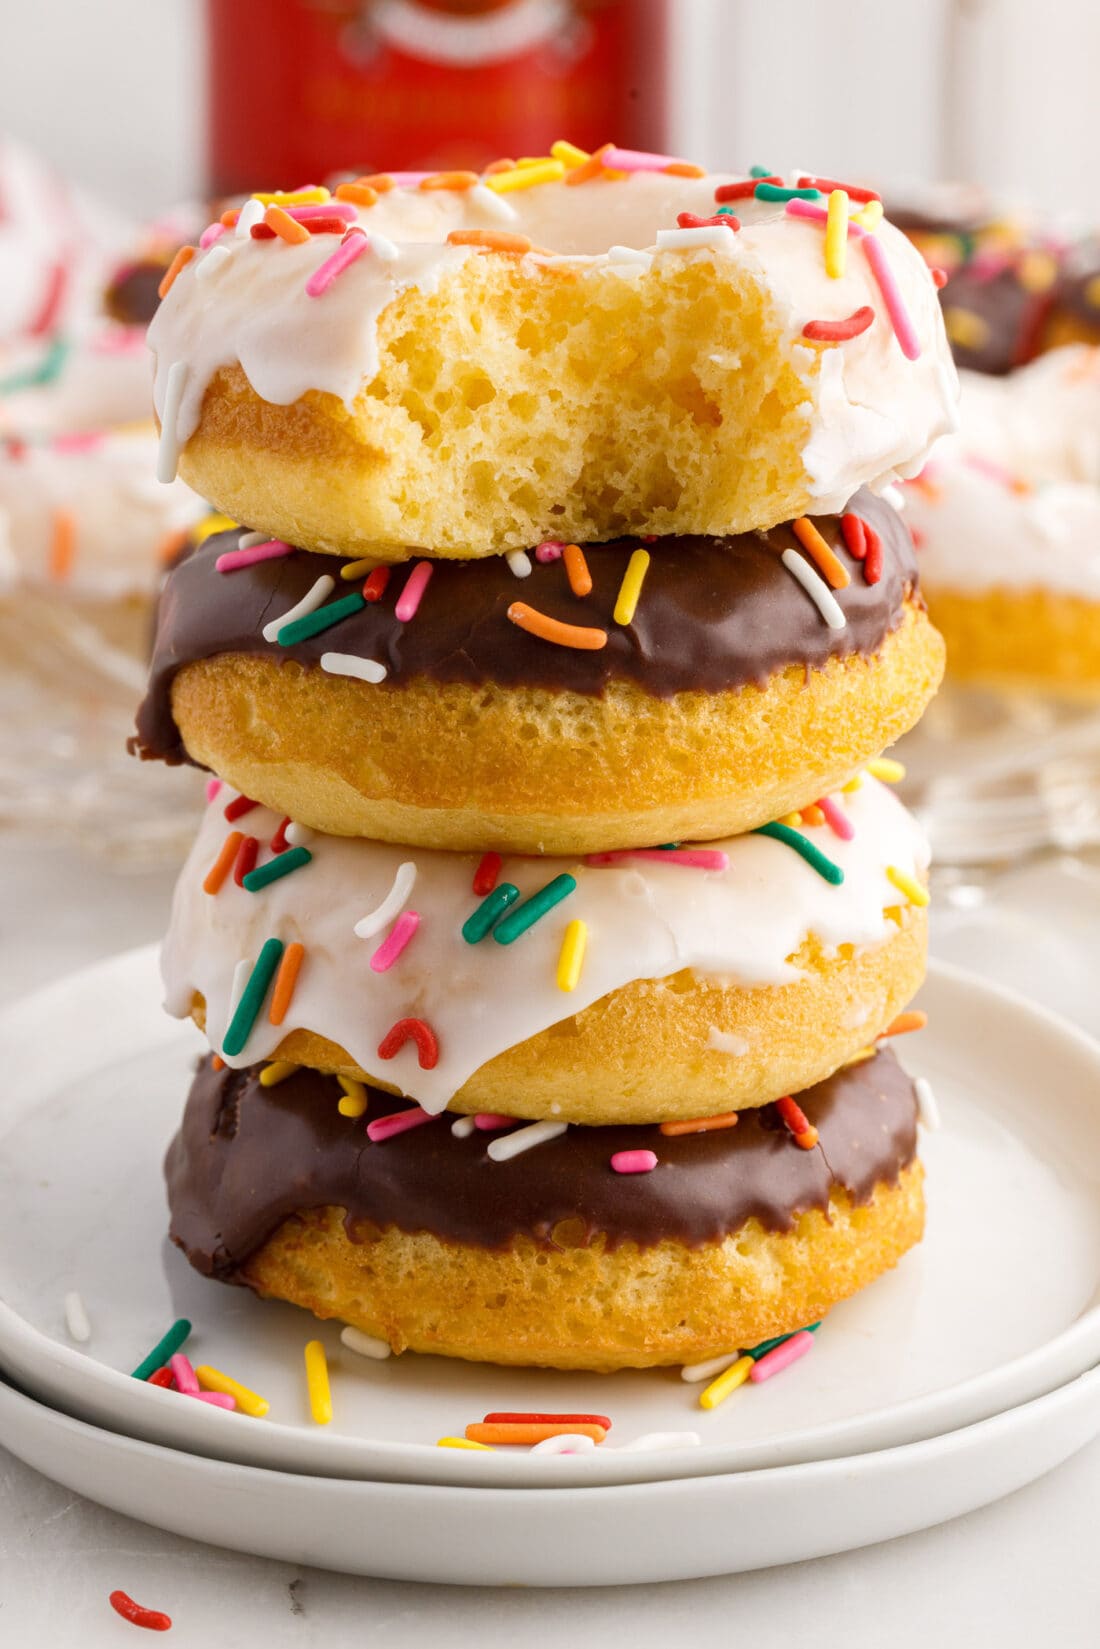
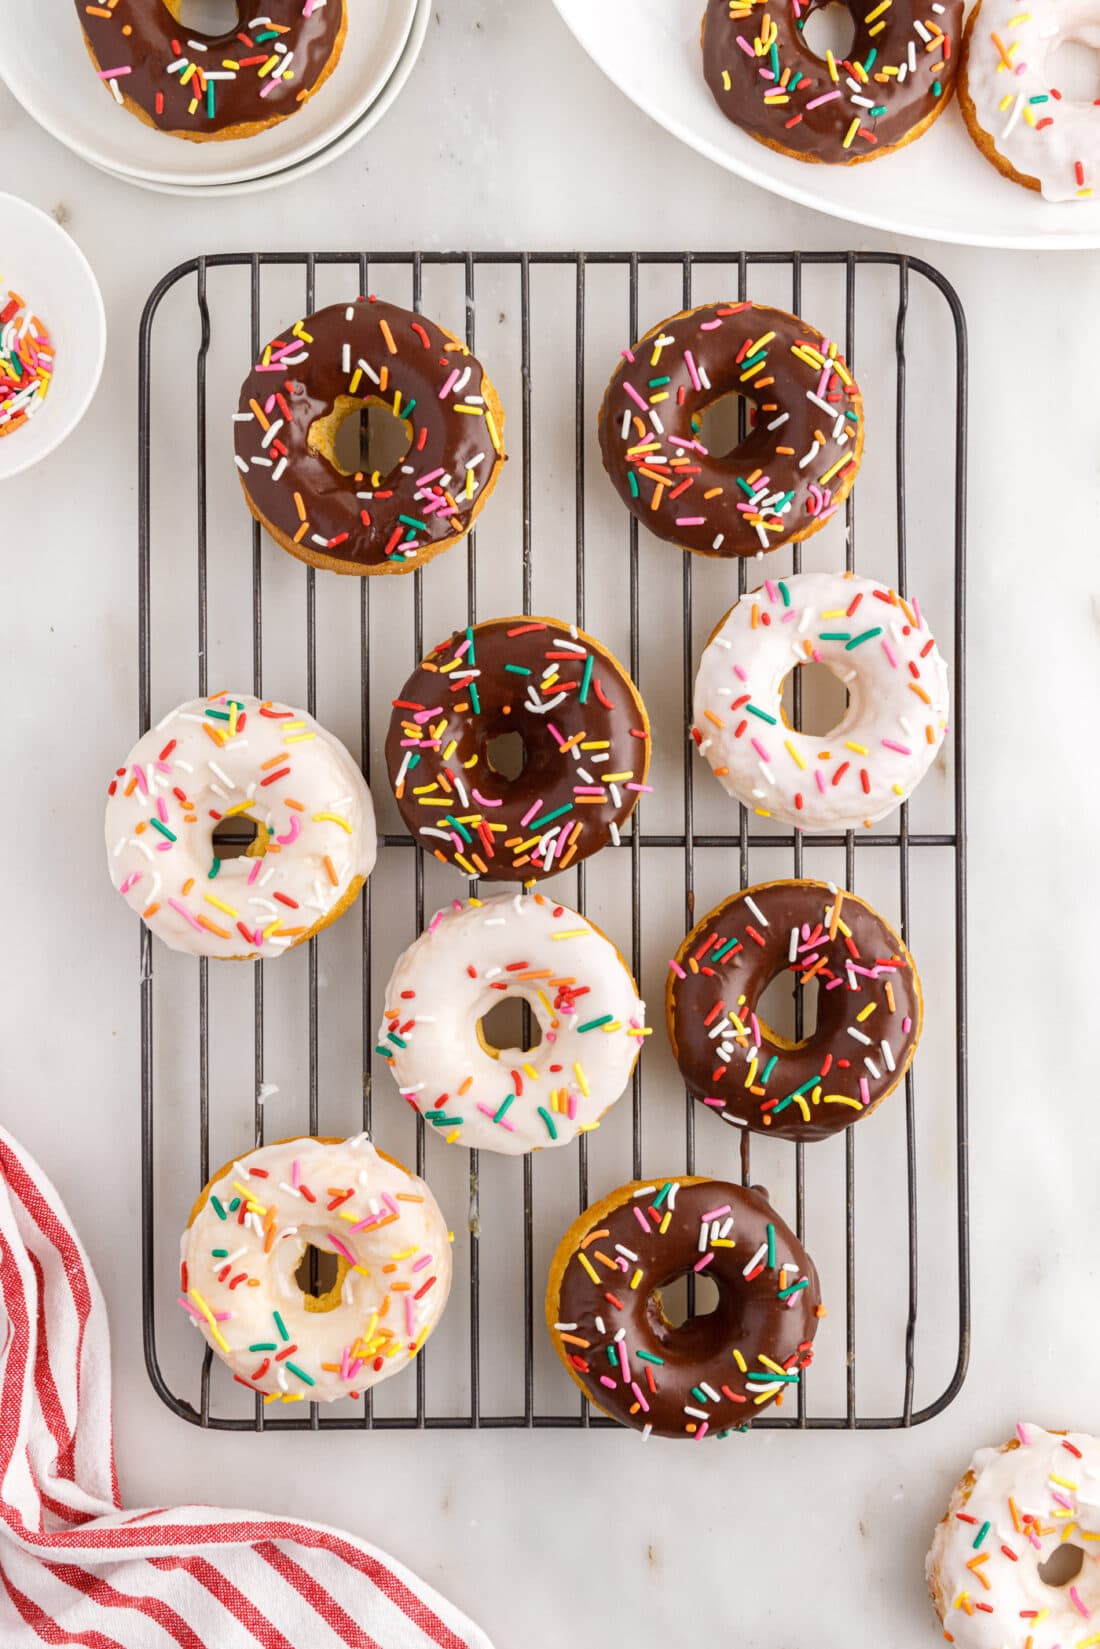
Why this recipe works
These cake mix donuts are really simple to make and don’t require any deep frying in oil. They taste similar to cupcakes, though the added sour cream gives them some moisture and a denser texture. Top them with a quick chocolate or vanilla glaze and colorful sprinkles for the finishing touch!
So, why use a cake mix? Well, it definitely saves you time from having to measure things individually but also saves you money if you don’t always have a bulk of specific ingredients laying around. While these cake mix donuts aren’t your typical fried donut, they have a unique cake-like texture while also being soft and fluffy. I would say they are similar to baked cake donuts, with the cake mix version leaning on the fluffier side.
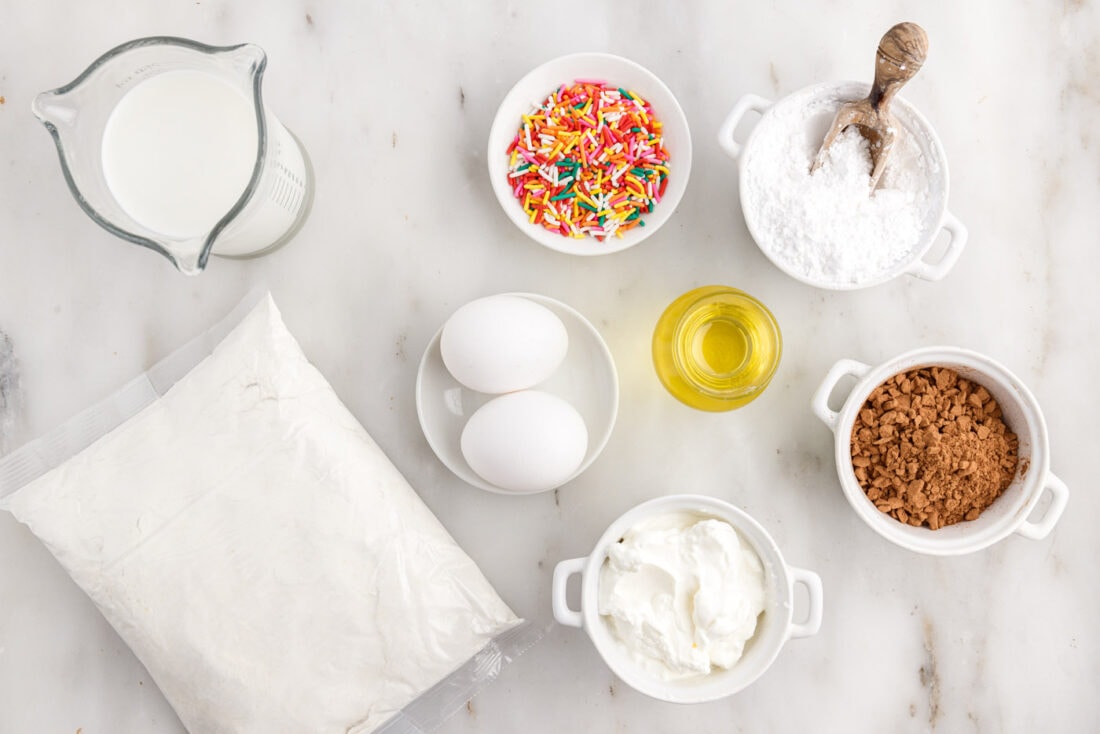
Ingredients you will need
Get all measurements, ingredients, and instructions in the printable version at the end of this post.
Ingredient Info and Substitution Suggestions
CAKE MIX – Grab a standard-size (15.25 oz) yellow cake mix for this recipe, the kind that uses water, eggs, and oil. You do NOT need to account for the ingredients listed on the back of the box. Just the dry mix. We’ve included the ingredients you will need to incorporate into the dry mix in the recipe card below. Please use our measurements listed.
How to Make Cake Mix Donuts
These step by step photos and instructions are here to help you visualize how to make this recipe. You can Jump to Recipe to get the printable version of this recipe, complete with measurements and instructions at the bottom.
- Preheat the oven to 350°F.
- In a large mixing bowl, whisk together the dry cake mix, oil, milk, eggs, and sour cream until fully combined.
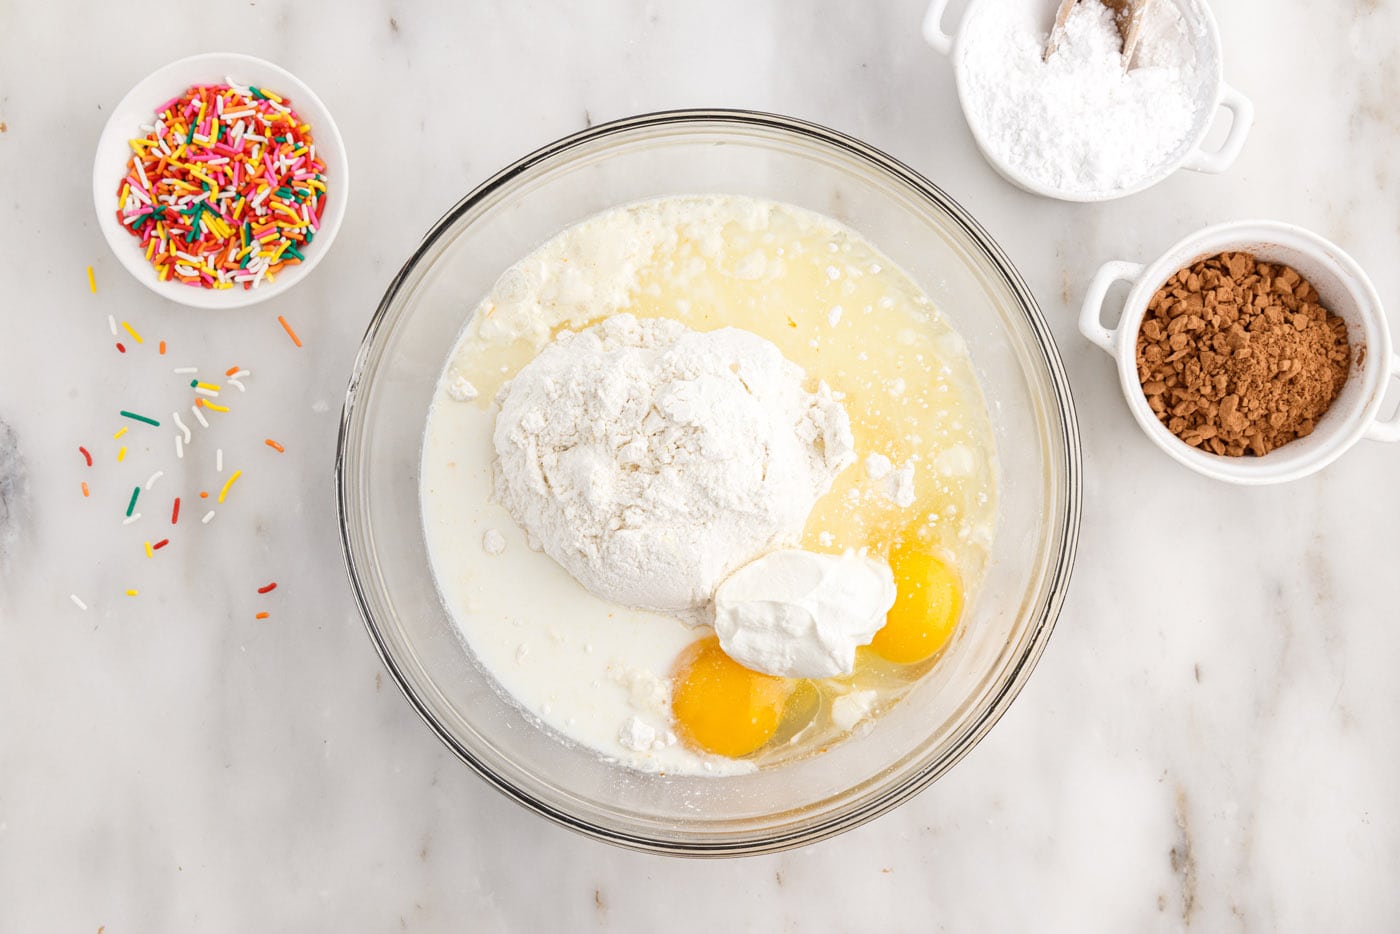
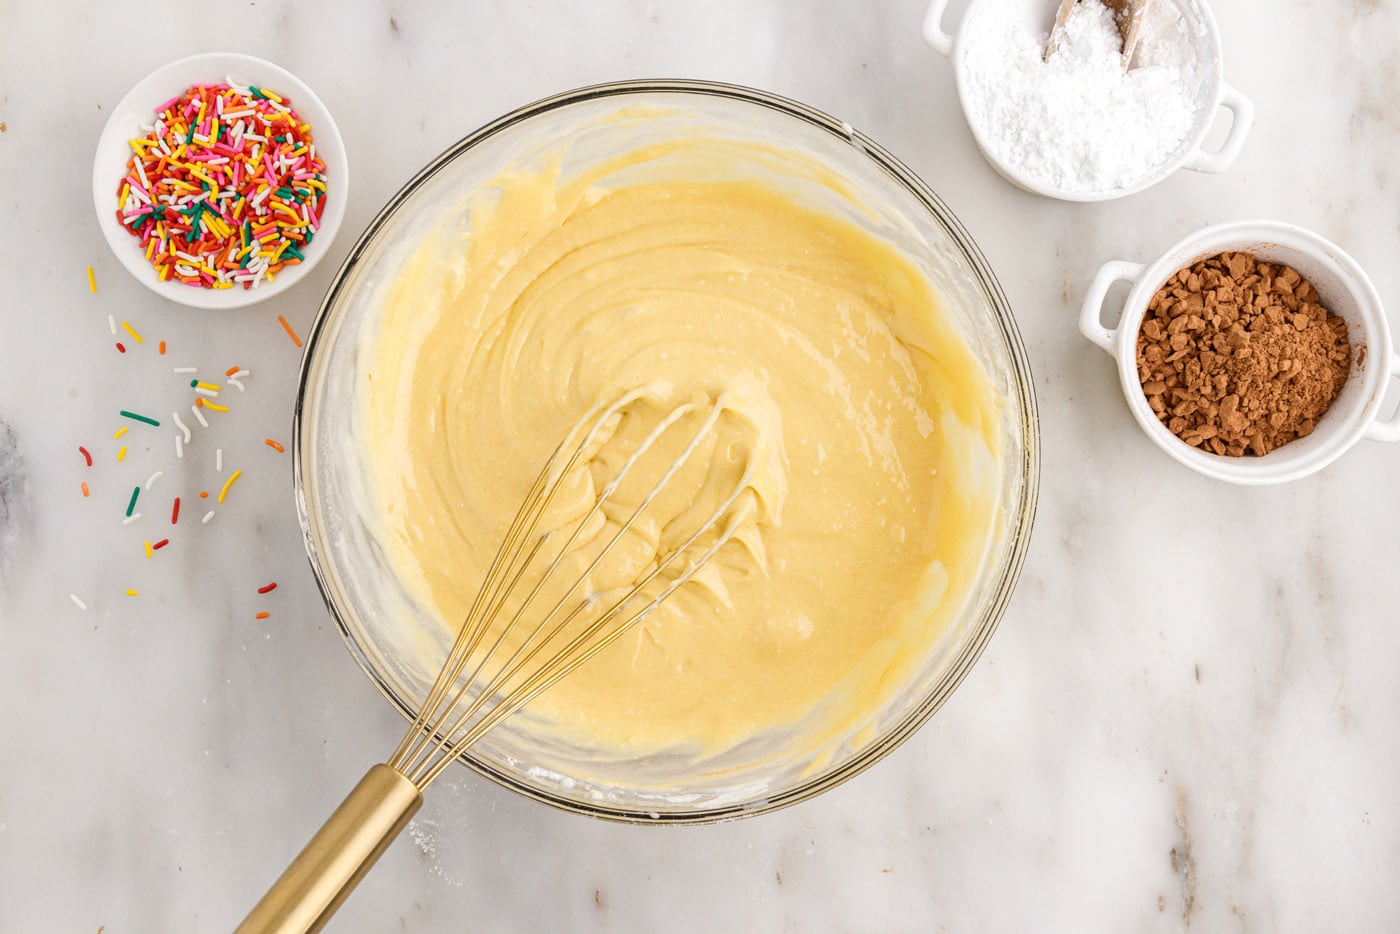
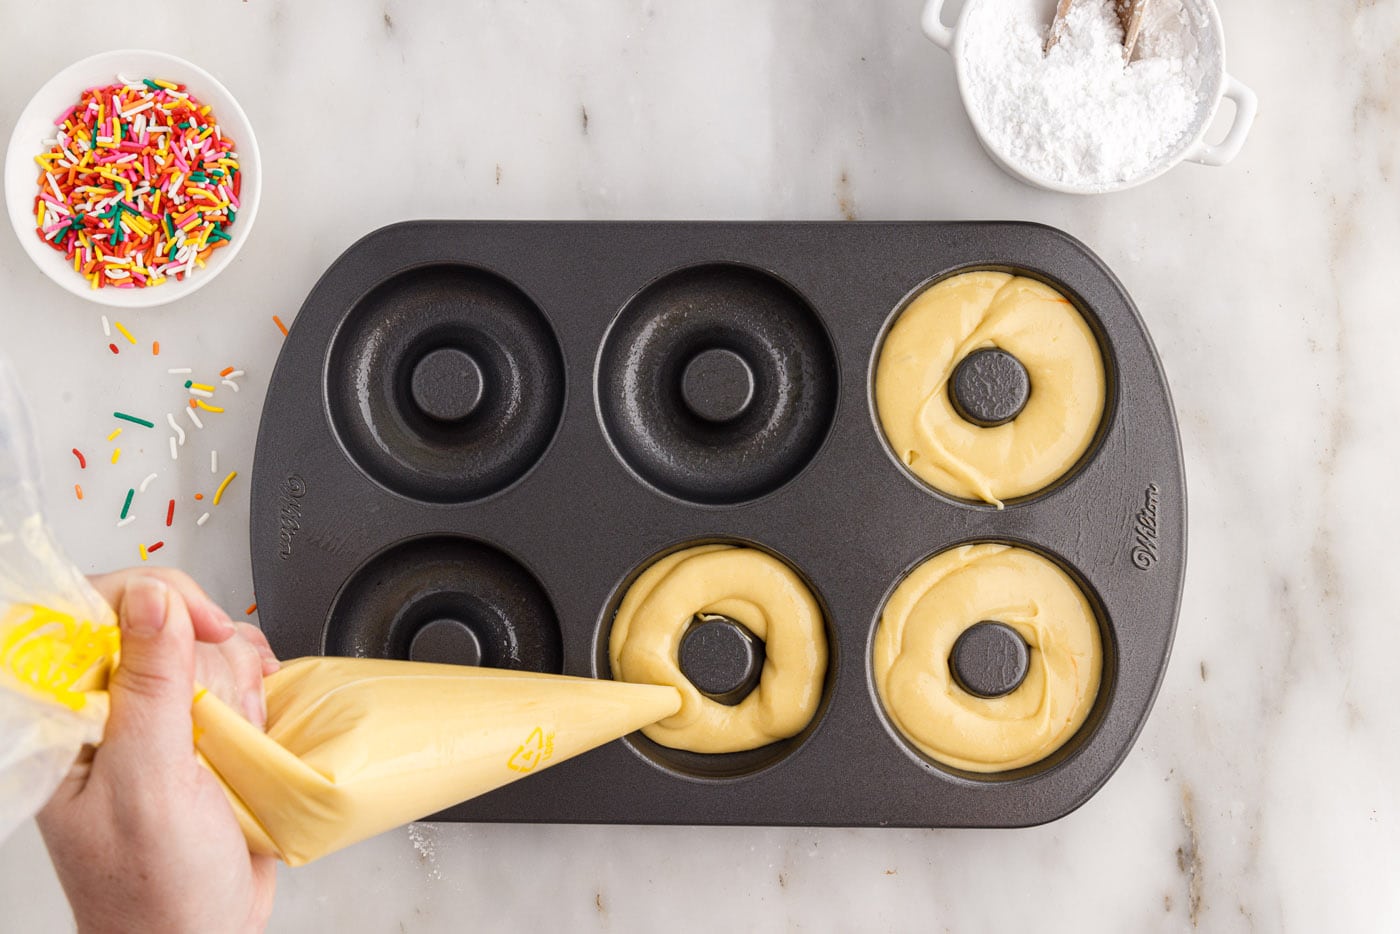
- Transfer batter to a piping bag.
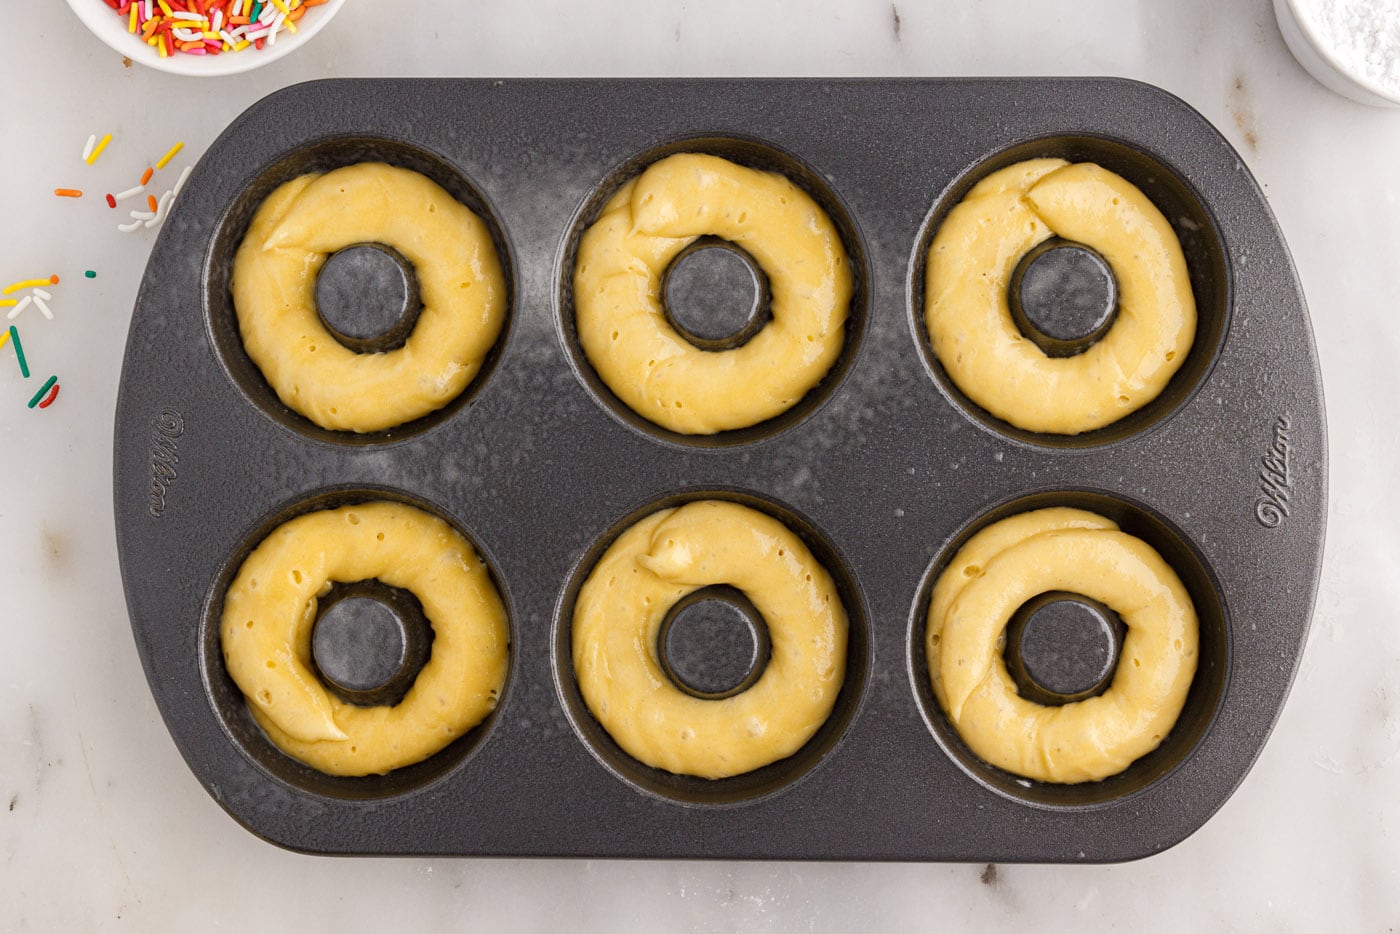
EXPERT TIP – If you don’t have a piping bag, simply add the batter to a large ziptop bag and snip off the corner. - Spray a donut pan with non-stick baking spray (the kind with flour works best). Pipe a ring of batter into each donut cavity. Do not fill each cavity more than 1⁄2 full.
- Bake donuts for 10 minutes, until puffed and just beginning to turn golden.
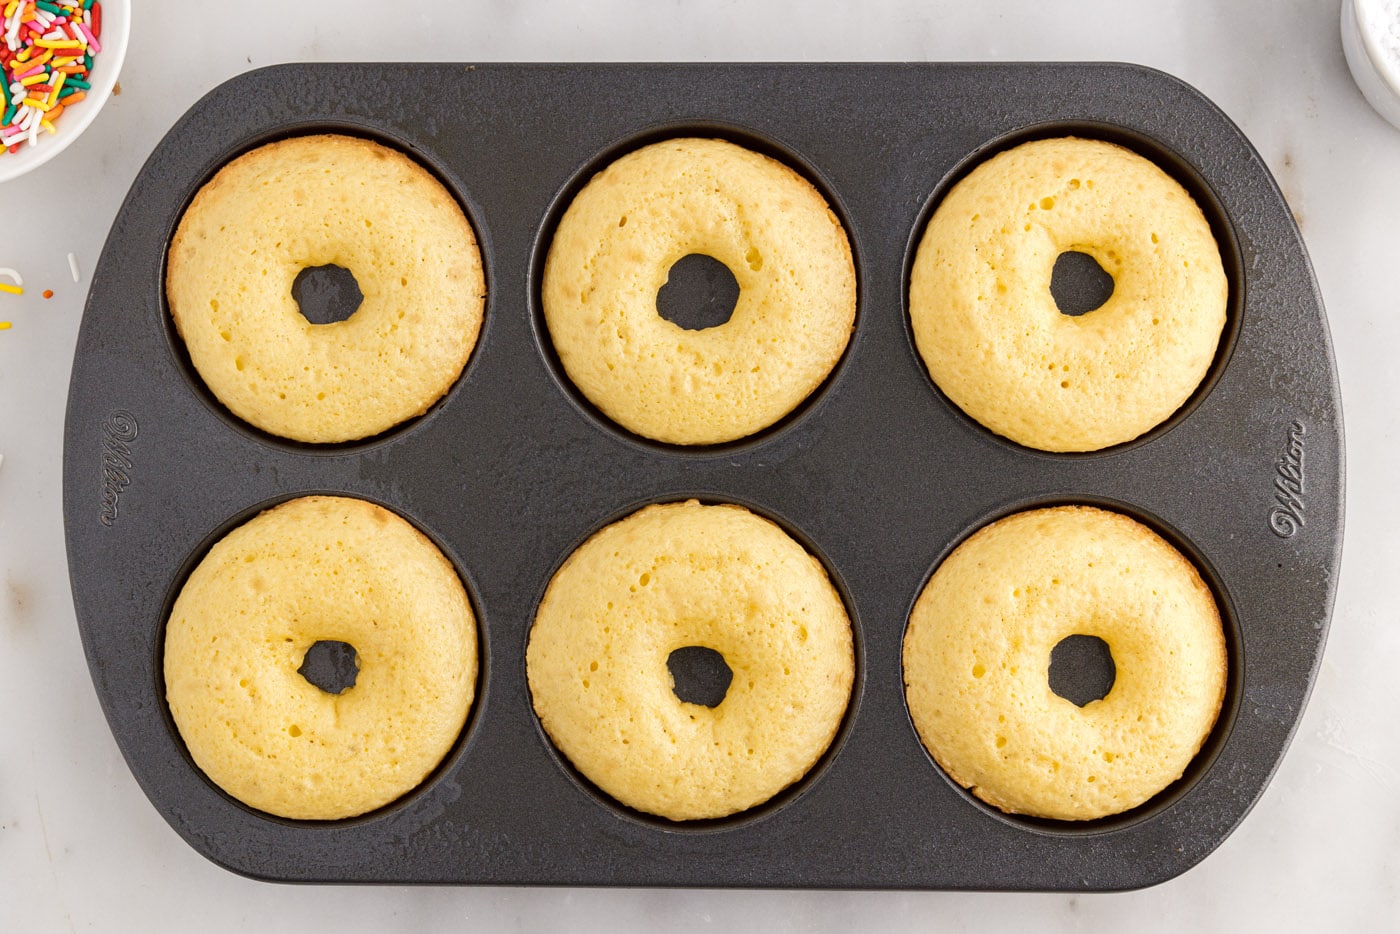
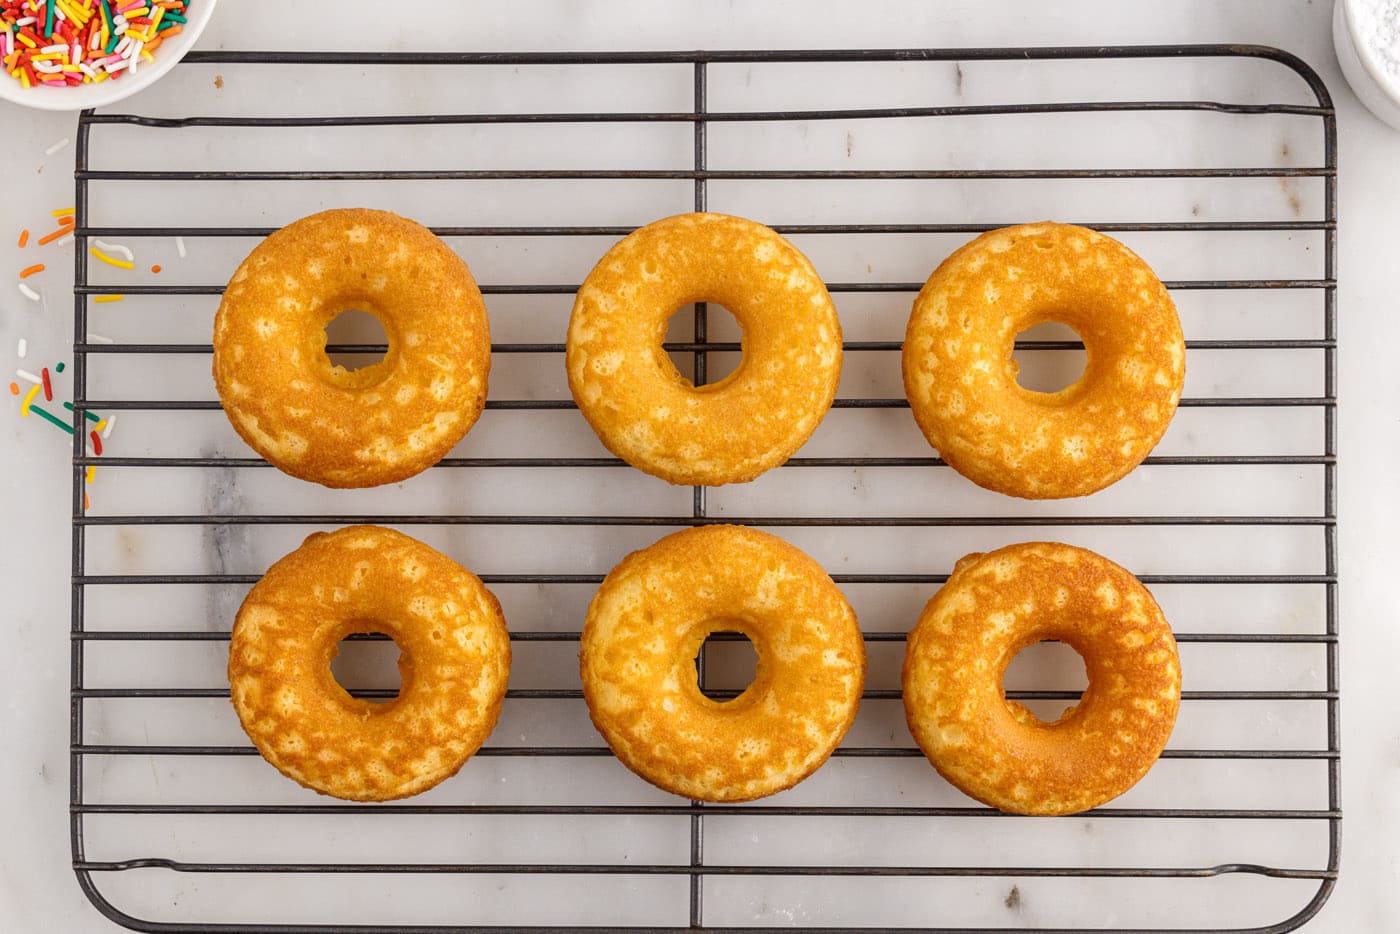
- Remove from oven and turn out onto a cooling rack. Continue baking batches of donuts.
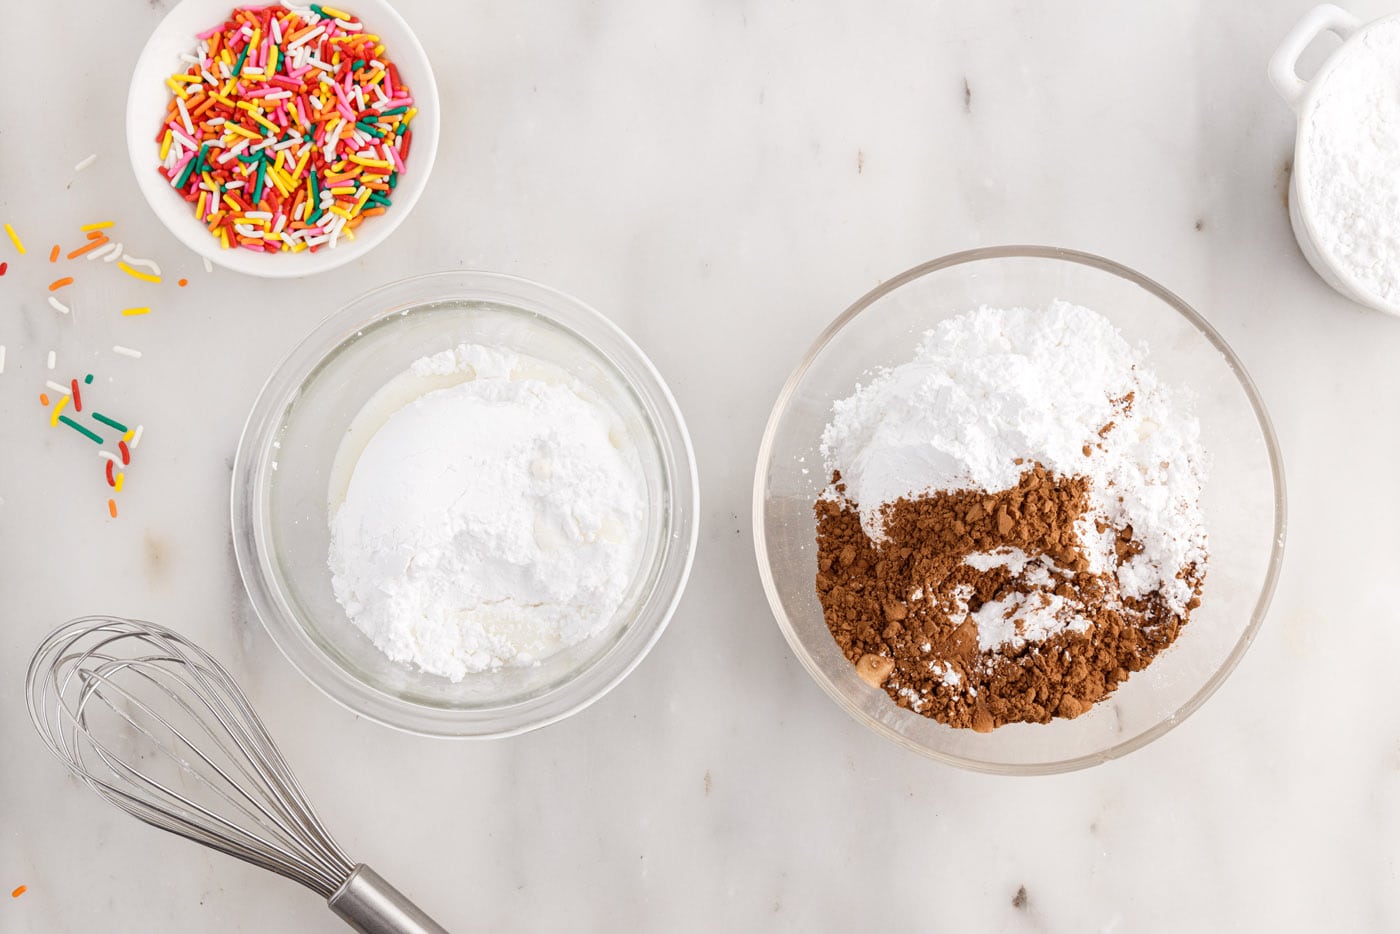
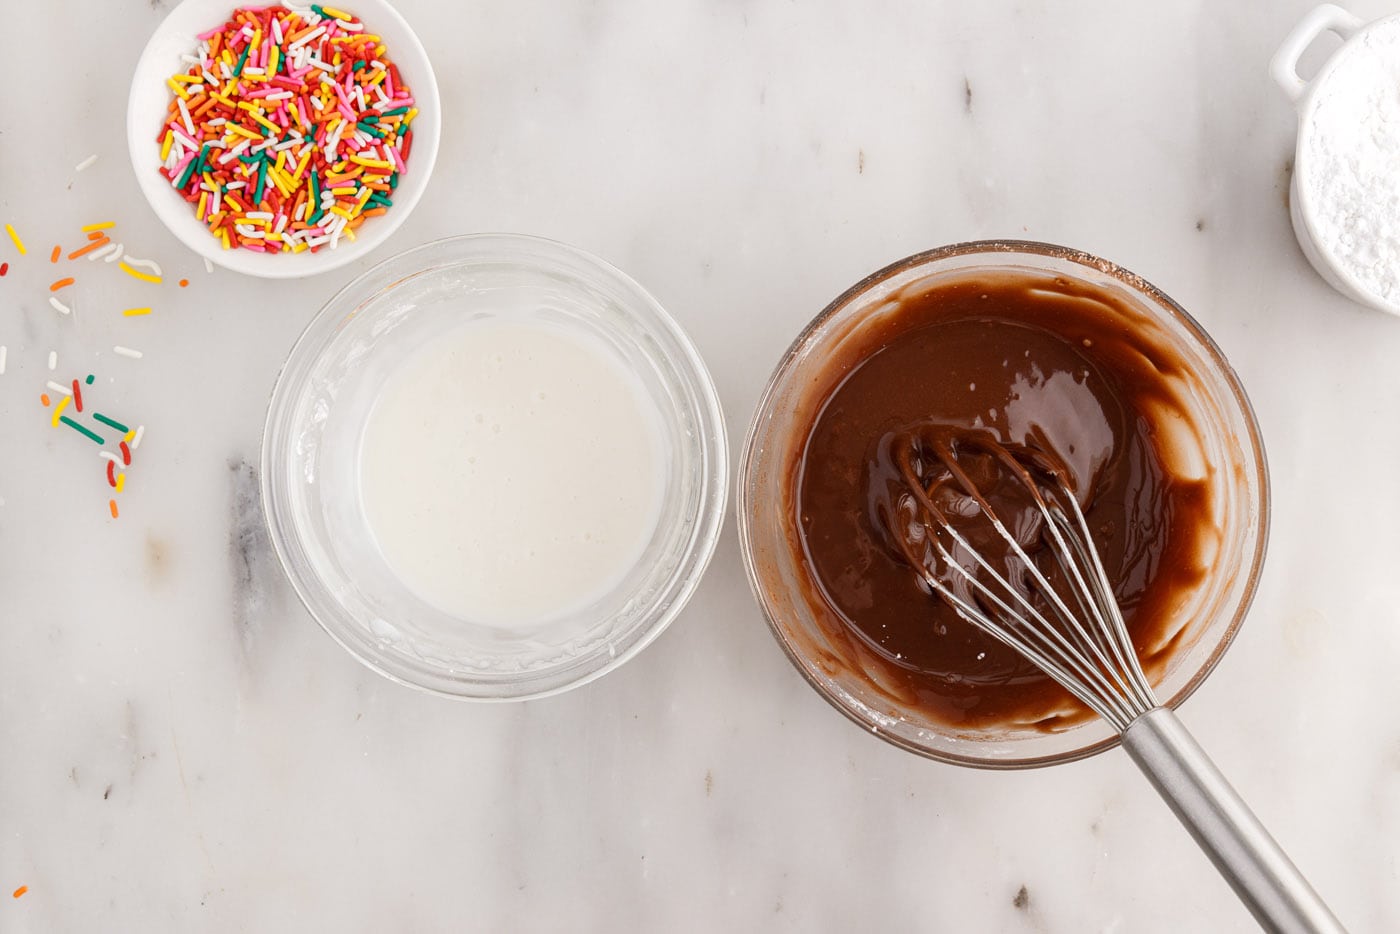
- Prepare the glaze by whisking together powdered sugar, milk, and cocoa powder, if using.
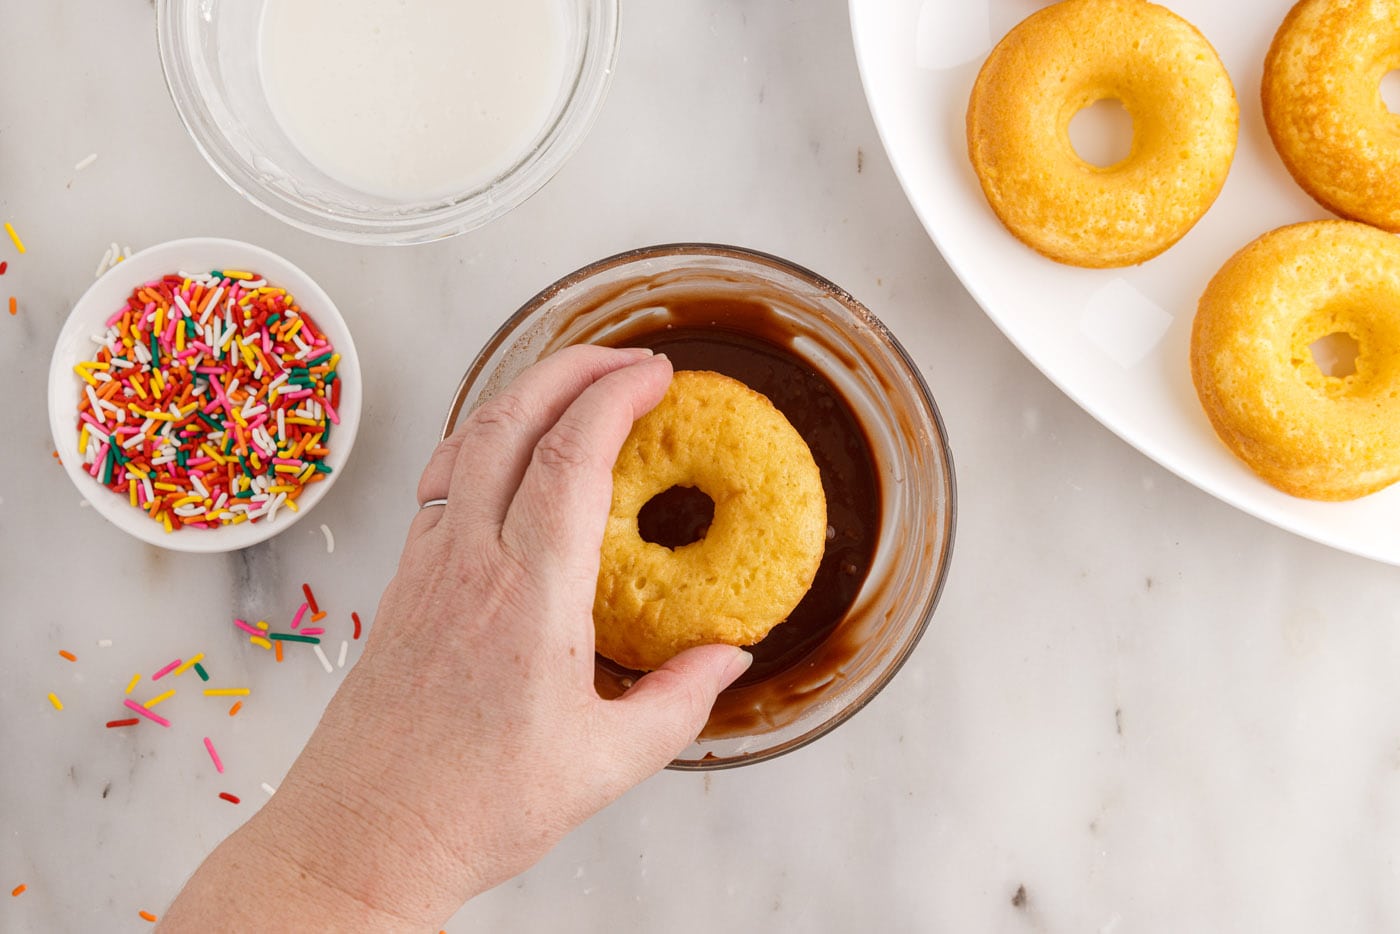
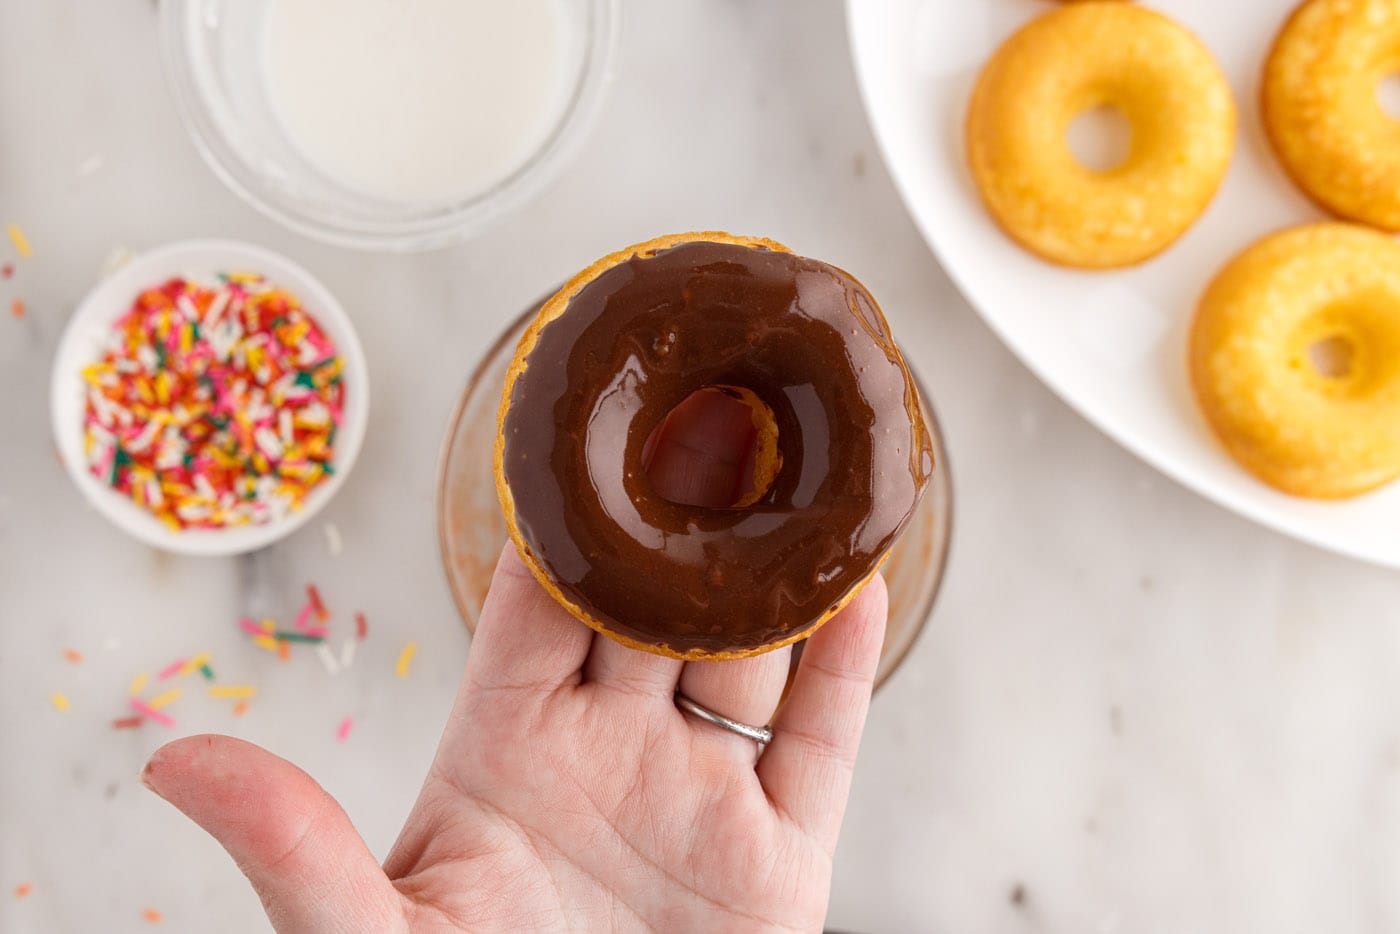
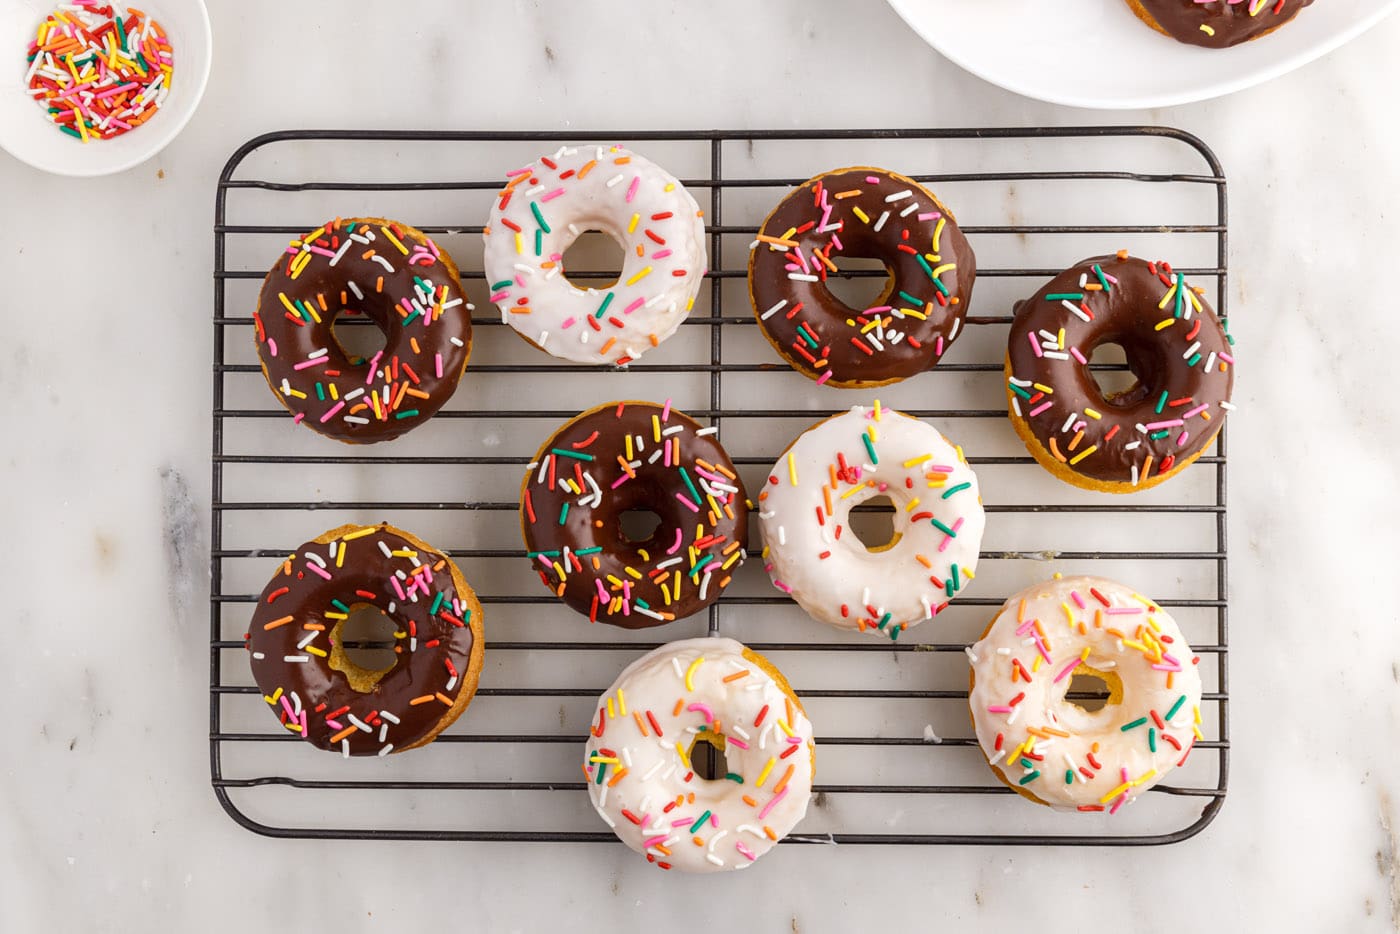
- Dip the smoothest side of the donut into the glaze, allowing some excess to drip off and then place on a cooling rack or platter. Decorate immediately with sprinkles before the glaze sets.
Frequently Asked Questions & Expert Tips
Store cake mix donuts in a single layer in an airtight container kept at room temperature for 2-3 days.
Yes, absolutely! You can substitute the yellow cake mix with strawberry, funfetti, lemon, chocolate, or a white cake mix.

Serving Suggestions
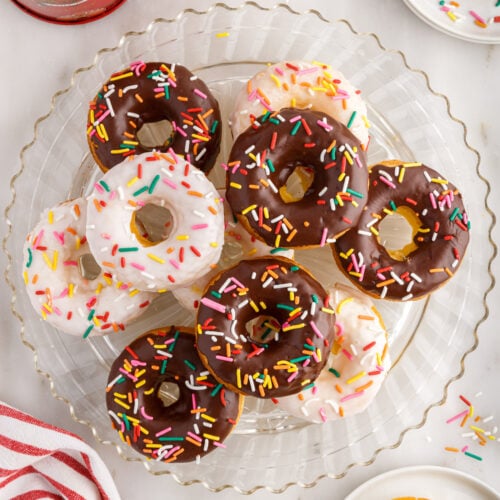
We’ve included both a chocolate and vanilla glaze recipe below for you to top your cake mix donuts with. If you’d rather not top with a glaze, enjoy them as-is or sprinkle with cinnamon sugar. Optionally garnish with a rainbow of sprinkles or color-coordinate with holidays or themed parties with specific sprinkles. Enjoy at room temperature.
If you’re on a donut kick, check out our air fryer donuts, lemon baked donuts, and peanut butter and jelly donuts for more inspiration.
More Cake Mix Recipes
I love to bake and cook and share my kitchen experience with all of you! Remembering to come back each day can be tough, that’s why I offer a convenient newsletter every time a new recipe posts. Simply subscribe and start receiving your free daily recipes!
Cake Mix Donuts
IMPORTANT – There are often Frequently Asked Questions within the blog post that you may find helpful. Simply scroll back up to read them!
Print It Rate ItIngredients
- 15.25 ounce yellow cake mix unprepared. dry mix only
- ¼ cup vegetable oil
- ¾ cup whole milk
- 2 large eggs
- ½ cup sour cream
Chocolate Glaze
- 1 ½ cups powdered sugar
- 2 Tablespoons milk 2-3 tablespoons
- 3 Tablespoons unsweetened cocoa powder
Vanilla Glaze
- 1 ½ cups powdered sugar
- 2 Tablespoons milk 2-3 tablespoons
Things You’ll Need
Before You Begin
- If you don’t have a piping bag, simply add the batter to a large ziptop bag and snip off the corner.
- The donuts rise quite a bit in the oven. If the cavities are filled too full, they will spill over the tops and make an odd shape. Keep the batter under the halfway point of the cavity so that when they rise, they make an equally cute donut shape on both halves.
- Allow the donuts to cool slightly before dipping them in the glaze. If the glaze is too thick, it may be difficult to dip the donut in and lift it out without it breaking. If necessary, you can also drizzle the glaze over the tops of the donuts.
- The glaze will set dry to the touch after 5-10 minutes. Be sure to add the sprinkles immediately after dipping/glazing so that they stick.
- Store donuts in a single layer in an airtight container kept at room temperature for 2-3 days.
Instructions
- Preheat the oven to 350°F.
- In a large mixing bowl, whisk together the dry cake mix, oil, milk, eggs, and sour cream until fully combined.
- Transfer batter to a piping bag.
- Spray a donut pan with non-stick baking spray (the kind with flour works best). Pipe a ring of batter into each donut cavity. Do not fill each cavity more than 1⁄2 full.
- Bake donuts for 10 minutes, until puffed and just beginning to turn golden.
- Remove from oven and turn out onto a cooling rack. Continue baking batches of donuts.
- Prepare the glaze by whisking together powdered sugar, milk, and cocoa powder, if using.
- Dip the smoothest side of the donut into the glaze, allowing some excess to drip off and then place on a cooling rack or platter. Decorate immediately with sprinkles before the glaze sets.
Nutrition
Lindsay Formaro
Latest posts by Lindsay Formaro (see all)
- Mini Candy Corn Cheesecakes - October 3, 2024
- Cake Mix Cookie Bars - August 8, 2024
- Lasagna Soup - February 26, 2024


Marne says
These are delicious! My Grandkids luv to make them!