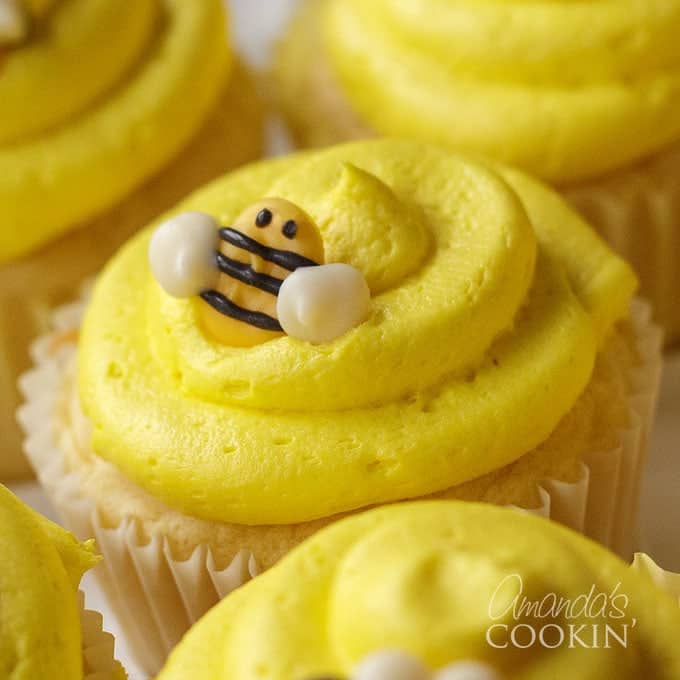
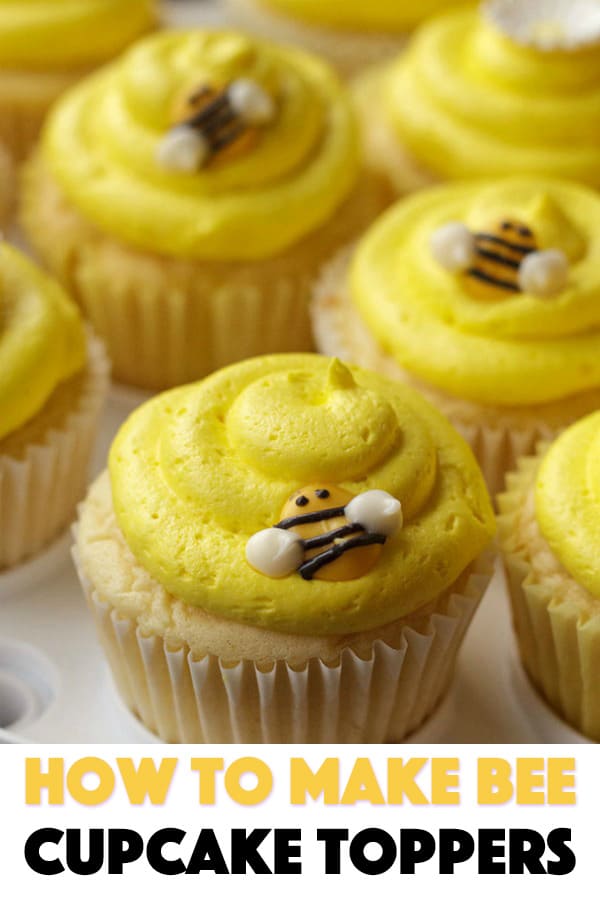
Recently my daughter, Kristen helped throw a bridal shower for her friend, Lynette. Lynette loves bees and has all sorts of keepsakes and decorative bee items. So Kristen knew she wanted to make pretty, yellow frosted bee cupcakes with sweet little bee cupcake toppers.
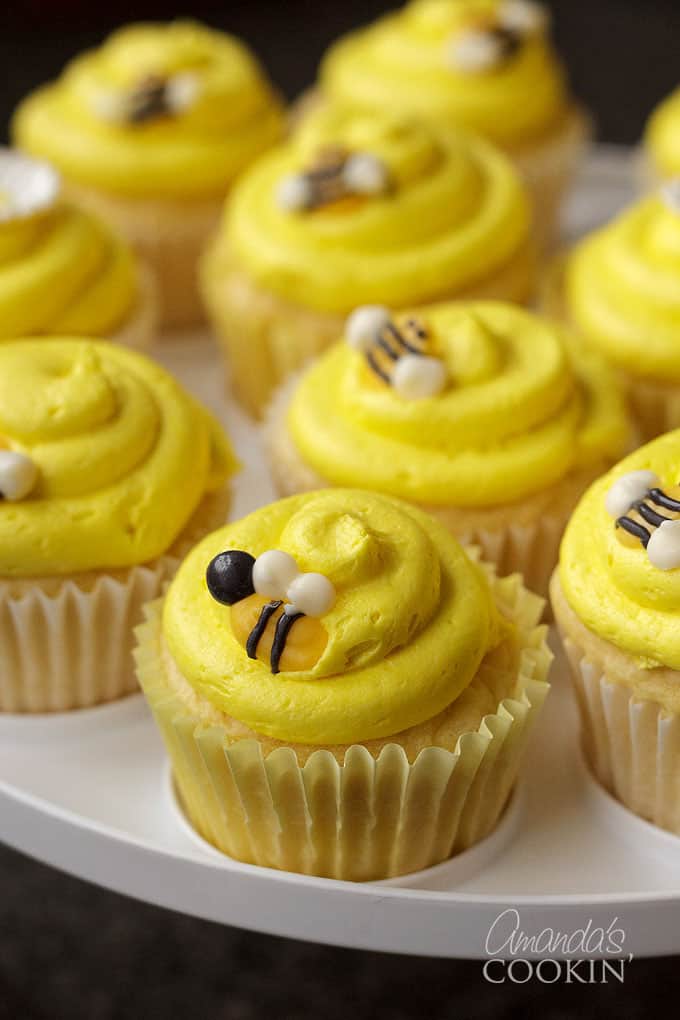
Homemade Bee Cupcake Toppers
Weeks earlier Kristen had seen some cute, edible bee cupcake toppers at JoAnns, and had also seen some at Walmart. Her oven isn’t the most reliable, so the day before the shower she was headed to my house to make the cupcakes.
I received a frantic phone call from her saying she couldn’t find the cupcake toppers anywhere. She had been to four different stores and was really upset. But I knew we could make them ourselves!
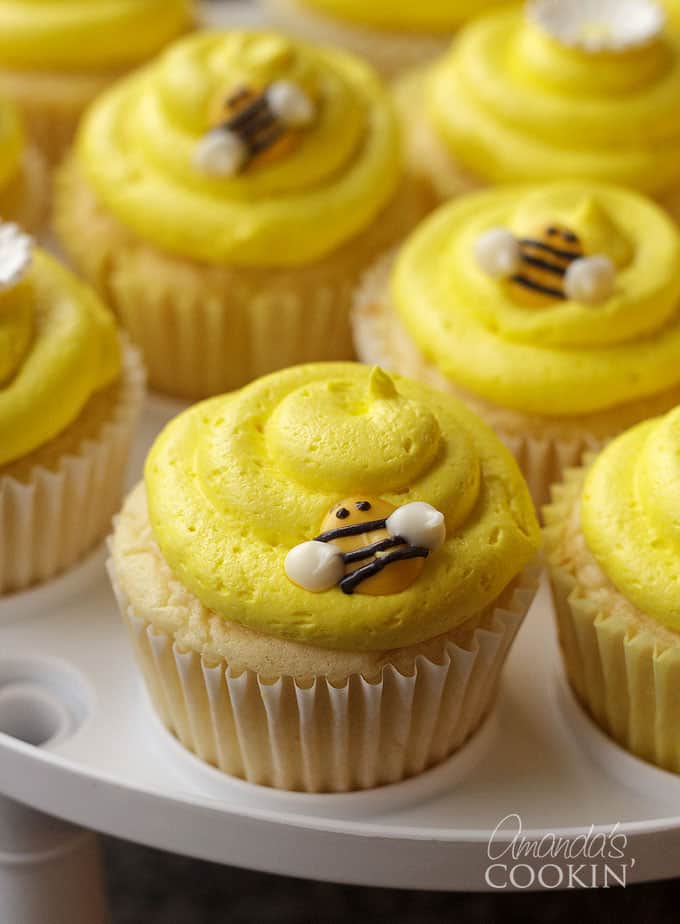
How to Make Bee Cupcake Toppers
Luckily I still had yellow and white candy melts from a previous party, so Kristen only had to grab a bag of black ones. I did use a piping bag and cake decorating tip, but you could get away with using a plastic bag instead. In fact, I used a plastic zipper-top bag with a tiny snip off the corner to add the black bee stripes and eyes.
Supplies you will need:
- Waxed paper
- Cutting board
- Piping bags and coupler
- Wilton #1A tip (for icing)
- Wilton #7 tip (for bodies and wings)
- 2 gallon-sized plastic zip top bags (for stripes, eyes, etc)
- Scissors
- Candy melts – yellow, white, black
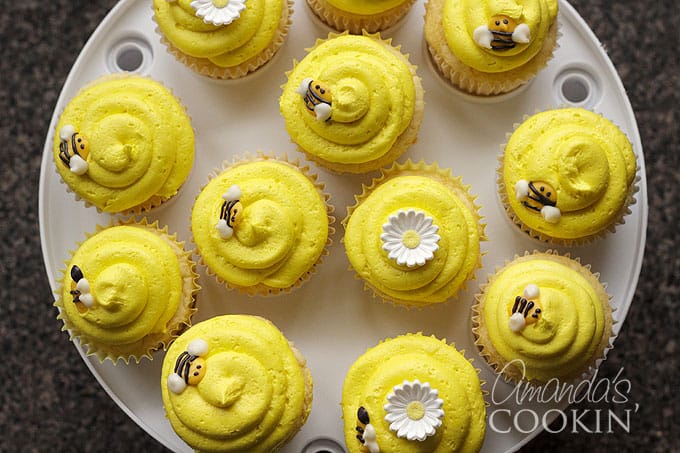
Creating your bee cupcake toppers:
Let me start by saying that I am not a cake decorator. That is truly an art, one that I have the utmost respect for. The talent running through a cake decorator’s fingers is amazing! I winged it in an “emergency” situation and think they came out great. Kristen was happy and everyone at the shower loved them. I consider that a win!
Prep the surface:
- Use a big cutting board so you can move your bee toppers around if you need to.
- Cover the cutting board with a sheet of waxed paper.
Make the bee bodies:
- Place the #7 tip on the piping bag using a coupler.
- Add a handful of yellow candy melts to the piping bag and close the open end of the bag, a rubber band or plastic clip works great.
- Place bag with candy melts into the microwave and heat on full power for 30-second intervals, massaging the bag in between heating sessions until candy is completely melted.
- Pipe circles and/or ovals onto the waxed paper for the bee bodies.
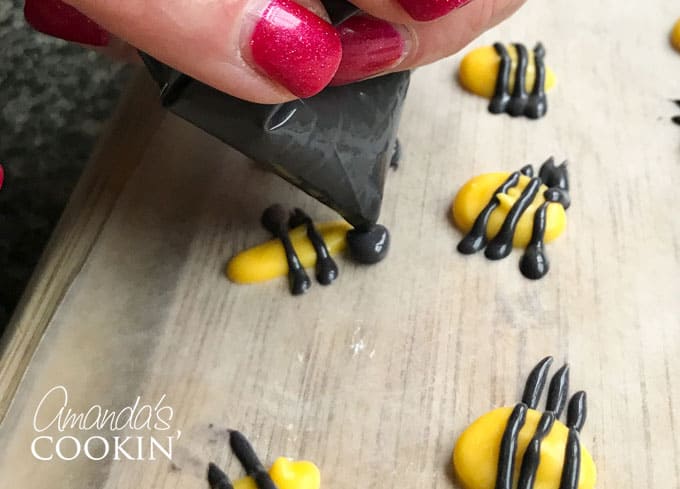
Adding stripes, eyes and heads:
There are two different bee shapes. The ovals are a side-view bee with a round black head. The round bees are an overhead view with two little eyes.
- Add a handful of black candy melts to a gallon zip top bag, do not zip the bag shut.
- Place bag with candy melts into the microwave* and heat on full power for 30-second intervals, massaging the bag in between heating sessions until candy is completely melted.
- Use scissors to snip a tiny corner off the bag.
- Pipe stripes across the bee bodies.
- Add two eyes to one end of the round bodies.
- Cut the hole a little bit bigger and add a circle for a head to one end of the oval body.
- Once the melted candy has set, gently break off the stripes that extend past the body edges.
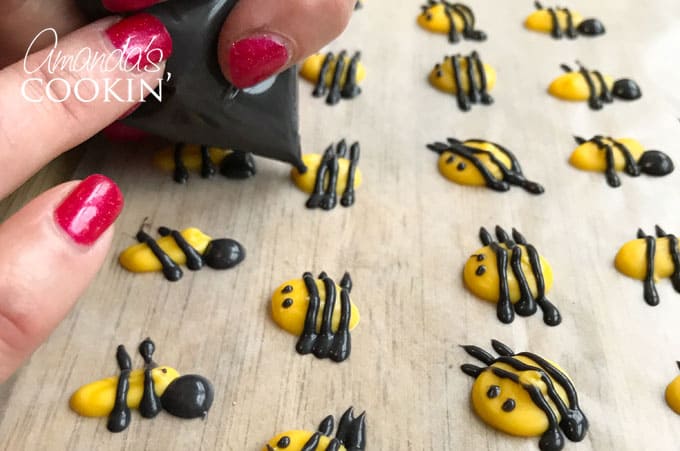
*I did not have any issues/problems with the plastic bag in the microwave. If you prefer, you can melt the candy in a glass bowl and then use a rubber spatula to transfer the melted candy to the plastic bag afterward.
Add wings to the bees:
- Place the #7 tip on the piping bag using a coupler.
- Add a handful of white candy melts to the piping bag and close the open end of the bag, a rubber band or plastic clip works great.
- Place bag with candy melts into the microwave and heat on full power for 30-second intervals, massaging the bag in between heating sessions until candy is completely melted.
- Add two small circles to the oval bodies, intersecting with the head so they all stick together.
- Add a circle to each side of the round bodies.
- Allow melted candy to set completely before lifting from waxed paper.
Hint: By the time you are done piping the last bee, the first bee should be dry and ready, assuming you made more than 10.
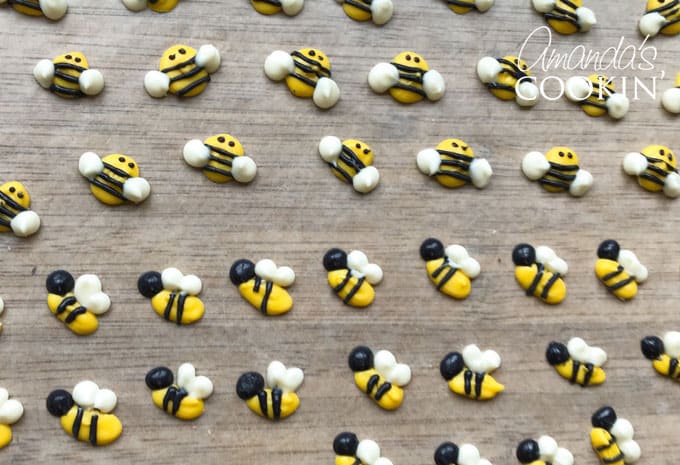
These are one of the designs I was inspired by. I can’t seem to find the other one anymore.
For the cupcakes and icing:
You can use any of our cake and cupcake recipes that you like. You can also use a cake mix! However, this white cake recipe has always been one of my favorites.
For the yellow buttercream frosting:
- 1 cup unsalted butter, softened
- 3 cups powdered sugar, sifted
- 2-3 tablespoons heavy whipping cream
- 1 teaspoon pure vanilla extract
- Yellow gel food coloring
- Beat butter in a mixer until creamy.
- With mixer on low speed, slowly add in the powdered sugar, increasing speed until the mixture comes together.
- When mixture starts to come together, add in 2 tablespoons of the cream and the vanilla extract.
- Beat on medium high speed for 1 minute then add in 1/4 teaspoon of the yellow gel food coloring.
- Continue mixing to see how bright the yellow is. If you want more, add more until you achieve the color you want.
- Scrape down bowl and beat frosting one more minute until completely homogenous.
- Only add the 3rd tablespoon of cream if you feel it needs it.
Icing the Cupcakes:
- Scoop the yellow frosting into a piping bag that has been fitting with a coupler and #1A tip.
- Starting from the outer edge of the cupcake, pipe a tube of icing around the cupcake.
- Continue working the circle into the center of the cupcake.
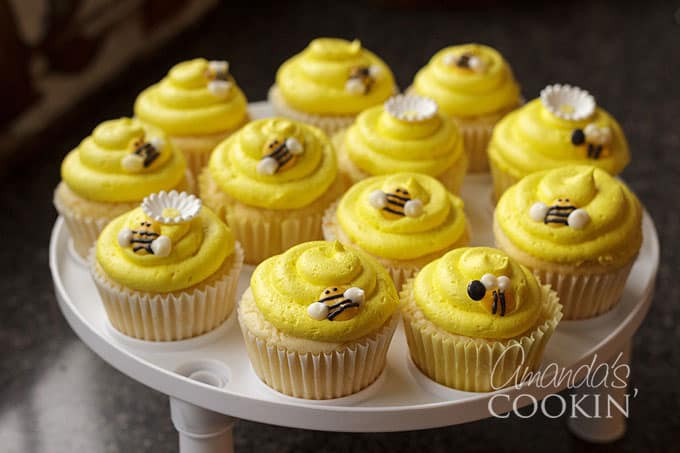
- Decorate with your homemade bee cupcake toppers!
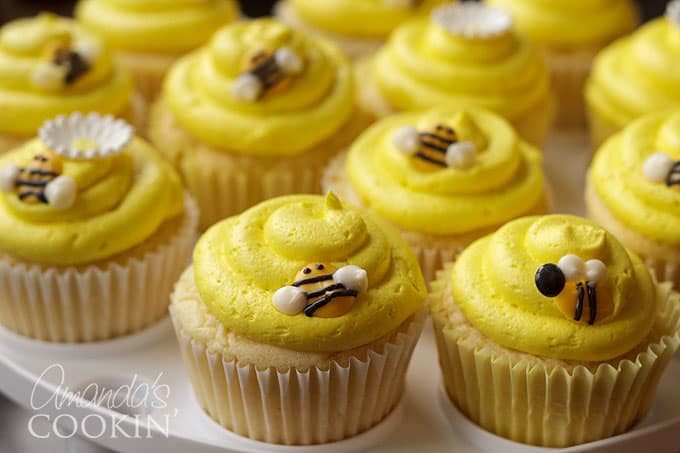
I have to say a great big thank you to my dear friend Meaghan of The Decorated Cookie. She answered so many of my questions via text message and was such a big help!! Be sure to check out her adorable Bee Chocolate Pops too!
If you like cute food, be sure to check out my heart shaped cupcakes (perfect for Valentine’s Day!) and my Bunny Butt Cupcakes for Easter!
Amanda Davis
Latest posts by Amanda Davis (see all)
- Watergate Salad - November 21, 2024
- Sweet Potato Pie - November 18, 2024
- Roasted Turkey - November 14, 2024


iza says
they look great and are delicious