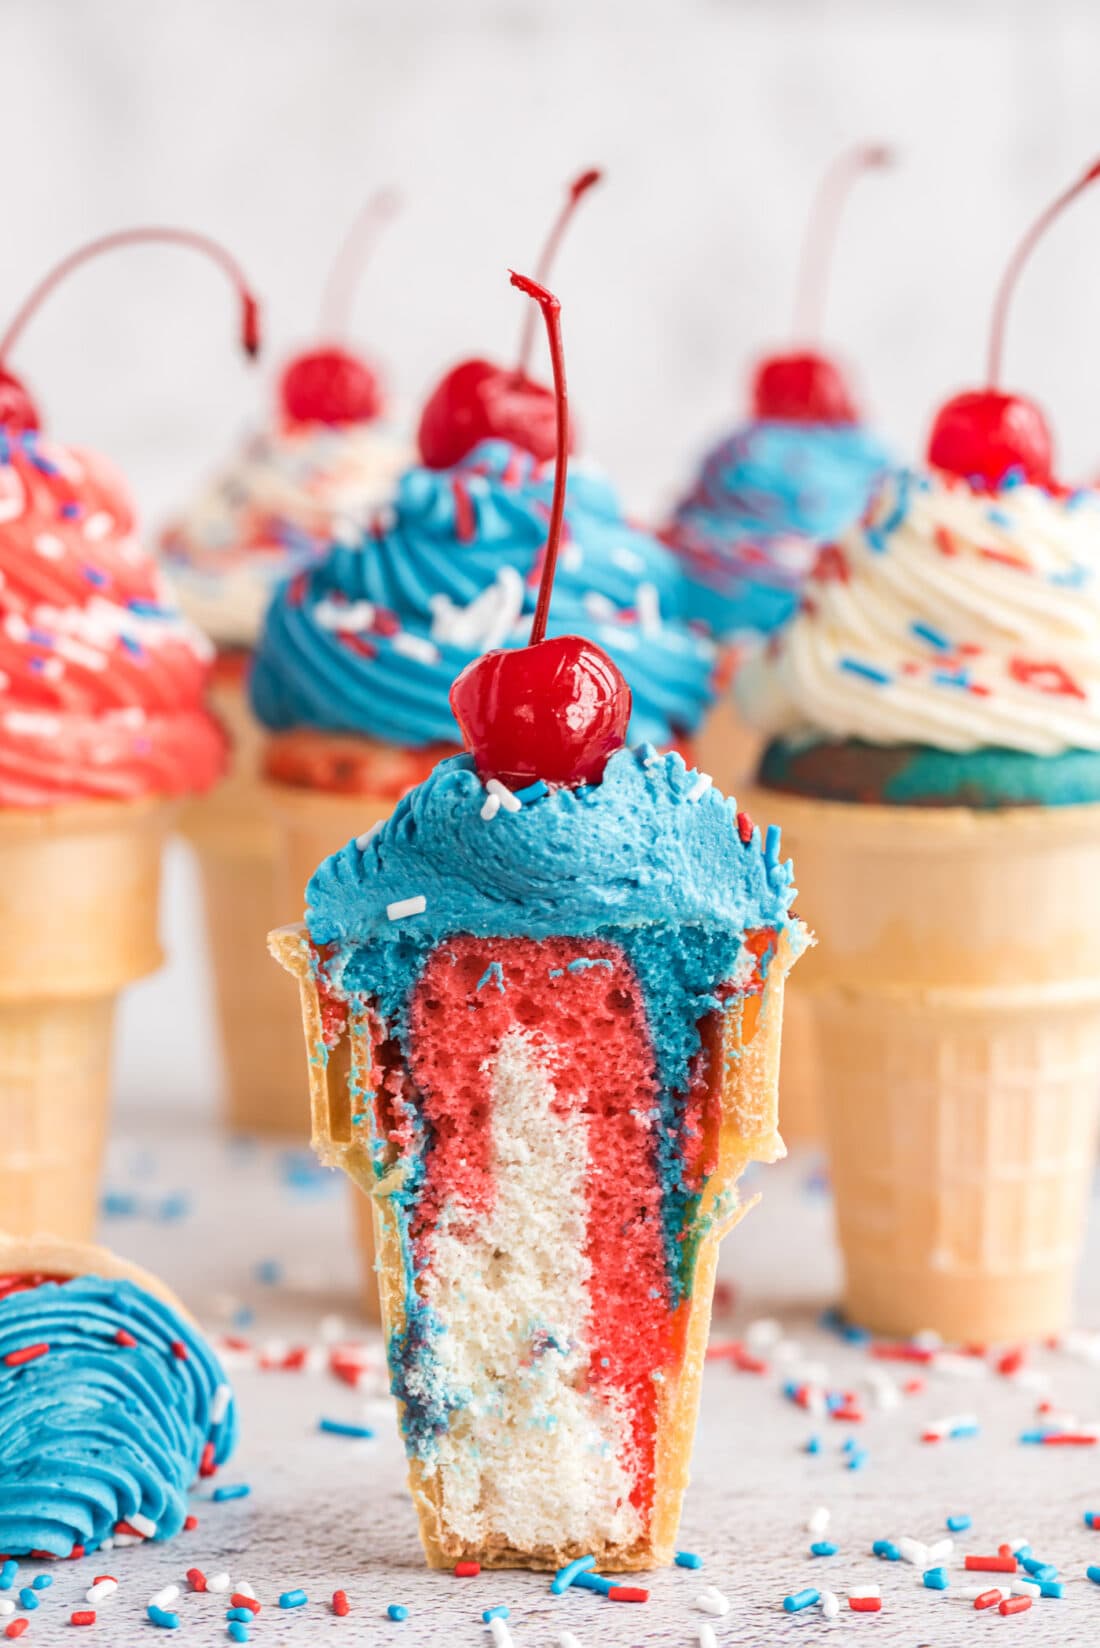
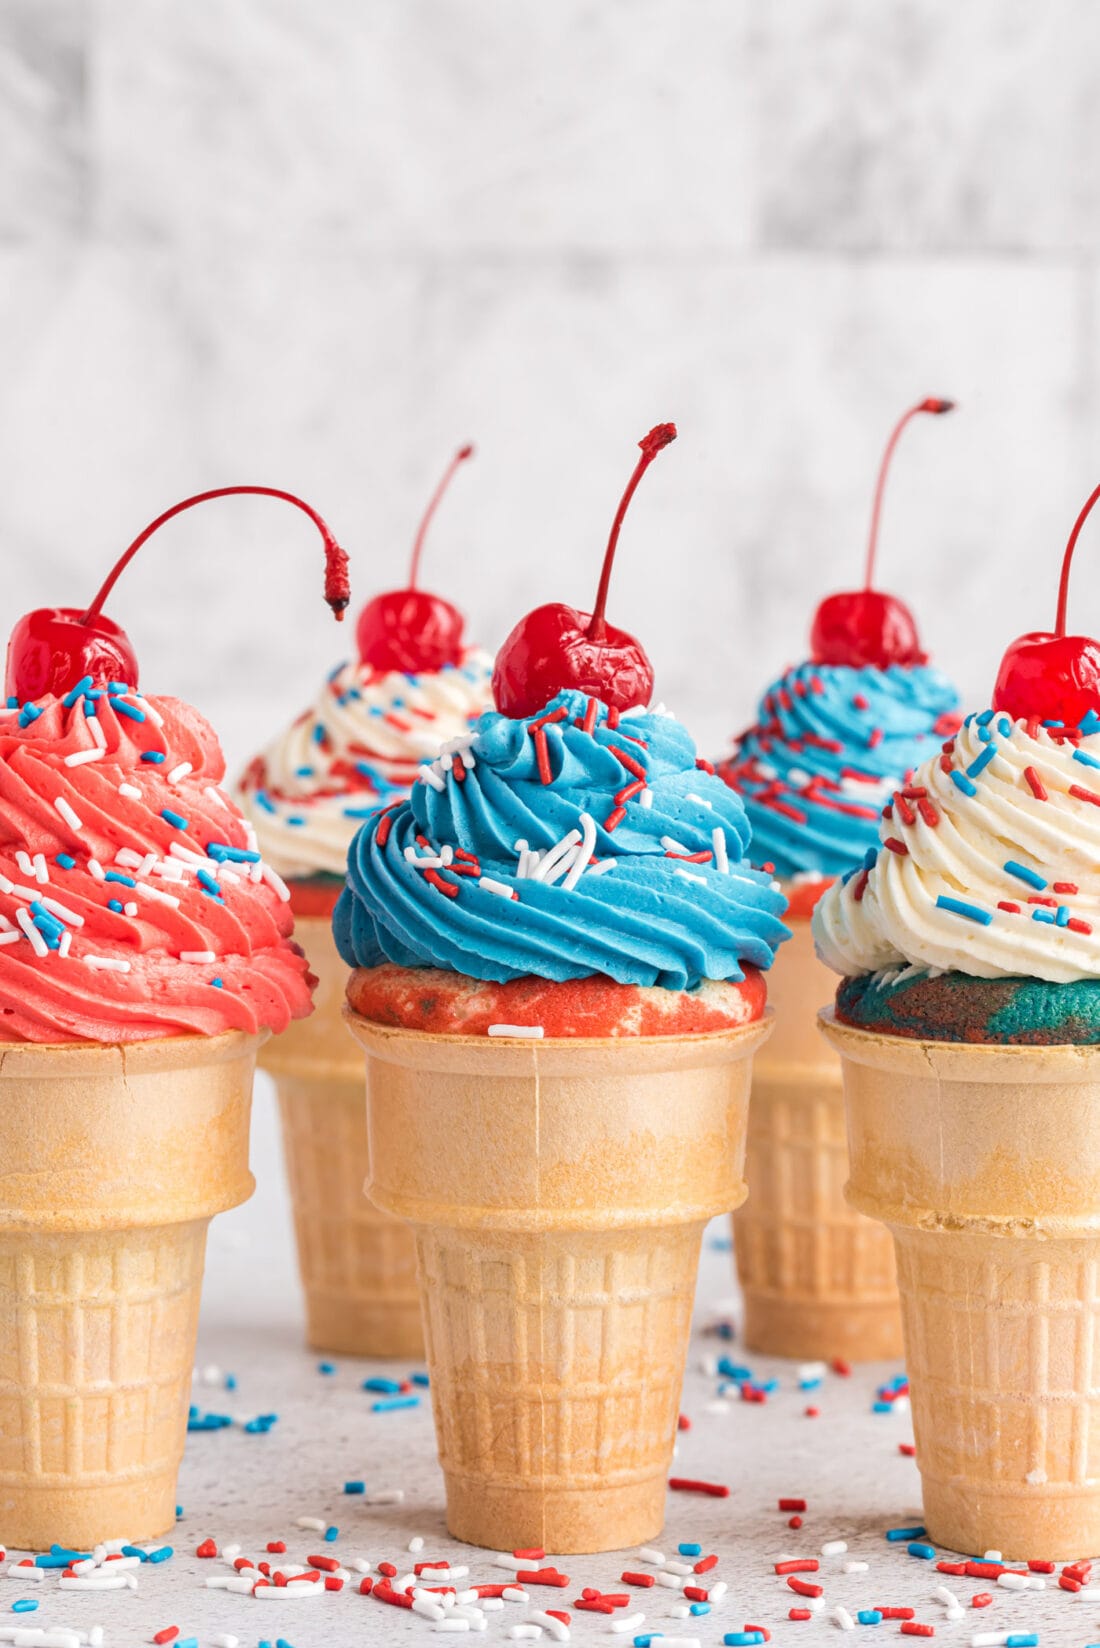
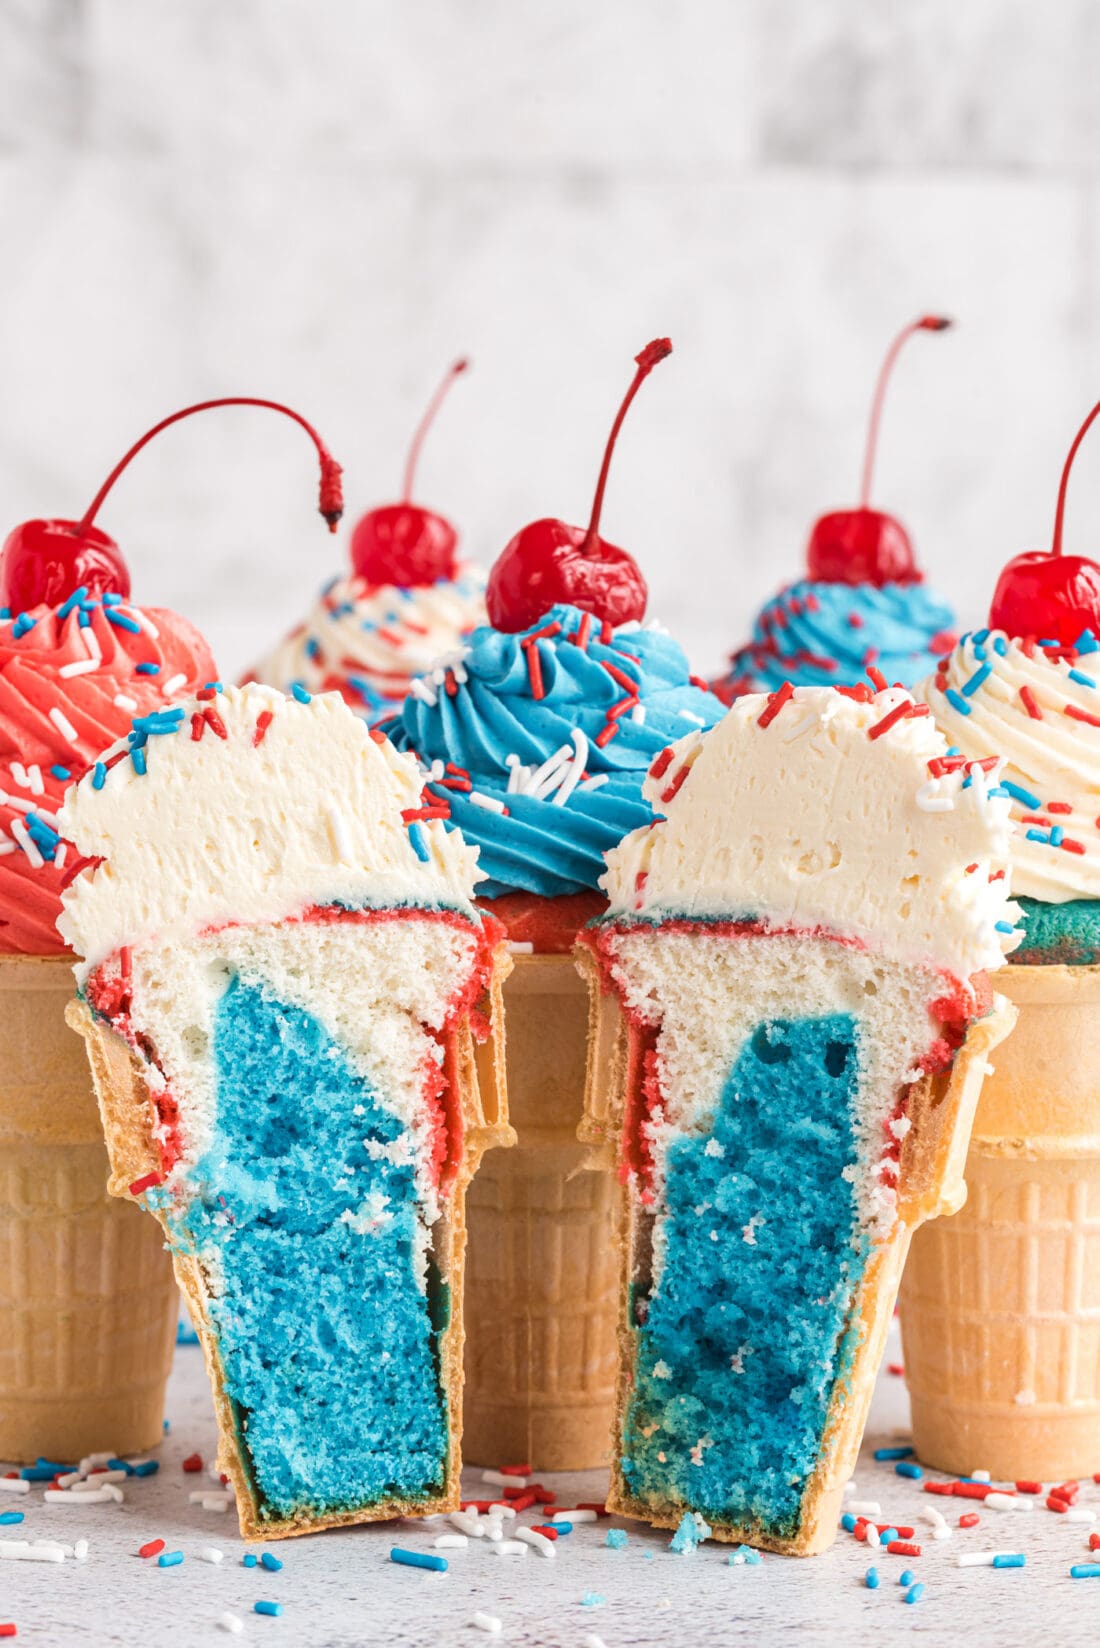
Layers of red, white, and blue cake baked inside an ice cream cone and topped with fluffy buttercream frosting make these patriotic ice cream cone cupcakes a showstopping dessert for your 4th of July celebrations!
Why this recipe works
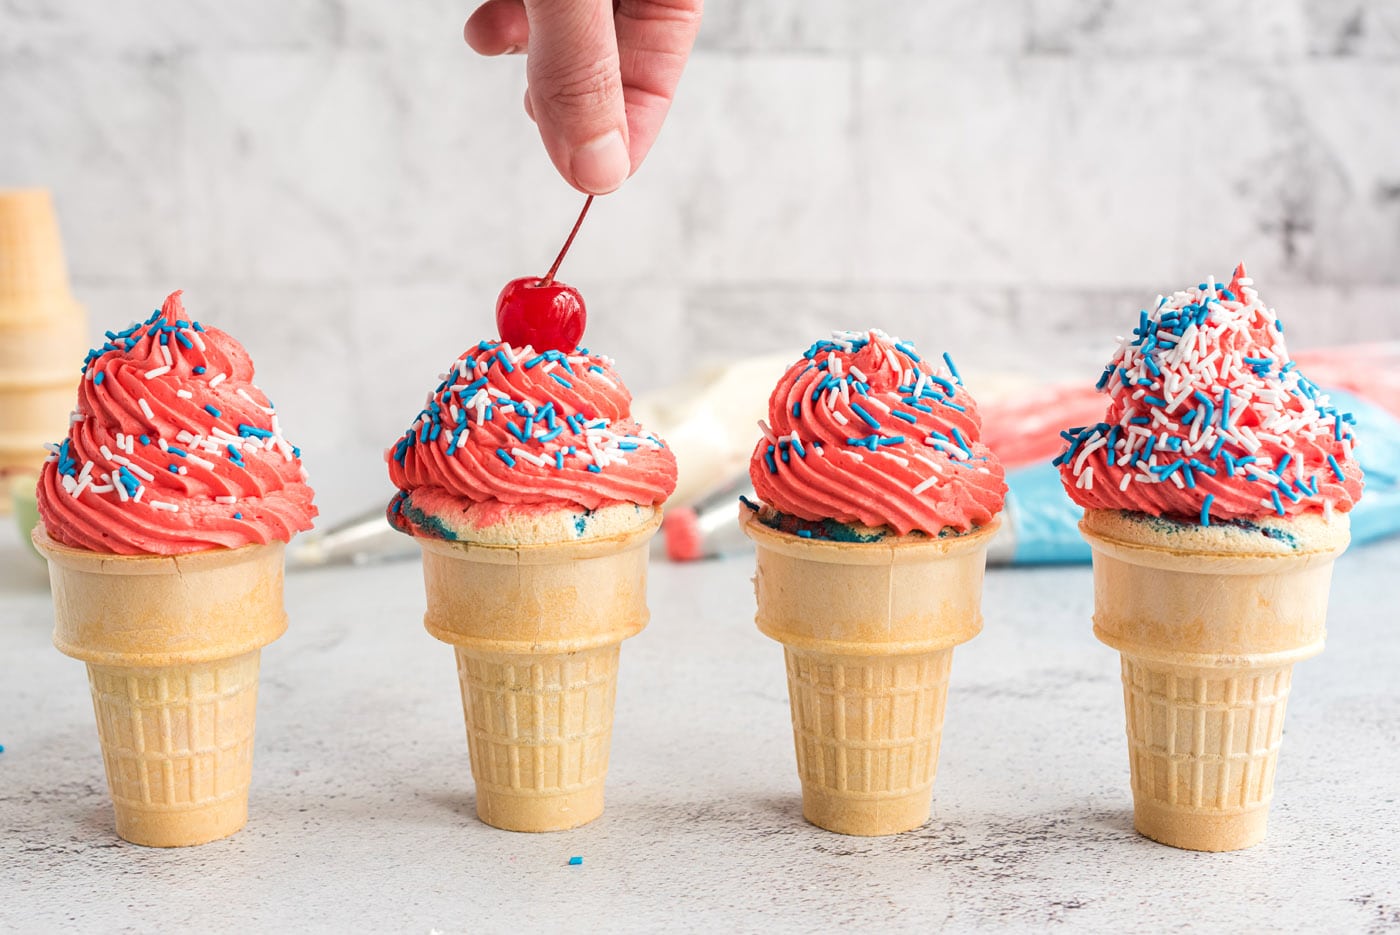
How fun are these patriotic ice cream cone cupcakes? Pillowy buttercream frosting is piped on top of colorful red, white, and blue cake in a cone to mimic the look of sweet soft serve ice cream. And what ice cream isn’t complete without sprinkles and a cherry?
Though they might look difficult, they are really quite straightforward to make with a boxed cake mix, food coloring, and a simple homemade buttercream frosting. However, they will take a bit of time to prep because you’ll be separating them into portions to add color. Otherwise, they’re easy enough for anyone to tackle and definitely impressive to everyone that sees them.
Ingredients you will need
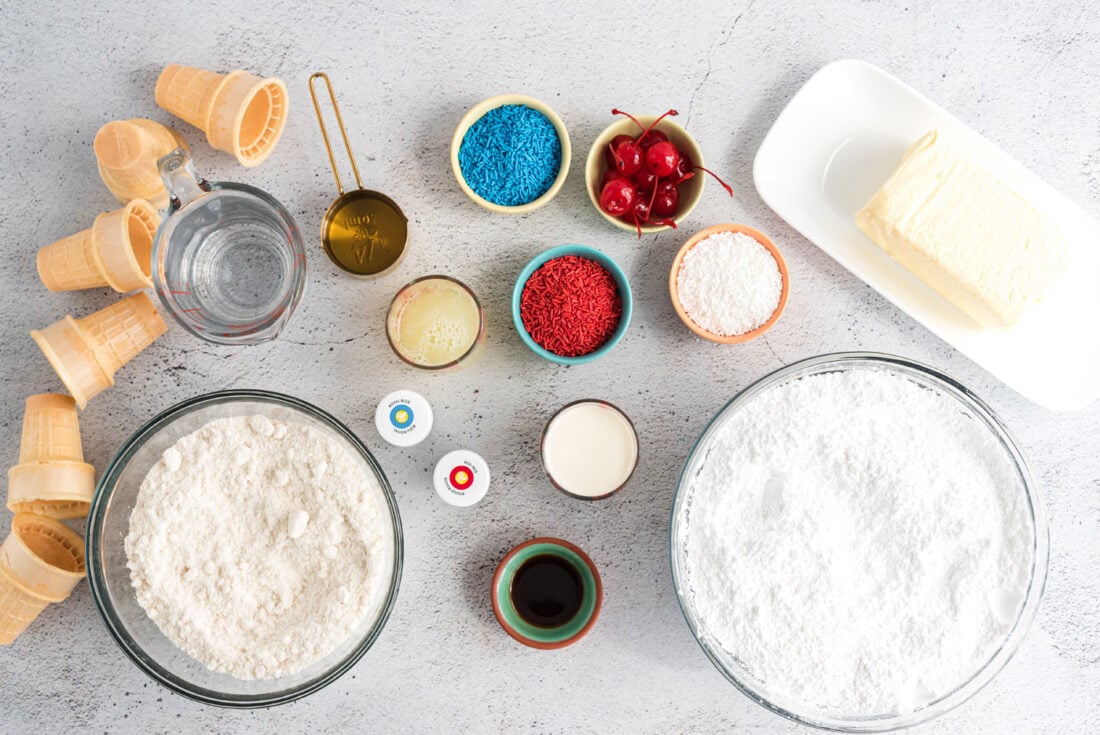
Get all measurements, ingredients, and instructions in the printable version at the end of this post.
Ingredient Info and Substitution Suggestions
CAKE – To save a lot of time and even more prep, grab a box of white cake mix. You will also need the ingredients listed on the back of your particular cake mix box. I highly recommend white cake over yellow or other flavors, as it’ll show the colors better – plus, you want that white layer to actually look white. If you prefer to make it homemade, check out my classic white cake recipe.
CONES – Grab cake cones (ice cream cone cups) for this recipe. You can sometimes find them in different colors, the brand Joy carries them and they are called Joy color cone cups which come in a pack of red, blue, and purple cones. However, because the cake is already so colorful, regular ice cream cone cups do the trick wonderfully.
FOOD COLOR – Use gel food coloring, not liquid food color. Gel food color will produce more vibrant colors.
How to Make Patriotic Ice Cream Cone Cupcakes
These step by step photos and instructions are here to help you visualize how to make this recipe. You can Jump to Recipe to get the printable version of this recipe, complete with measurements and instructions at the bottom.
- Preheat oven to 350F.
- Prepare the dry cake mix according to package instructions.
- Separate the cake batter into 3 equal bowls. Add a small amount of red food coloring to one bowl, and a small amount of blue food coloring to another, leaving one of the bowls plain.
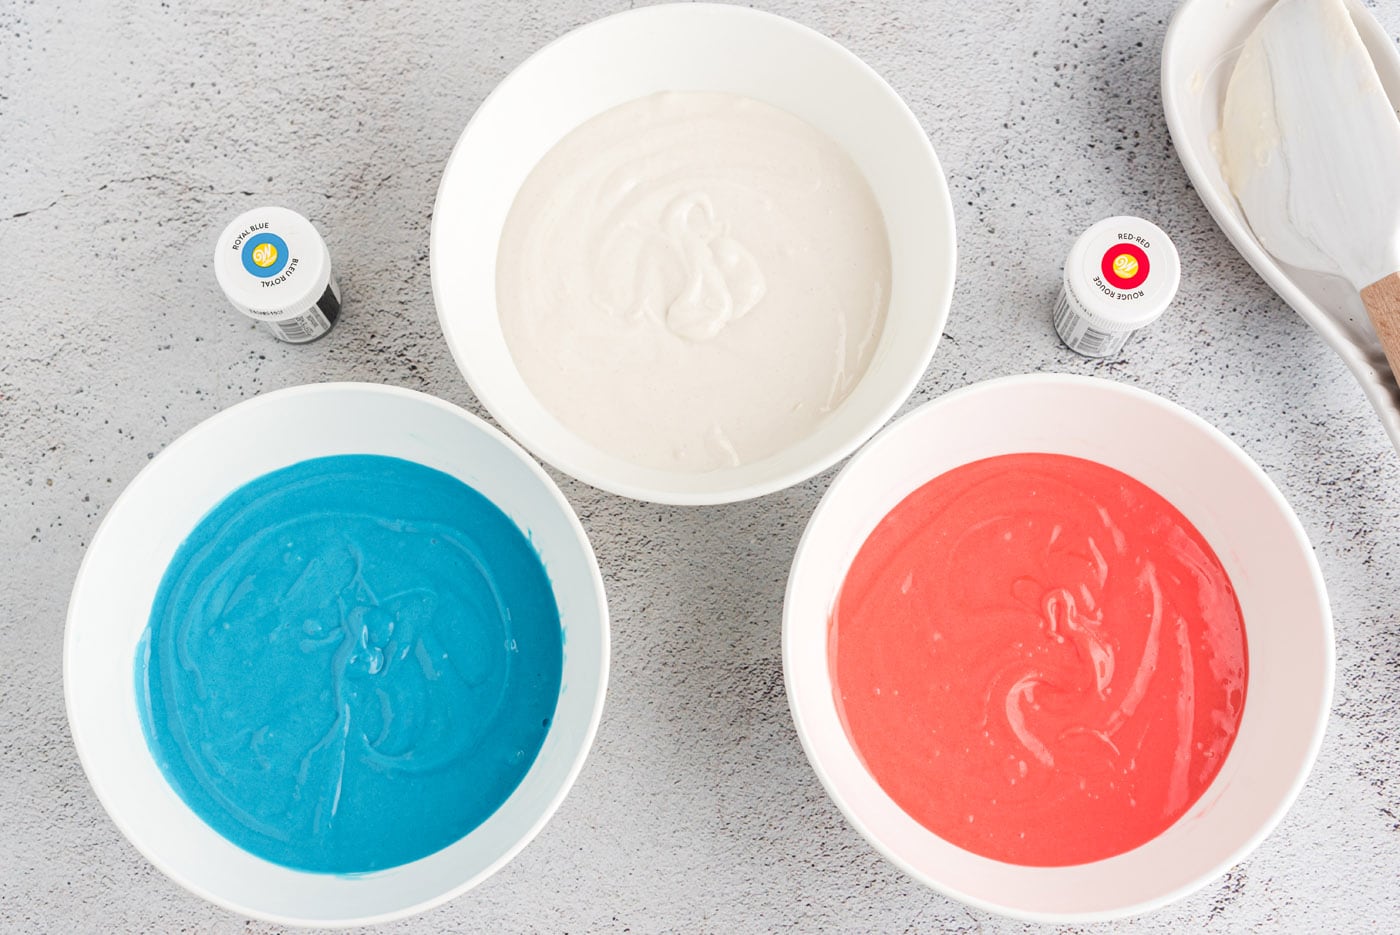
- Place cake cones into a cupcake pan. Alternating between colors, pour the batter into your ice cream cones filling until they are about 3/4 full. It’s easiest to add the batter into piping bags or ziptop baggies with the corners snipped off.
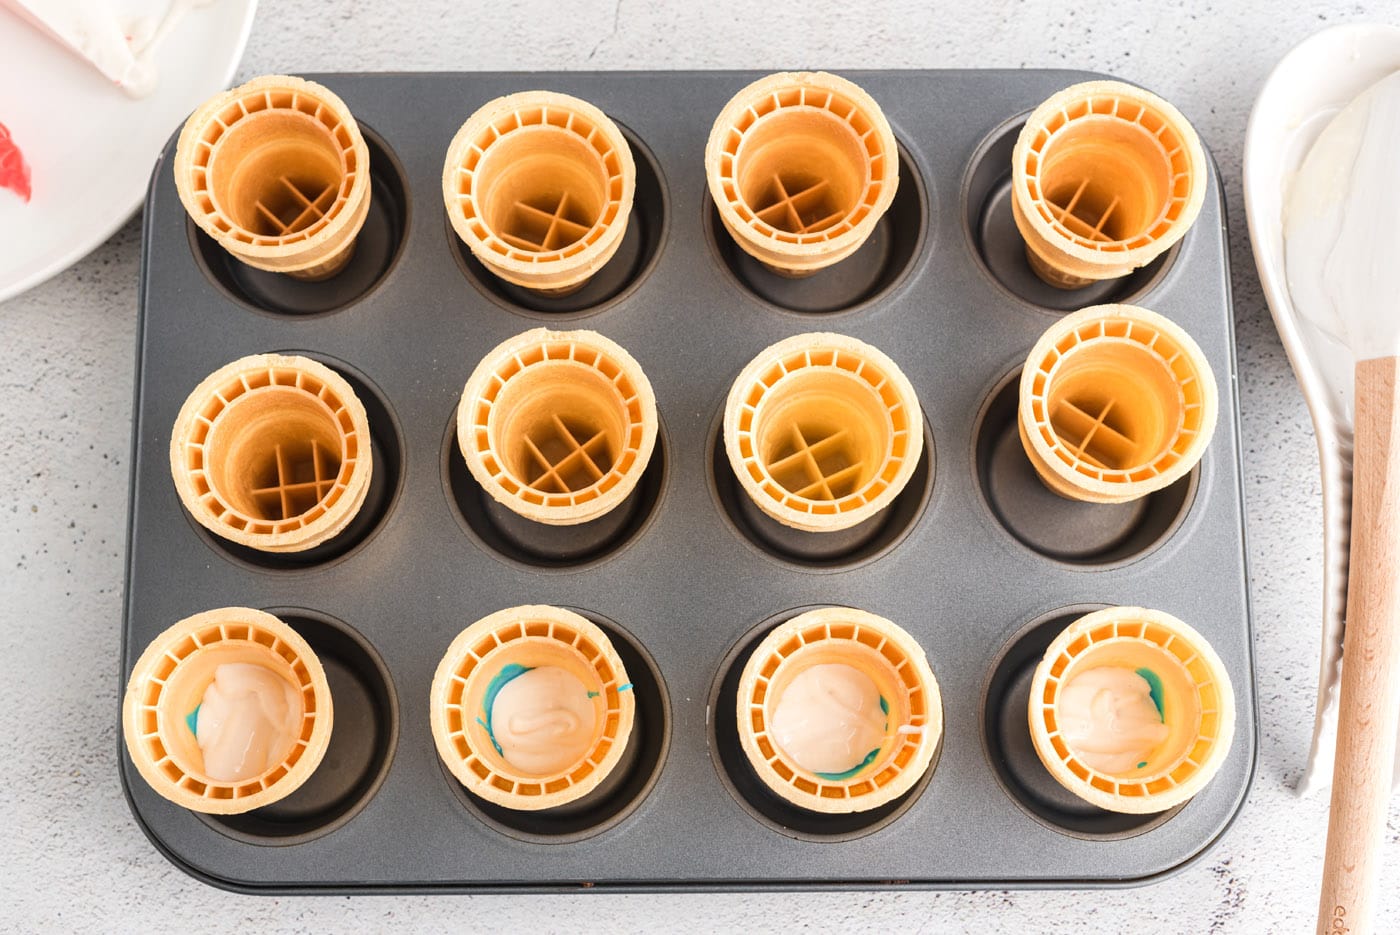
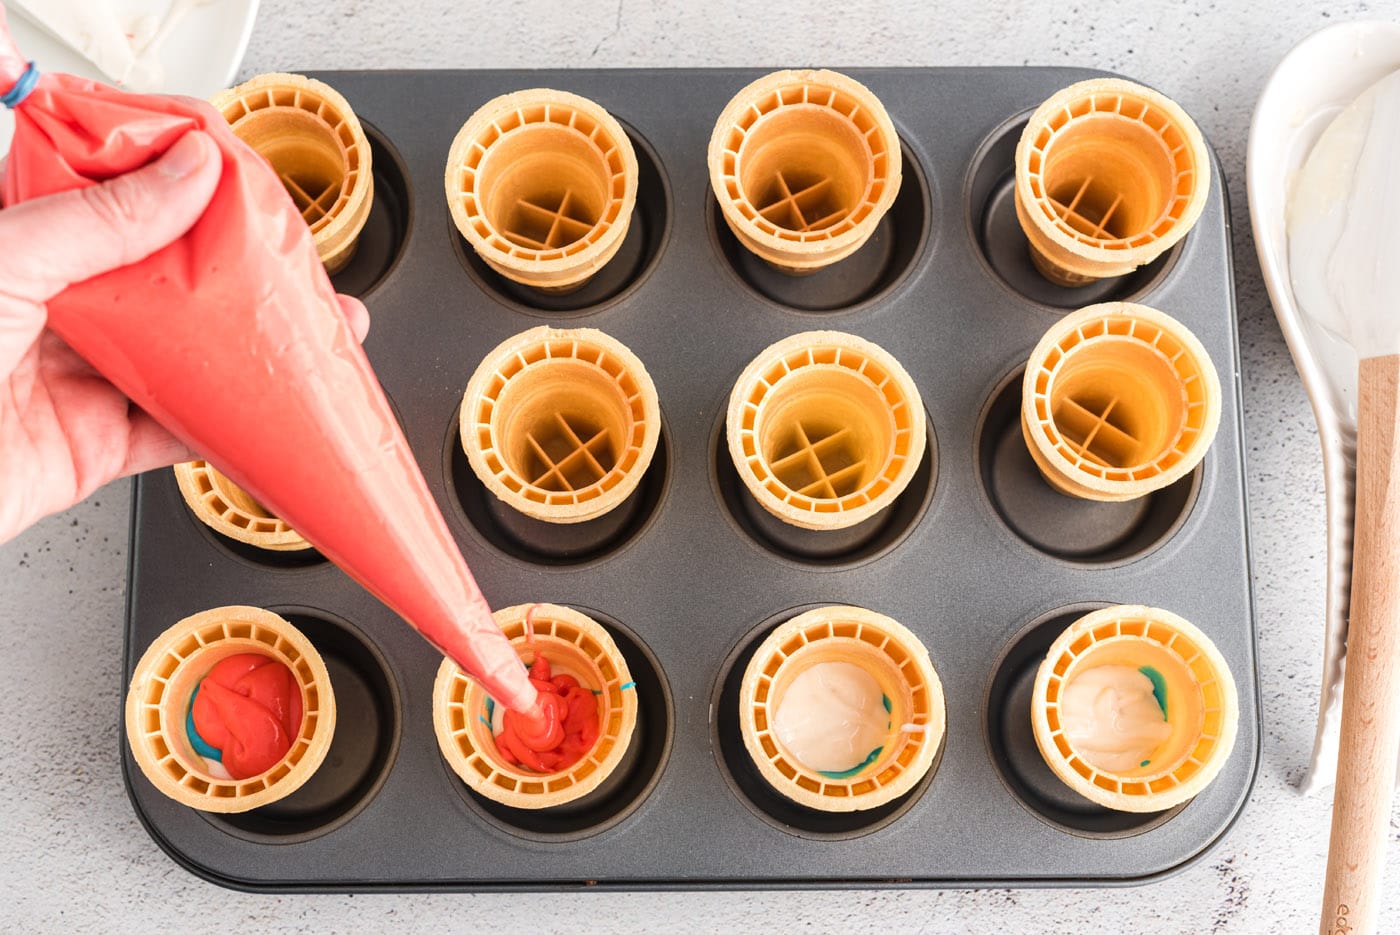
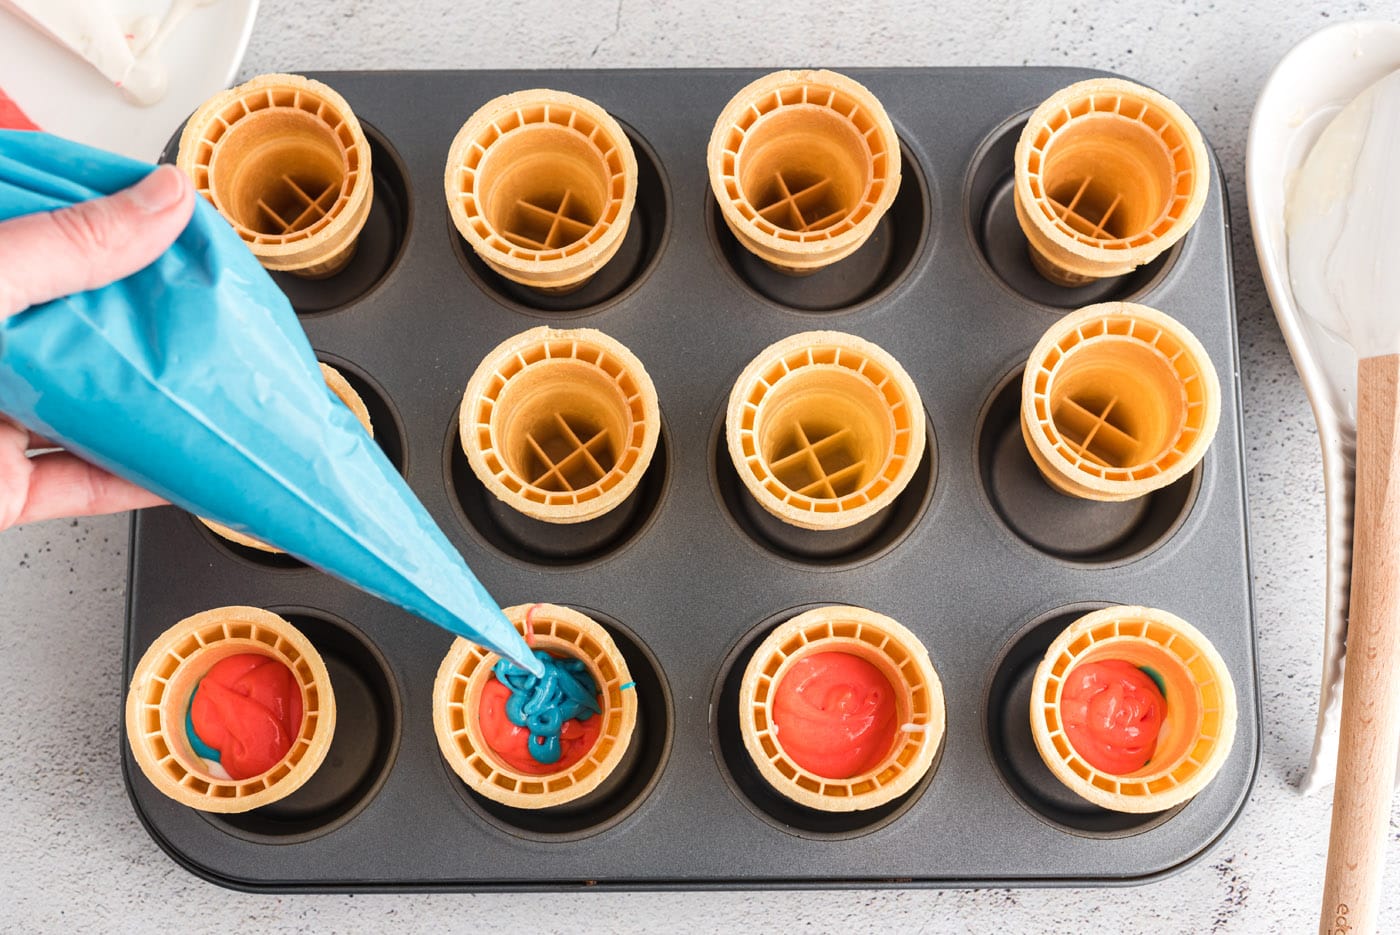
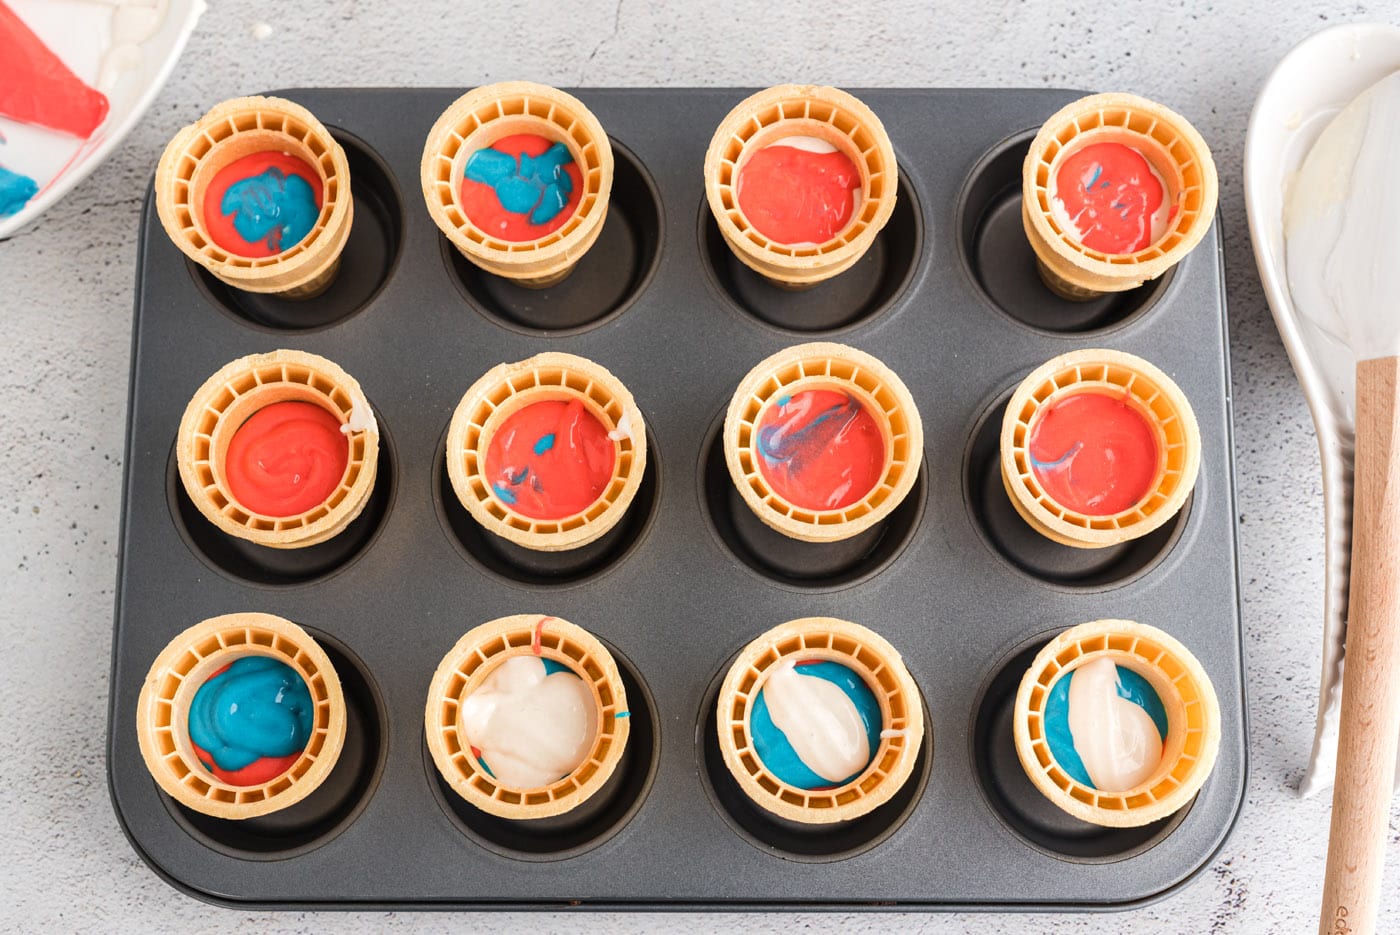
- Bake for 15 minutes or until a toothpick comes out clean.
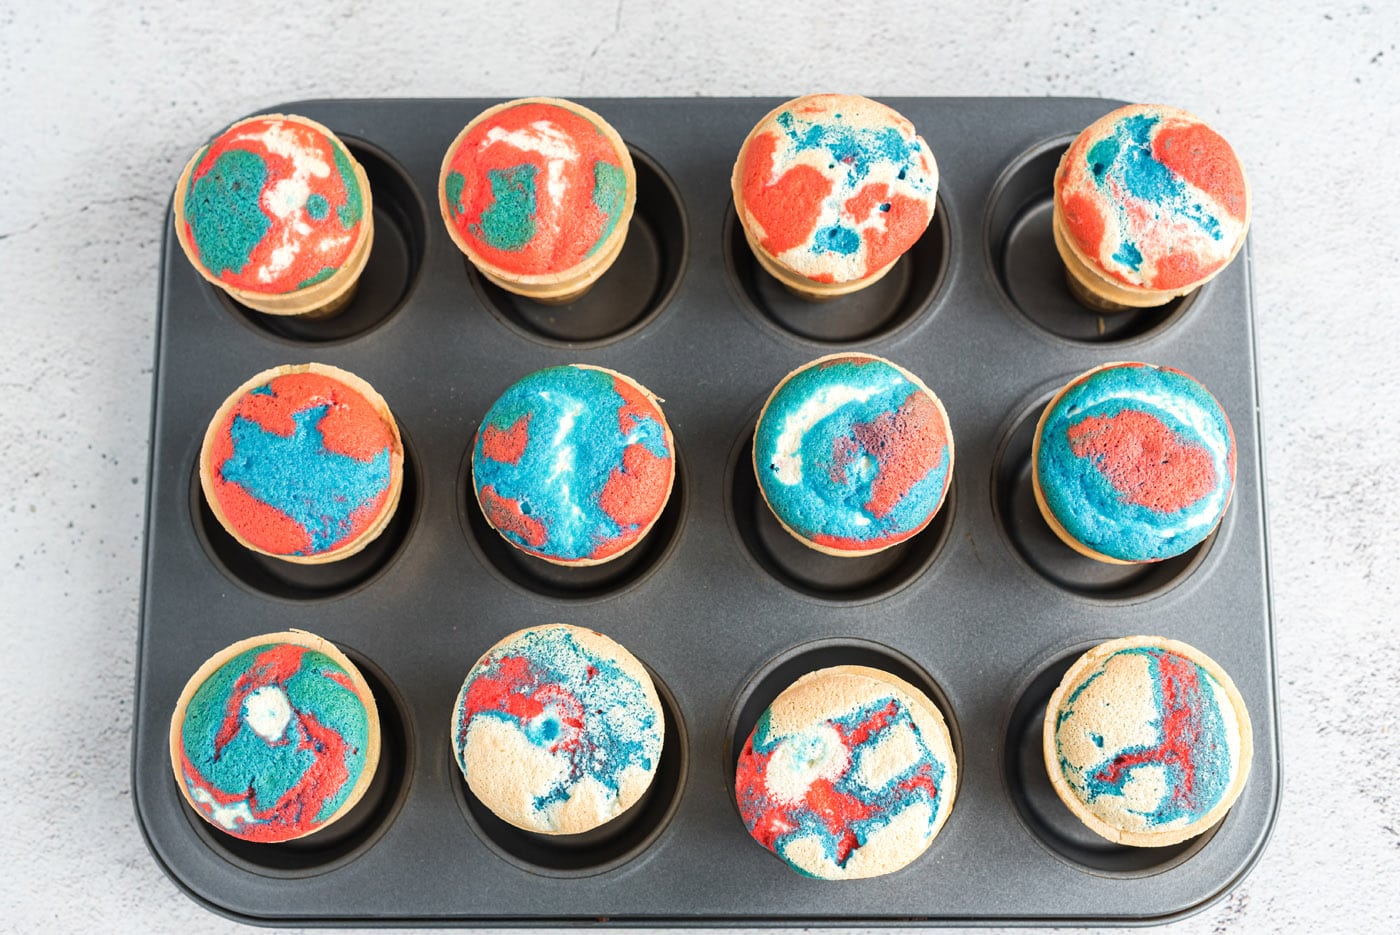
- Remove the cones from the oven and allow them to fully cool.
EXPERT TIP – Turn the cones upside down and poke a hole on the bottom side of the cone to allow steam to escape and prevent them from becoming soggy. - For the frosting, beat the softened butter in the bowl of a standing mixer using the whisk attachment until light and fluffy.
- Add in powdered sugar. Mix slowly, gradually increasing the speed so that the powdered sugar stays in the mixing bowl.
- Beat in vanilla extract.
- Add 4 tablespoons of the heavy cream and whisk on high speed. Scrape down the sides of the bowl and add 3-4 tablespoons more of heavy cream, beating until desired consistency is achieved (about 5 minutes).
- Divide the frosting into three bowls (about 2 cups each bowl).
- Leave one bowl as white frosting. Add a small amount of red gel food coloring to the second bowl and mix to combine. Then, add blue gel food coloring to the third bowl and mix to combine.
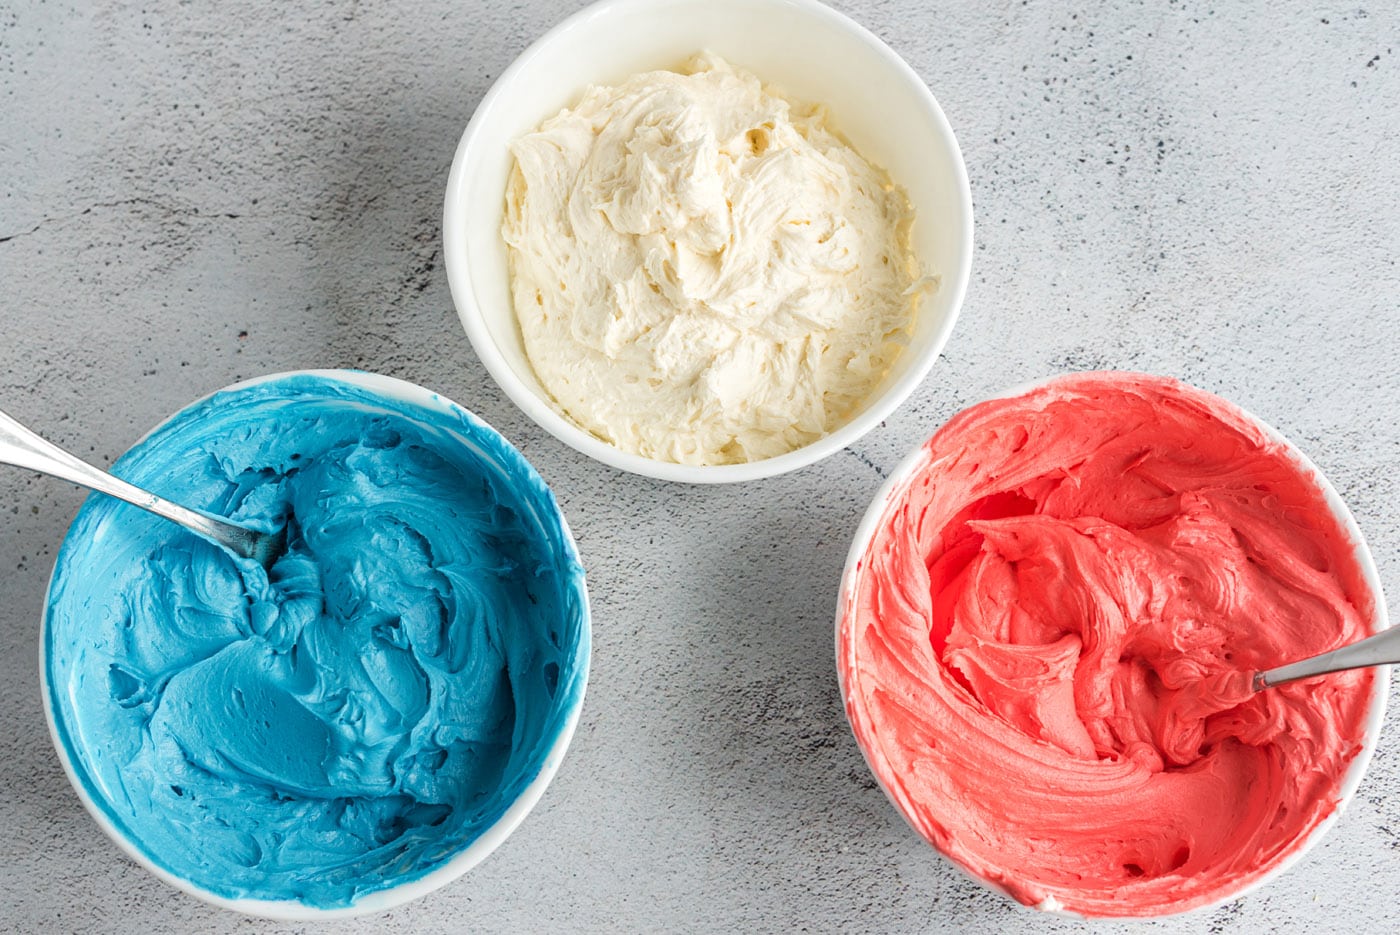
- Add each frosting to their own individual piping bags fitted with a tip. Pipe on all three of the colors to one cone or alternate between the cones using a single color.
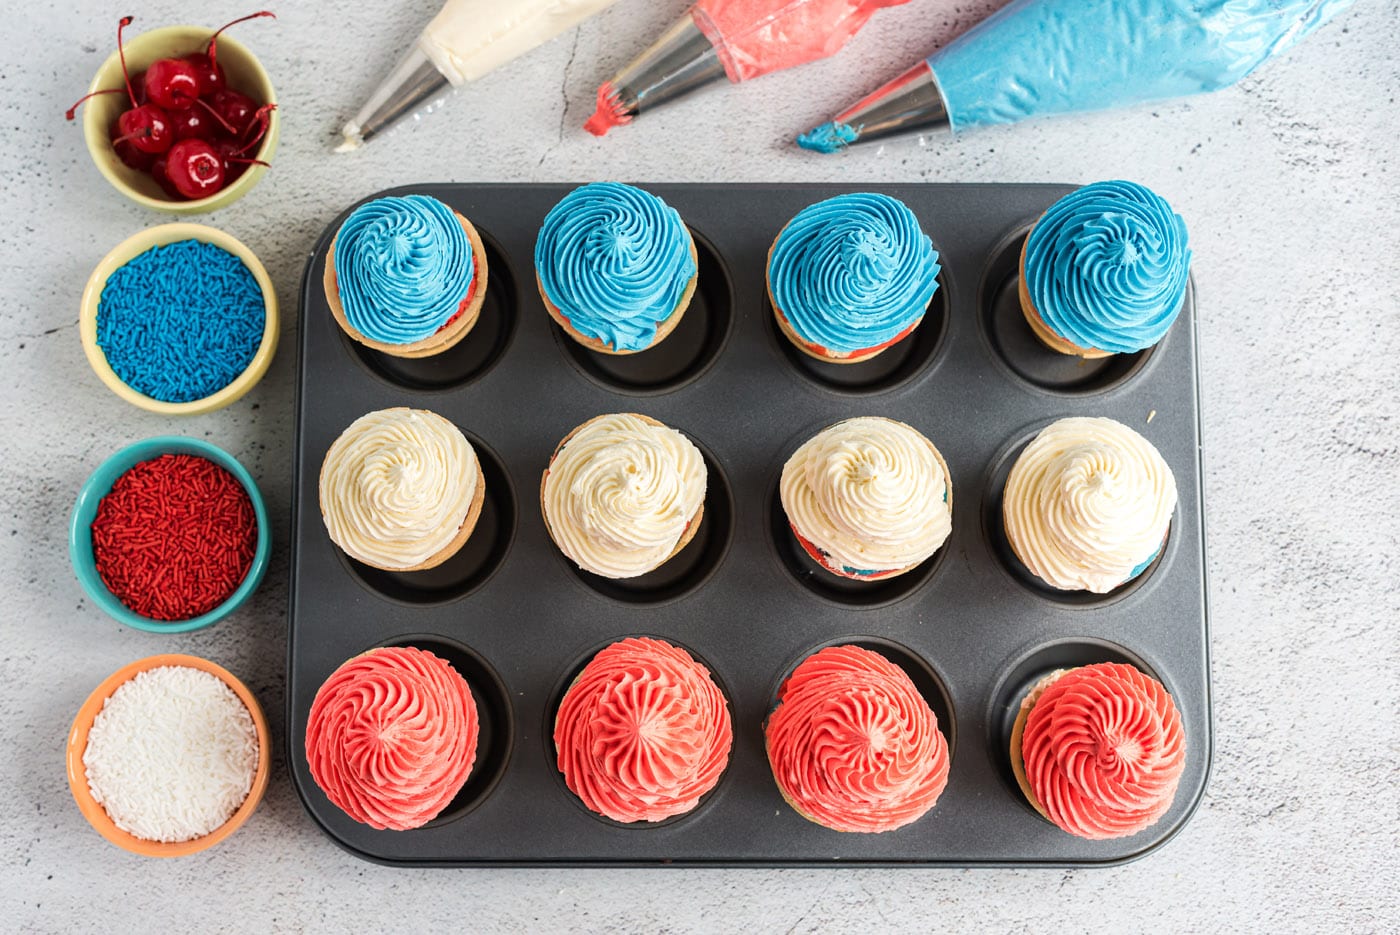
- Garnish with red, white, and blue sprinkles and top with a maraschino cherry.
Frequently Asked Questions & Expert Tips
Yes, you can use a baking sheet instead of a muffin pan. To keep the cones secure, I would recommend covering your baking sheet from rim to rim with heavy duty aluminum foil. Using a sharp knife, cut in an “X” pattern creating holes in the aluminum foil where you can pop the batter filled cones in to. This way they have a somewhat sturdier base when you are transferring them in and out of the oven. You can also purchase a cupcake cone baking rack.
You can make the cupcake cones up to a day in advance, preferably the night in advance or the morning of your event – any longer that night you might end up with soggy cones.
Transporting the cupcake cones can be a bit tricky. These cupcake cone holders are likely your best bet for transportation, though you’d still need to have someone hold them in their lap OR you can try placing them inside a box while in the stand. You can also place them back into the cupcake pan you baked them in if you have enough to hold all of them.
A good little tip for keeping your cupcake cones fresh and not soggy is to poke a small hole in the bottom of each cone after baking to release some of the steam trapped inside. Allow the cones to fully cool on a wire cooling rack or on a cupcake cone baking rack so the bottom of the cones can properly cool on all sides.
To store, place the fully cooled ice cream cone cupcakes in a cupcake pan or on a cupcake cone holder. Store them uncovered at room temperature. If you place them in the refrigerator, freezer, or covered with plastic wrap or aluminum foil the cones and frosting will sweat and cause them to become soggy. Be sure you are storing them in a cool, dry place.
Serving Suggestions
There are so many different ways to make these cones. Here are a few examples:
- Individually pour the colored batter into their own separate cones so you have solid cake colors.
- If making solid colored cupcake cones, top with corresponding colors; for example – if you have a red cupcake, top it with blue frosting and white sprinkles and so on so forth.
- Add all three different colored frostings to a single piping bag for a swirled red white and blue presentation.
- Use this as a base recipe for different holidays, party themes, or sports team colors!
More Patriotic Recipes
- Taco Salad Flag
- Patriotic Candy Bark
- 4th of July Jello Shots
- American Flag Brownies
- Patriotic Charcuterie Board
- Patriotic Mini Cheesecakes
- Red White and Blue Poke Cake
- Patriotic Vodka Lemonade Slushie
I love to bake and cook and share my kitchen experience with all of you! Remembering to come back each day can be tough, that’s why I offer a convenient newsletter every time a new recipe posts. Simply subscribe and start receiving your free daily recipes!

Patriotic Ice Cream Cone Cupcakes
IMPORTANT – There are often Frequently Asked Questions within the blog post that you may find helpful. Simply scroll back up to read them!
Print It Rate ItIngredients
- 18 ice cream cake cones
- 15.25 ounce white cake mix PLUS ingredients listed on the back of the box
- blue and red gel food coloring
Buttercream Frosting
- 2 cups unsalted butter softened
- 2 teaspoons vanilla extract
- 8 cups powdered sugar
- 8 Tablespoons heavy whipping cream
Garnish
- maraschino cherries stem on
- red, white, and blue sprinkles
Things You’ll Need
- Hand mixer or stand mixer
Before You Begin
- Start with a SMALL amount of gel food coloring when adding it to the cake batter and frosting. Gel food color goes a long way and you won’t need much to achieve a bright color.
- Don’t get overly crazy with adding different colored layers of cake batter to the cones, if you overdo it, the colors will get muddy.
- To store, place the fully cooled ice cream cone cupcakes in a cupcake pan or on a cupcake cone holder. Store them uncovered at room temperature. If you place them in the refrigerator, freezer, or covered with plastic wrap or aluminum foil the cones and frosting will sweat and cause them to become soggy. Be sure you are storing them in a cool, dry place.
- You can make the cupcake cones up to a day in advance, preferably the night in advance or the morning of your event – any longer that night you might end up with soggy cones.
- You can easily swap the homemade buttercream frosting with store bought white frosting if desired.
- You will most likely have leftover frosting which you can store in air-tight containers kept in the refrigerator for 3-4 days or in the freezer for up to 2 months.
Instructions
- Preheat oven to 350F.
- Prepare the dry cake mix according to package instructions.
- Separate the cake batter into 3 equal bowls. Add a small amount of red food coloring to one bowl, and a small amount of blue food coloring to another, leaving one of the bowls plain.
- Place cake cones into a cupcake pan. Alternating between colors, pour the batter into your ice cream cones filling until they are about 3/4 full. It's easiest to add the batter into piping bags or ziptop baggies with the corners snipped off.
- Remove the cones from the oven. Once the cones are partially cooled, hold them upside down and poke a small hole into the bottom side of each of the cones to let steam escape and prevent them from becoming soggy. Allow the cupcakes to fully cool off before frosting. Cool in the pan or on a wire cooling rack.
Making the Frosting
- Beat softened butter in the bowl of a standing mixer using the whisk attachment until light and fluffy.
- Add in powdered sugar. Mix slowly, gradually increasing the speed so that the powdered sugar stays in the mixing bowl.
- Beat in vanilla extract.
- Add 4 tablespoons of the heavy cream and whisk on high speed. Scrape down the sides of the bowl and add 3-4 tablespoons more of heavy cream, beating until desired consistency is achieved (about 5 minutes).
- Divide the frosting into three bowls (about 2 cups each bowl).
- Leave one bowl as white frosting. Add a small amount of red food coloring to the second bowl and mix to combine. Then, add blue food coloring to the third bowl and mix to combine.
- Add each frosting to their own individual piping bags fitted with a tip. Pipe on all three of the colors to one cone or alternate between the cones using a single color.
- Garnish with red, white, and blue sprinkles and top with a maraschino cherry.
Nutrition
Amanda Davis
Latest posts by Amanda Davis (see all)
- Banana Bundt Cake - July 23, 2024
- Lemon Icebox Cake - July 22, 2024
- Philly Cheesesteak Dip - July 15, 2024



Leave a Reply