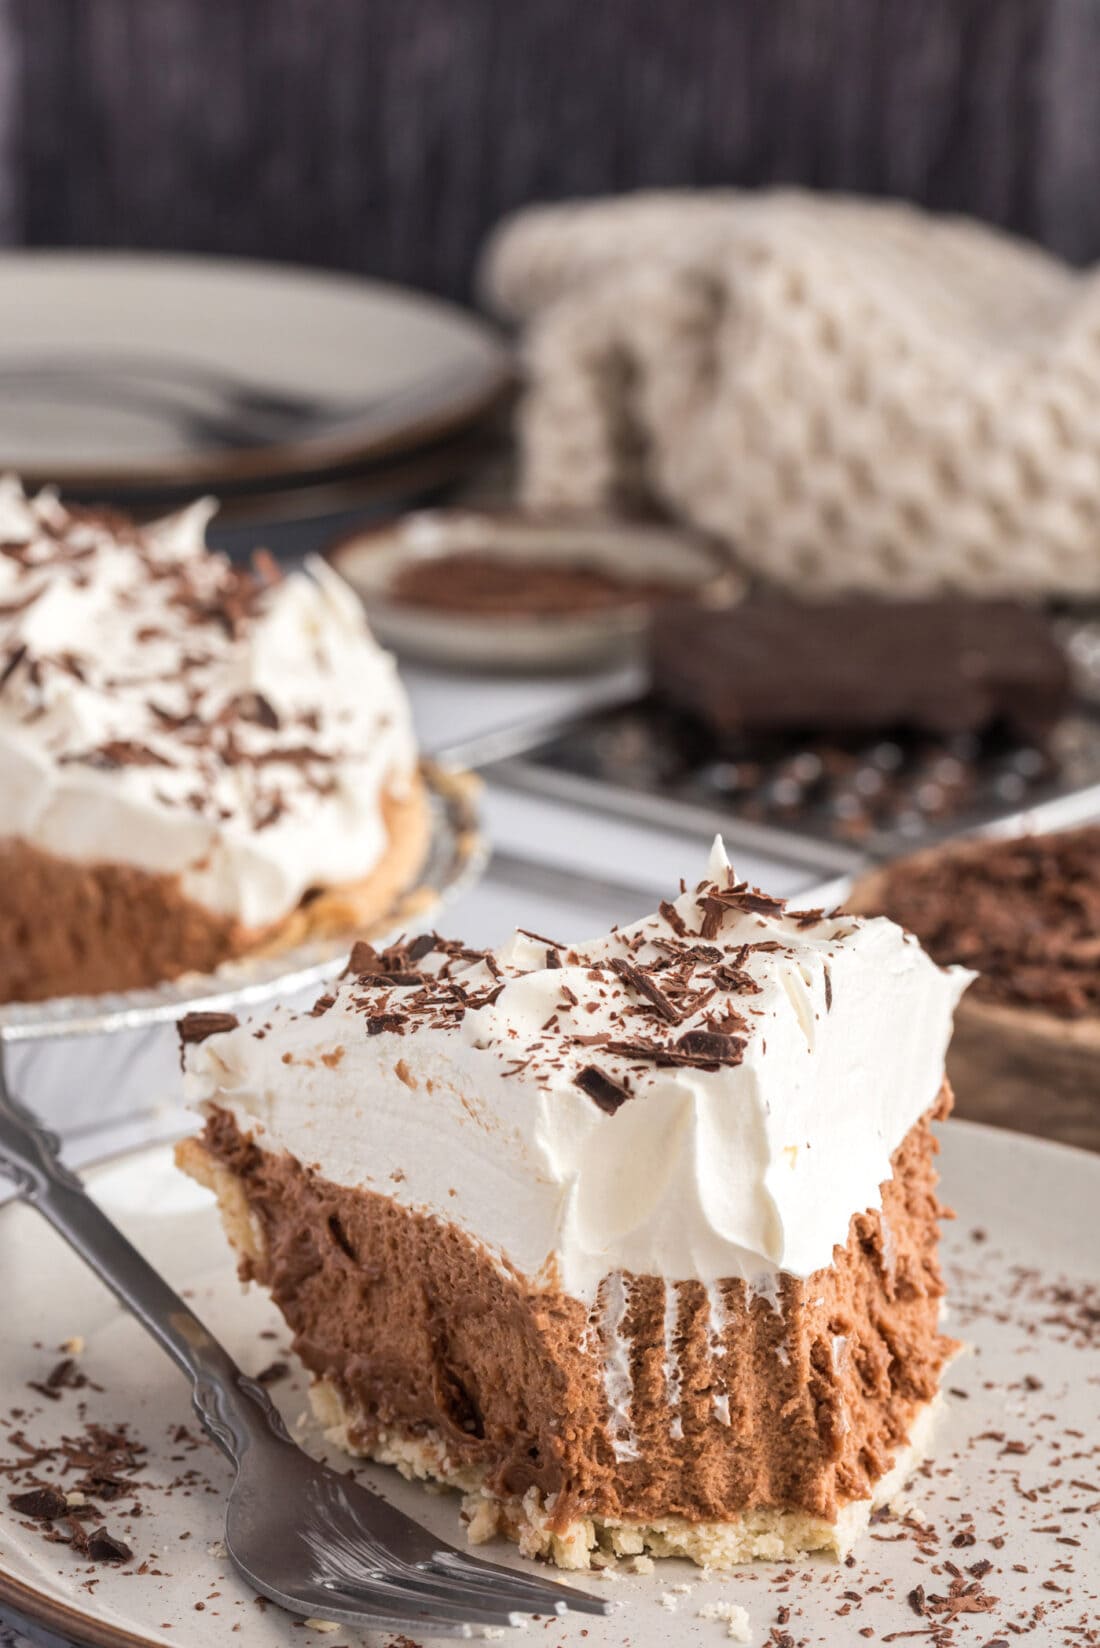
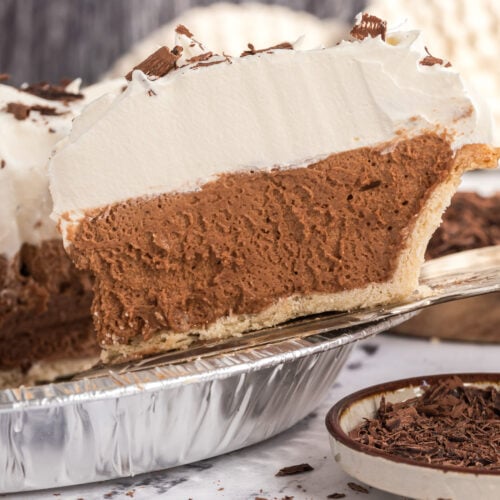
French Silk Pie is a dreamy chocolate mousse topped with fluffy whipped cream and shaved chocolate. Our recipe tastes just like Baker’s Square’s famous pie; rich, decadent, and delicious.
Why this recipe works
This French silk pie is a dream. The silky chocolate filling is rich with decadence and beats the store-bought frozen pies by a mile. I was inspired by my absolute favorite pie growing up from Baker’s Square, and I think this recipe hits the nail on the head.
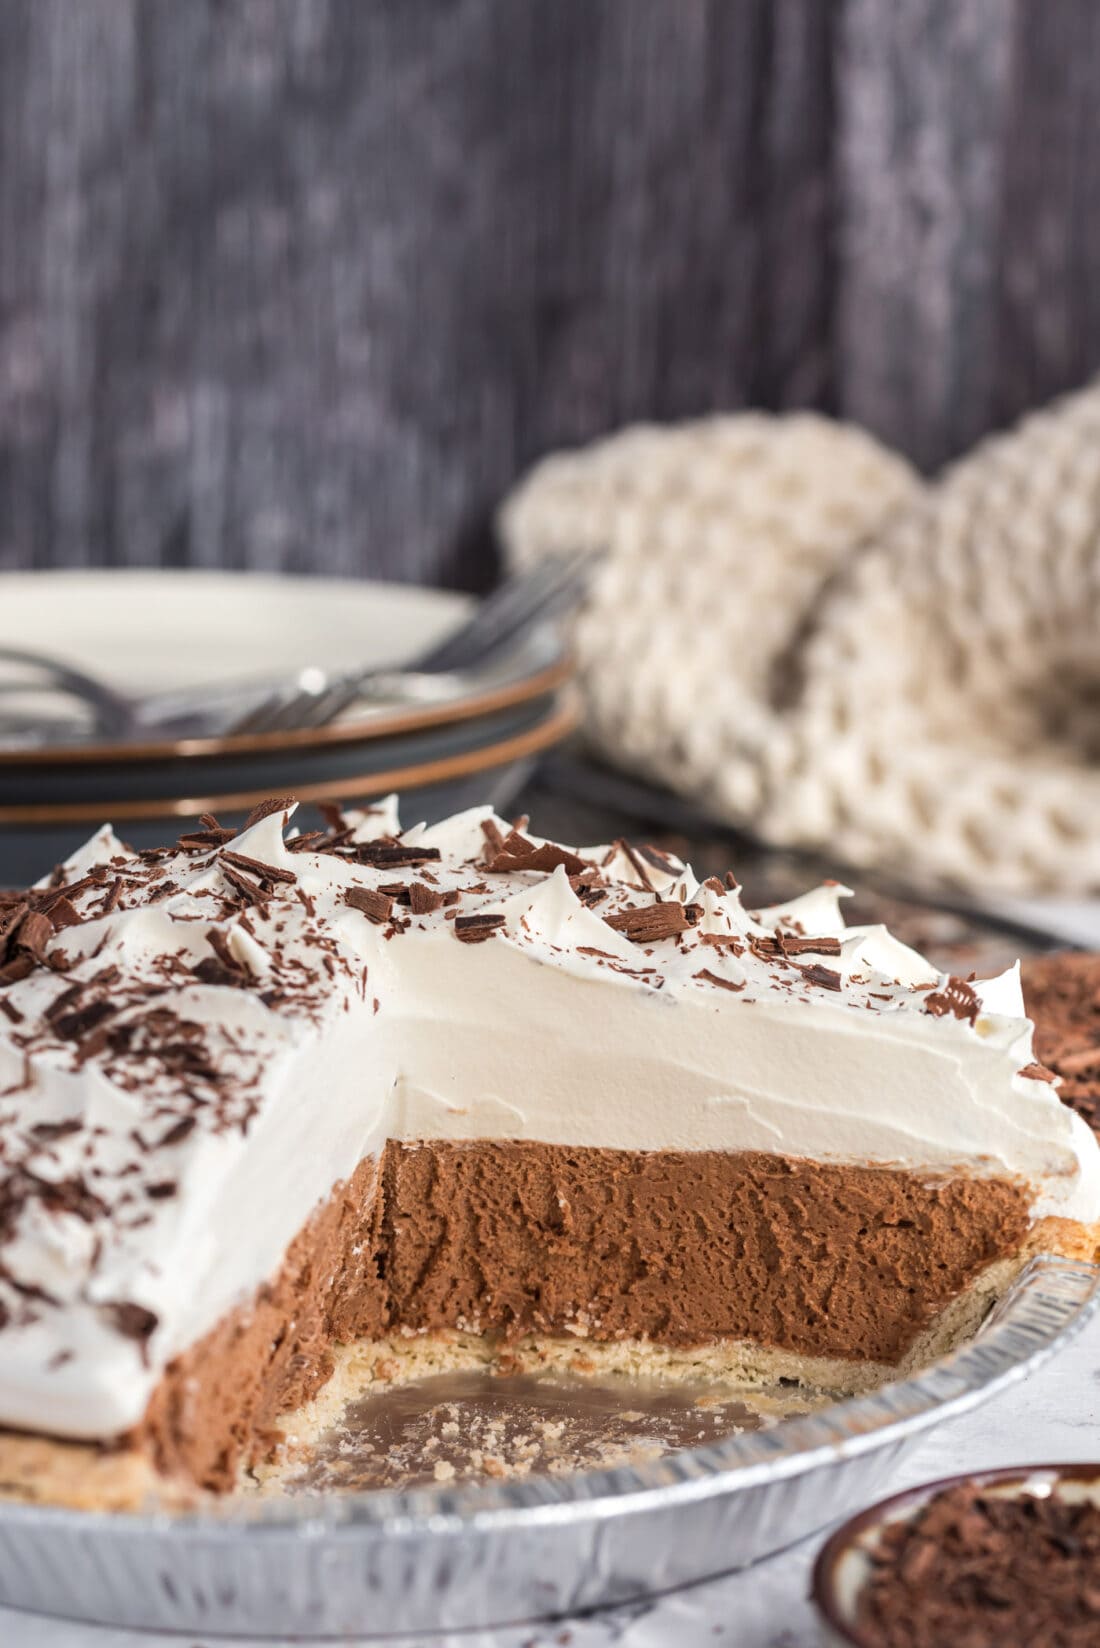
French silk pie is really easy to prepare with a few important tips. We love it so much we’ve even transformed them into mini French silk pies that are great for parties. There isn’t a holiday that goes by that I don’t make this pie, it’s famous in my household! Each bite is full of silky chocolate indulgence topped with mounds of whipped cream.
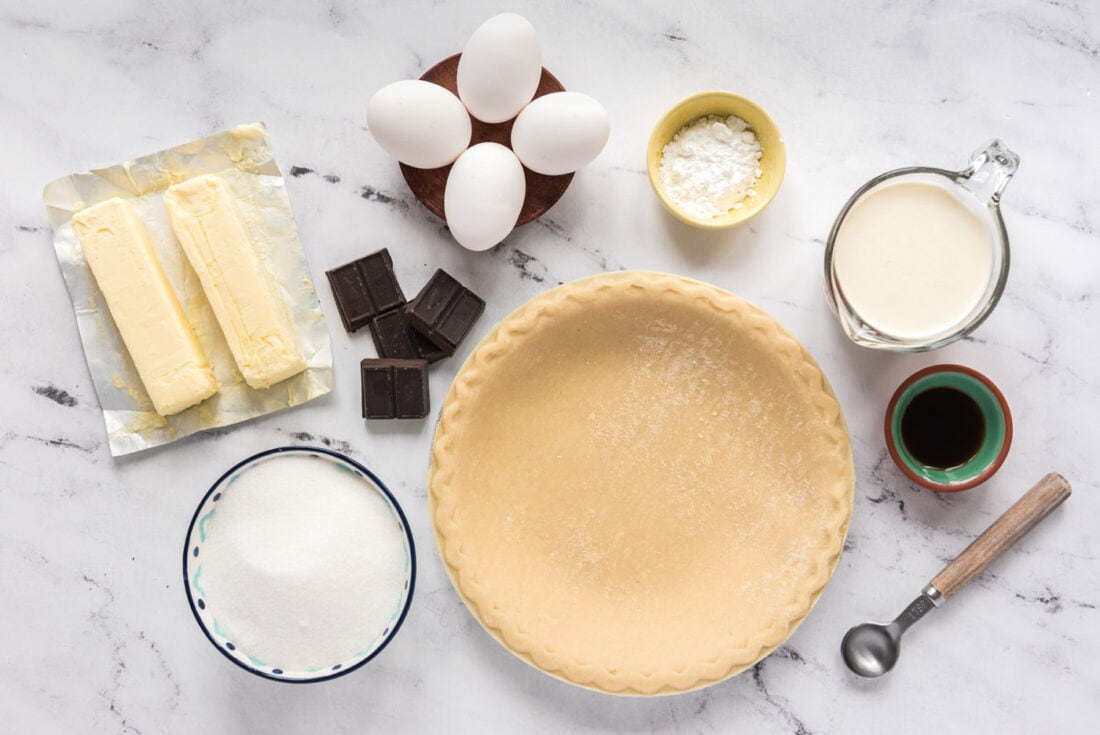
Ingredients you will need
Get all measurements, ingredients, and instructions in the printable version at the end of this post.
Ingredient Info and Substitution Suggestions
CHOCOLATE – You will need unsweetened chocolate for this recipe. Melt it and be sure to cool it completely before incorporating.
EGGS – The eggs in this recipe are not cooked. If that concerns you, you can use pasteurized eggs or learn how to pasteurize the eggs in your fridge.
BUTTER – Do not use margarine, I have not tested this pie using margarine. Do not melt the butter. The butter should be softened, which means removing it from the fridge and letting it sit at room temperature for about 20-30 minutes.
CRUST – We used a store-bought pie crust, but homemade pie crust always adds an extra special touch. Check out our how to make pie crust recipe if you don’t already have one on hand. You’ve probably also seen this pie made with an Oreo cookie crust, which is another great option. Visit our Bailey’s cheesecake recipe for an Oreo cookie crust recipe or use a premade one from the store.
TOPPING – I have used both Cool Whip and homemade whipped cream in the past when making this pie. It’s up to you on what you prefer.
How to Make French Silk Pie
These step by step photos and instructions are here to help you visualize how to make this recipe. You can Jump to Recipe to get the printable version of this recipe, complete with measurements and instructions at the bottom.
- Bake a homemade pie crust or use a Pillsbury refrigerated crust and make according to package directions for a fully baked crust. Set aside to cool.
- Melt the chocolate and set aside to cool completely.
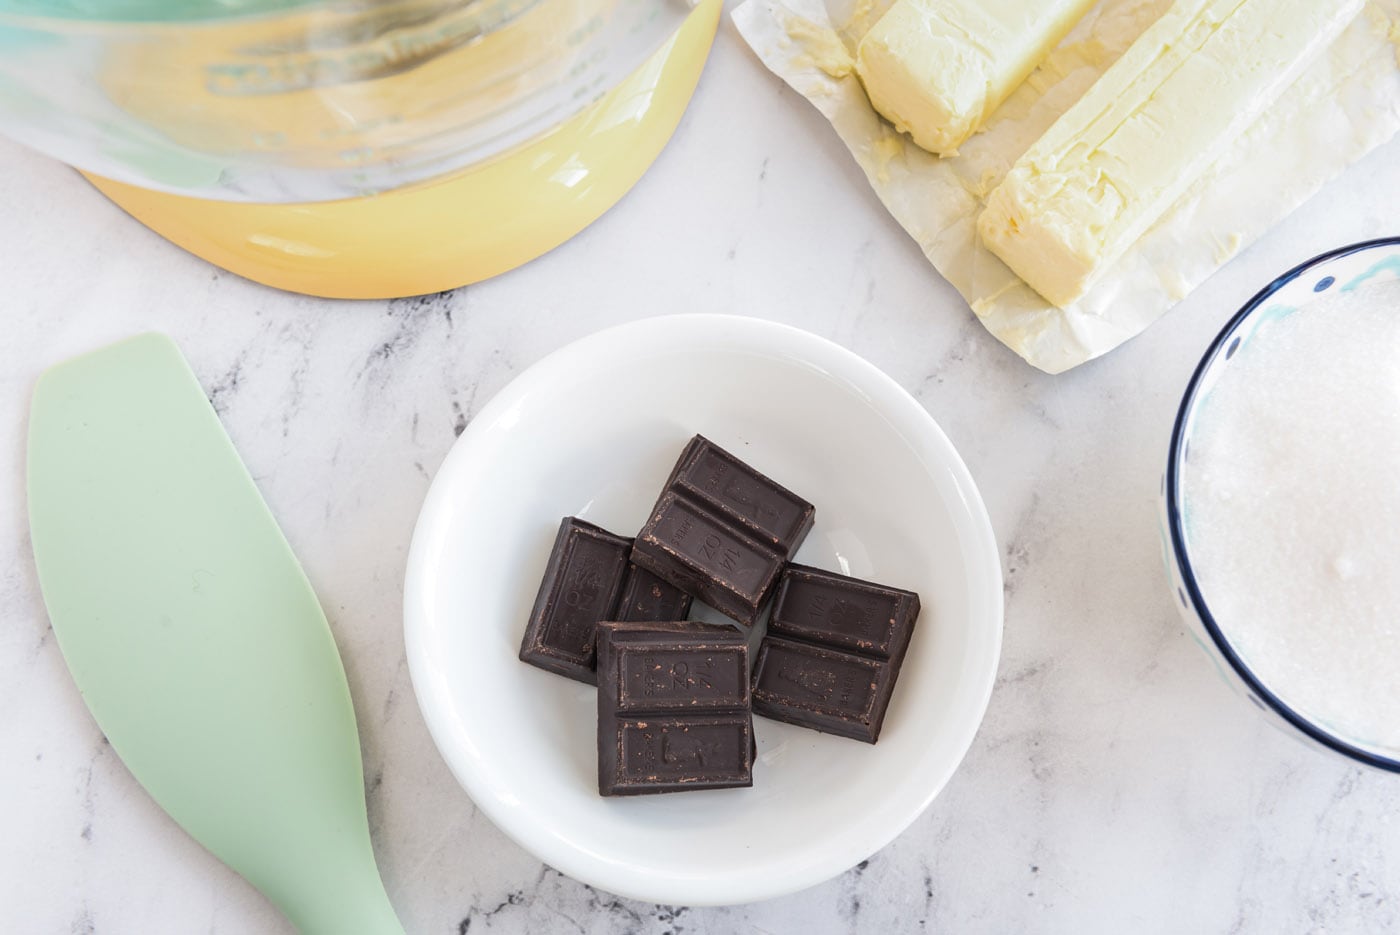
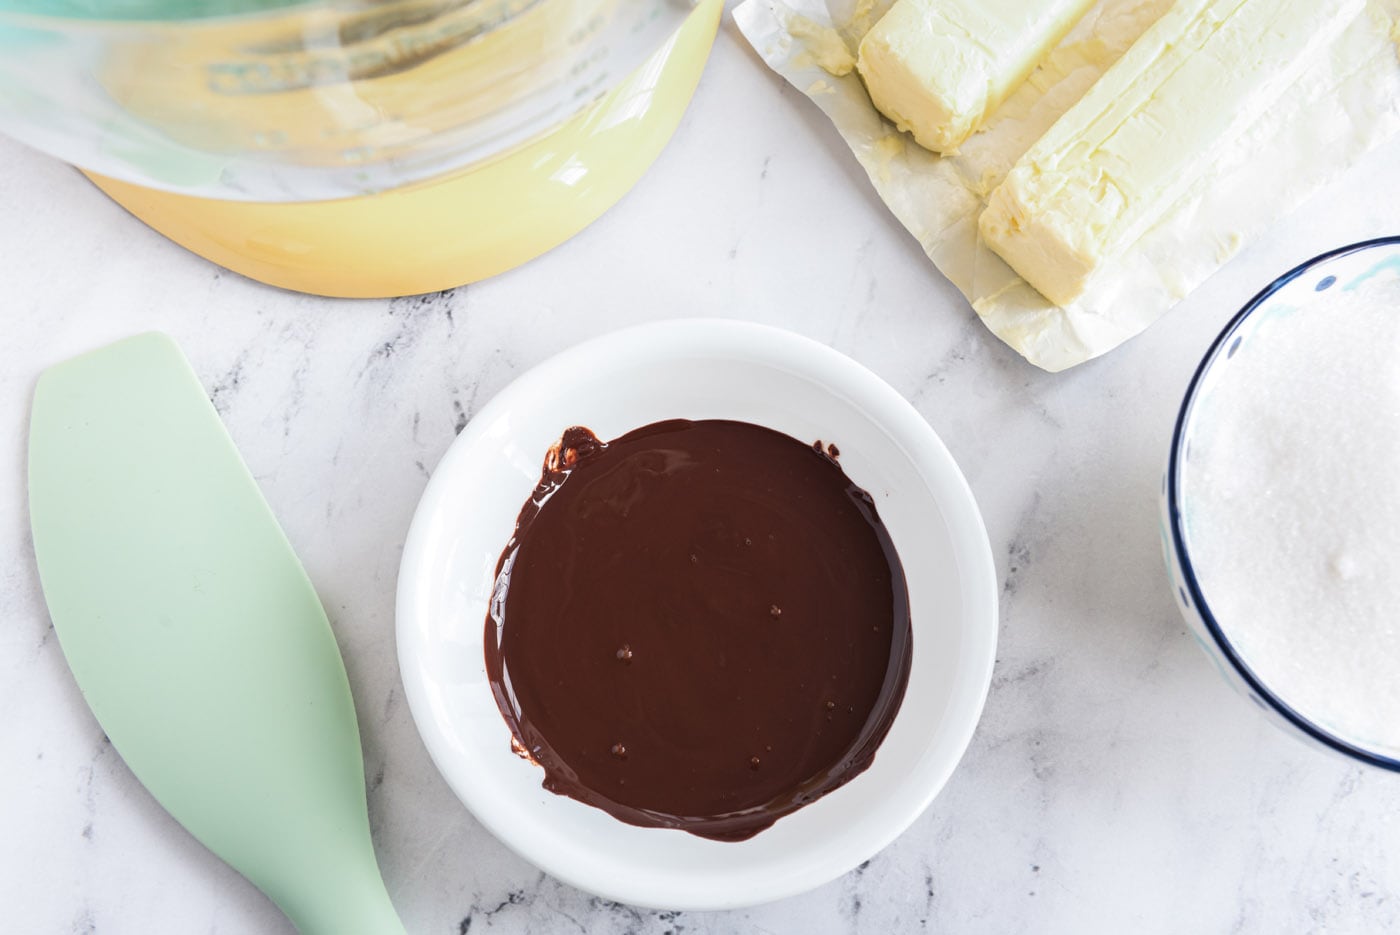
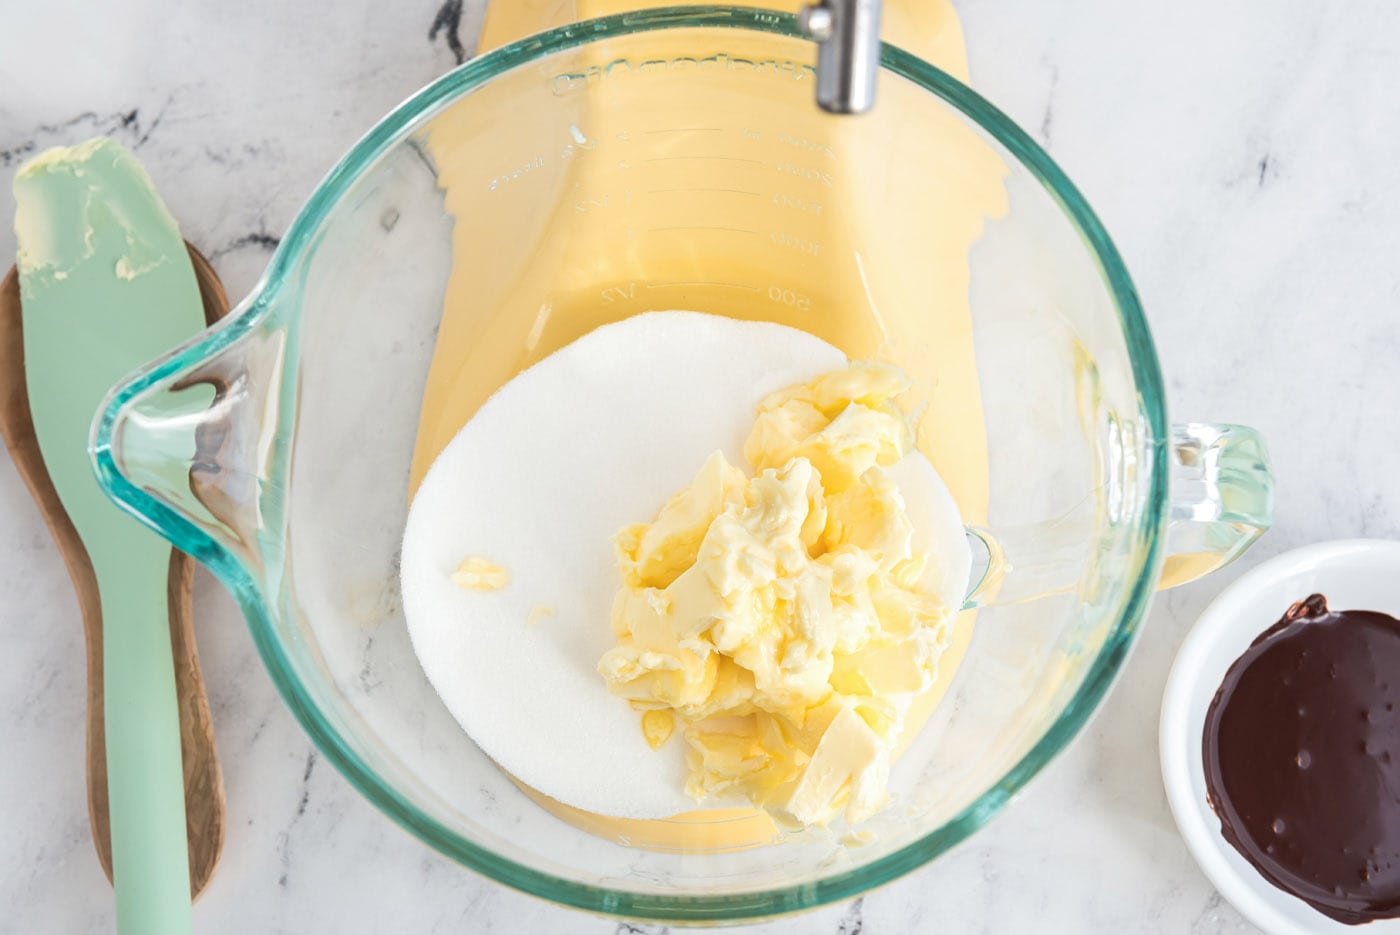
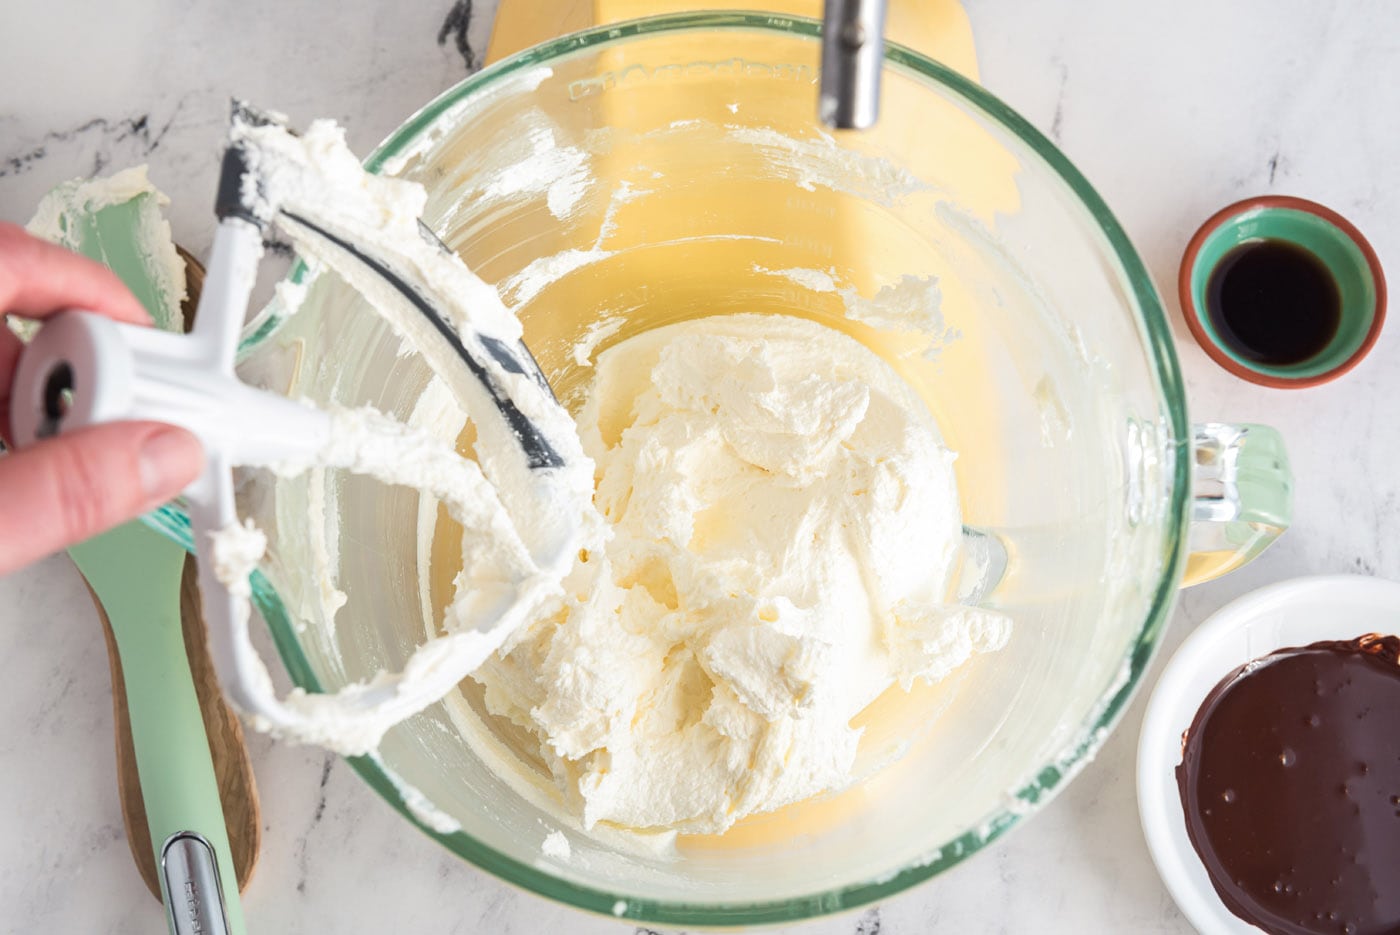
- Using a stand mixer, beat the sugar and butter on medium-high until light and fluffy, about 6-7 minutes.
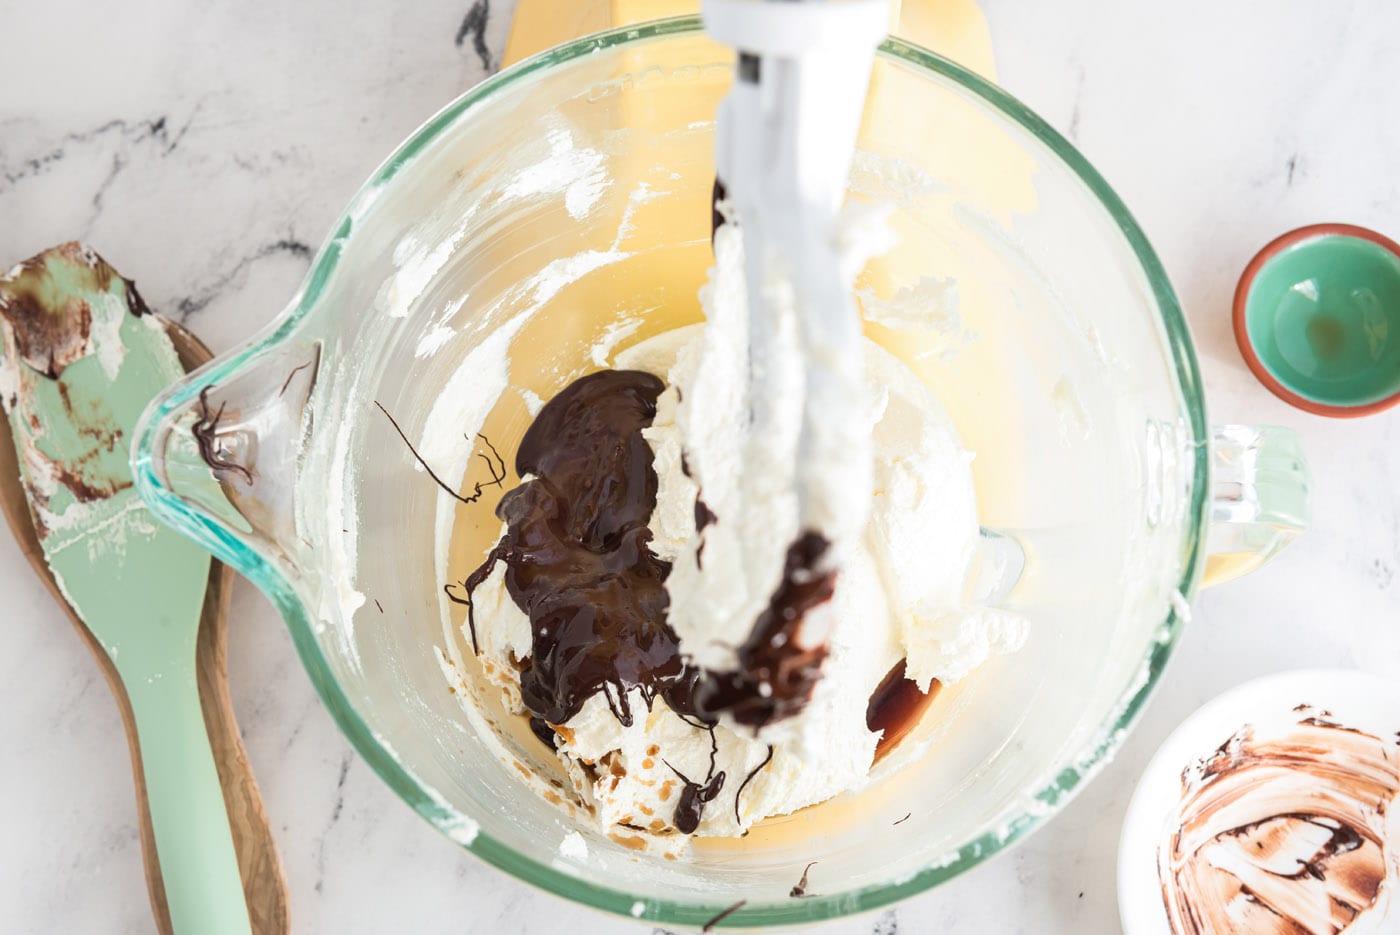
- Add cooled chocolate and vanilla and beat until incorporated.
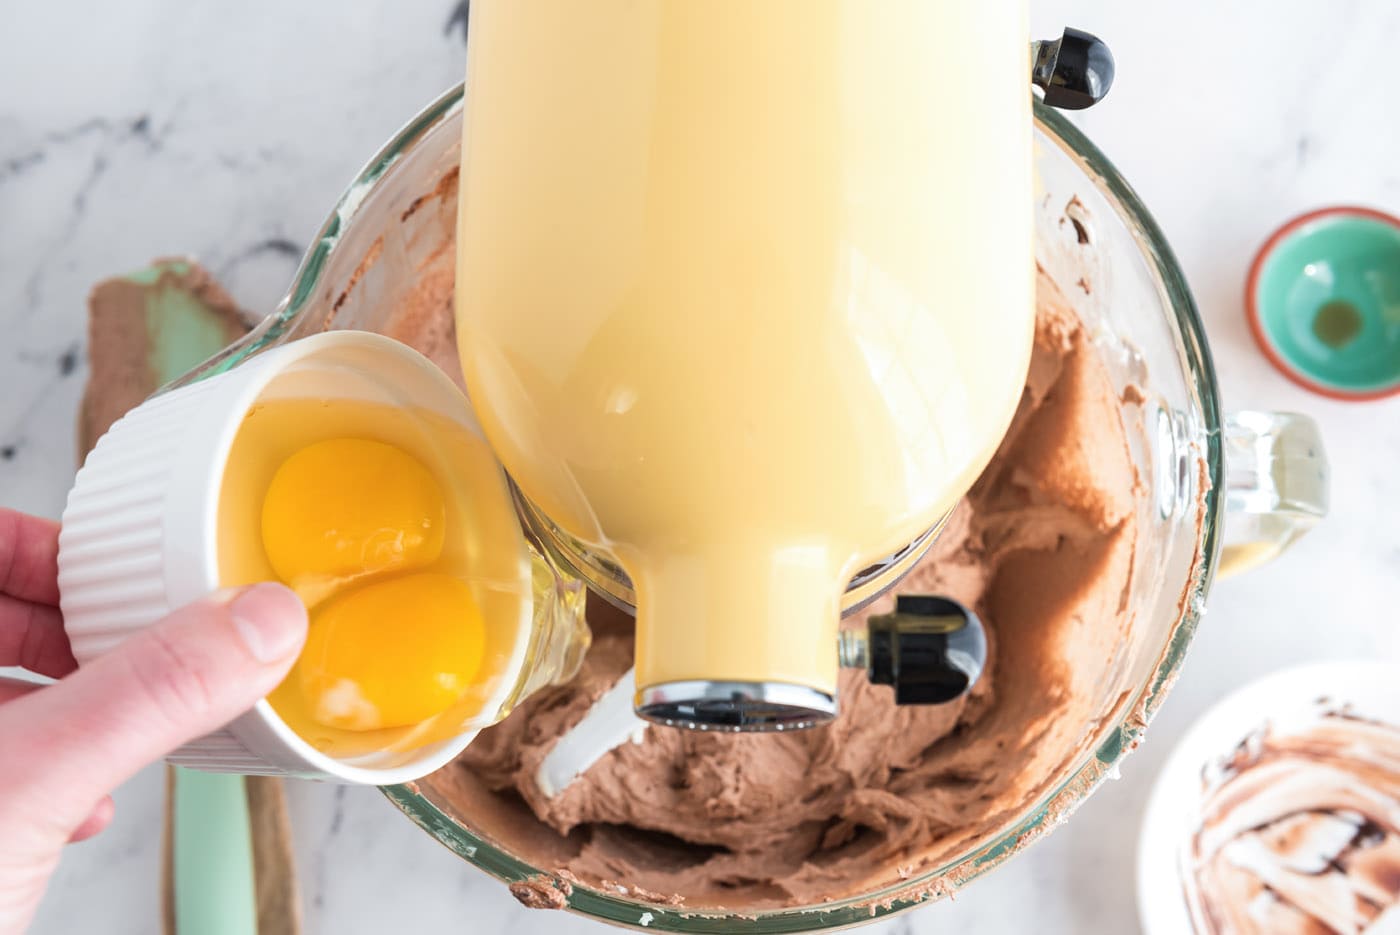
- Add eggs, two at a time, beating a full 5 minutes after each addition.
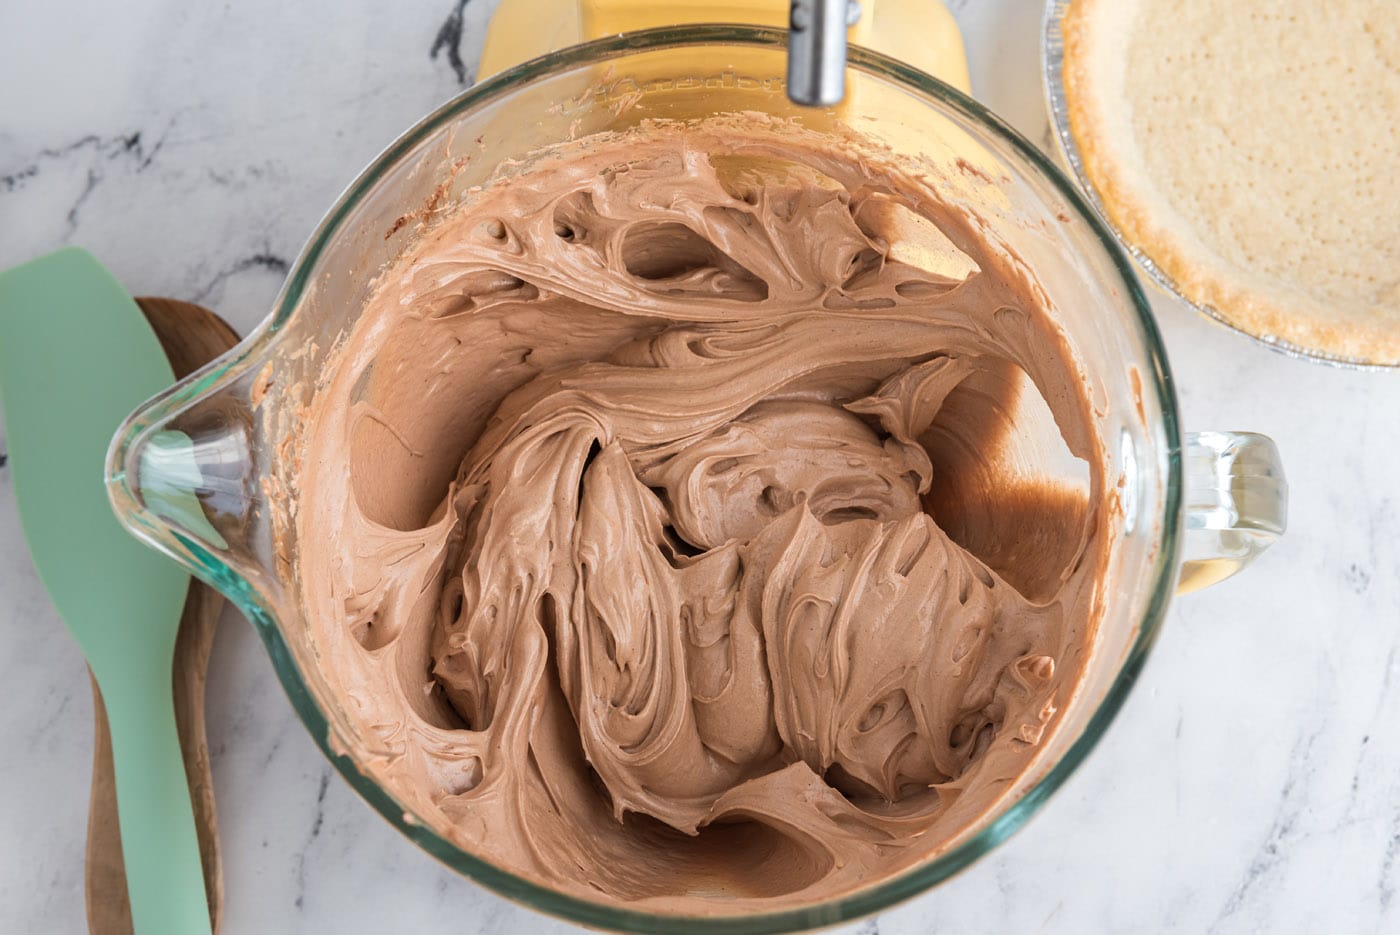
- Pour filling into cooled pie crust.
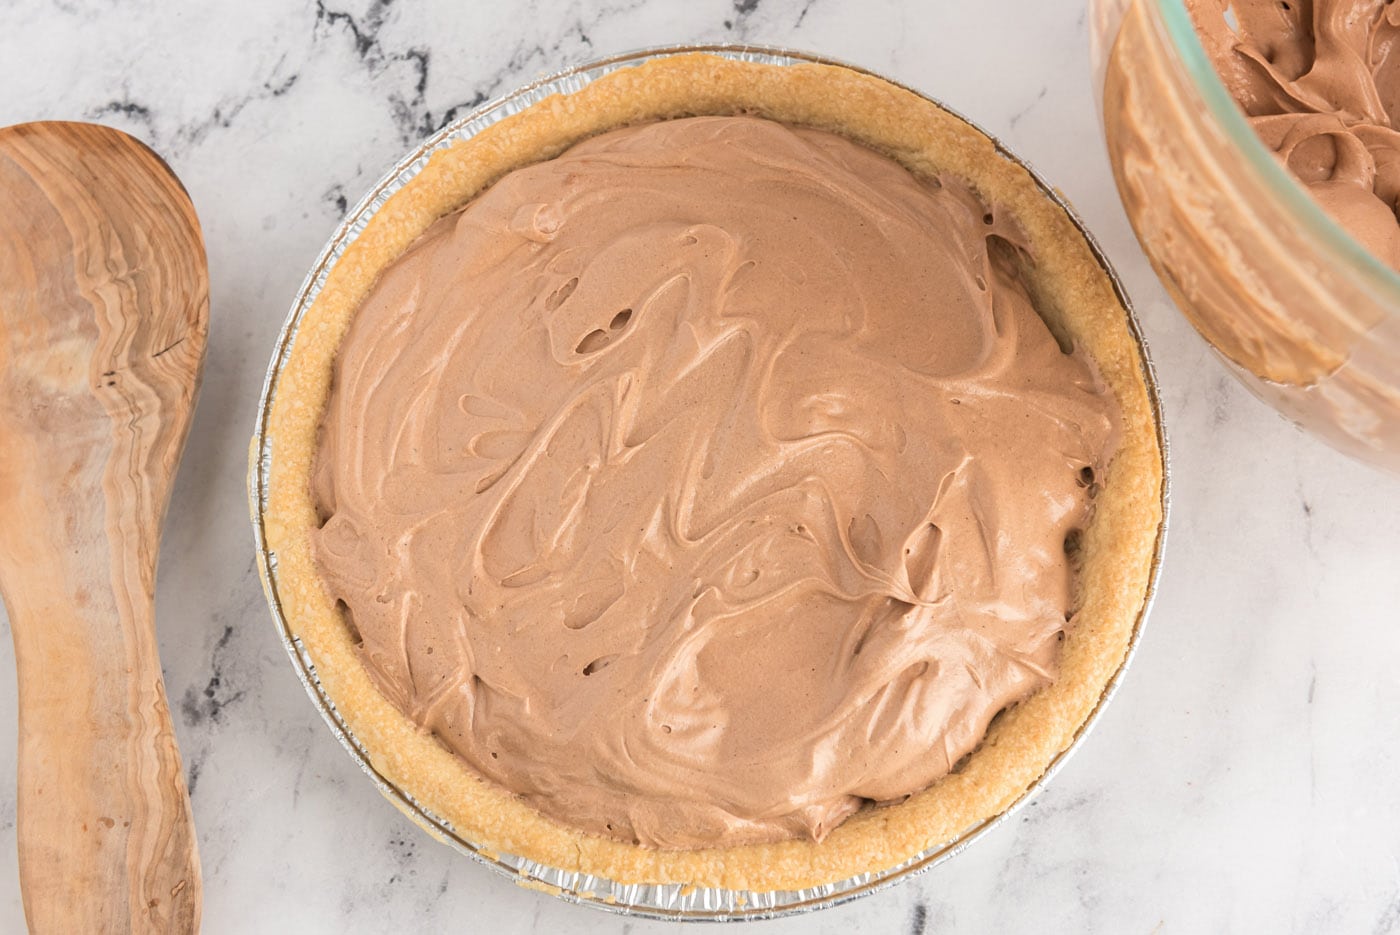
- Chill in the refrigerator for two hours then top with whipped cream. Then chill again in the refrigerator for 6 hours or overnight. You can also wait until two hours or so before serving to add the whipped cream.
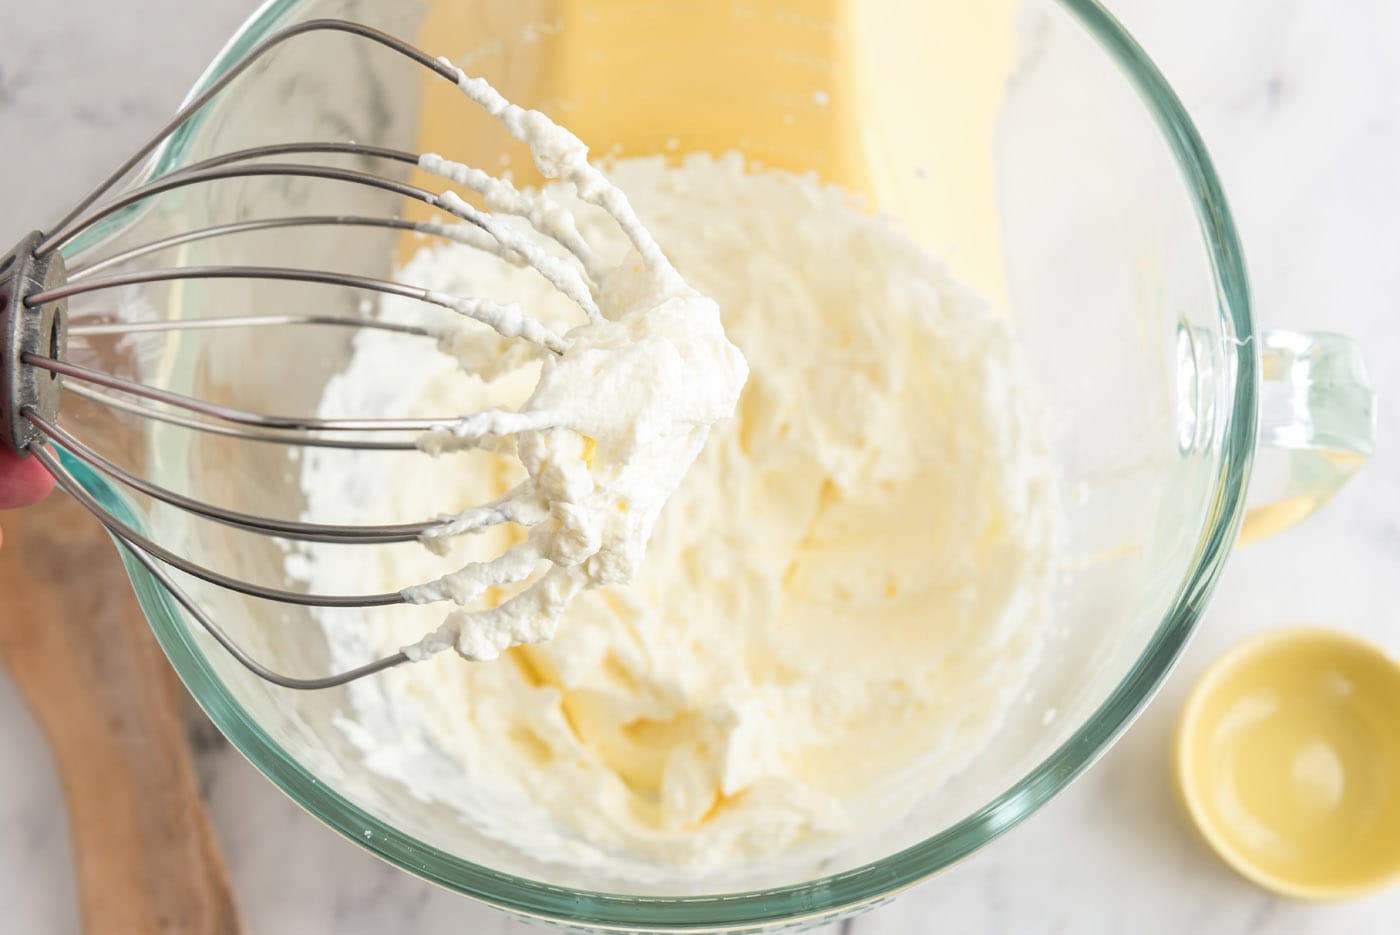
- To make the whipped topping, beat the heavy whipping cream and powdered sugar with a whisk attachment on medium-high speed until stiff peaks just begin to form. Add prepared whipped topping to top of pie.
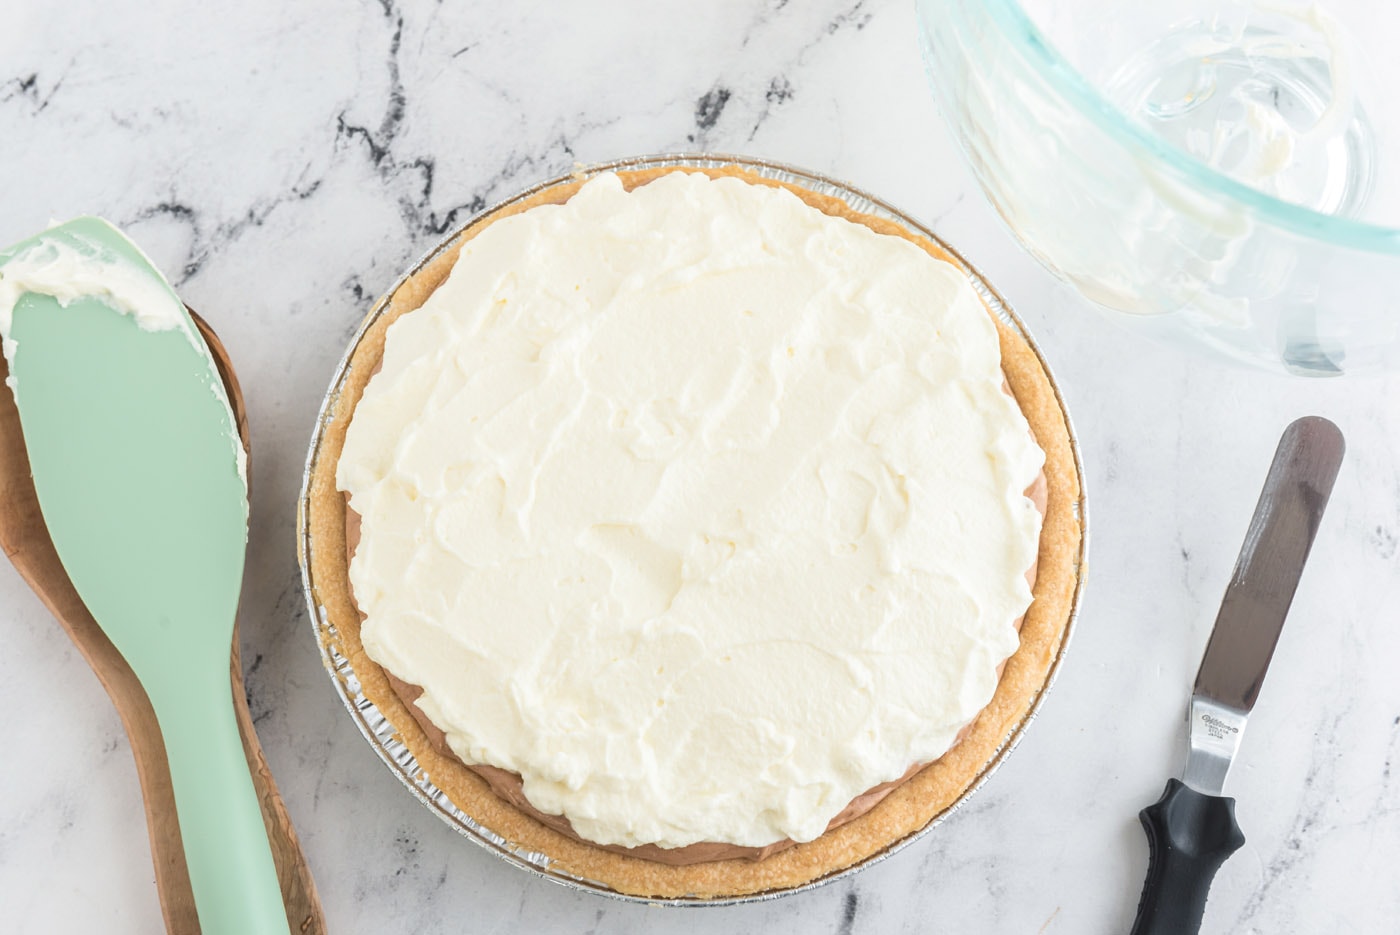
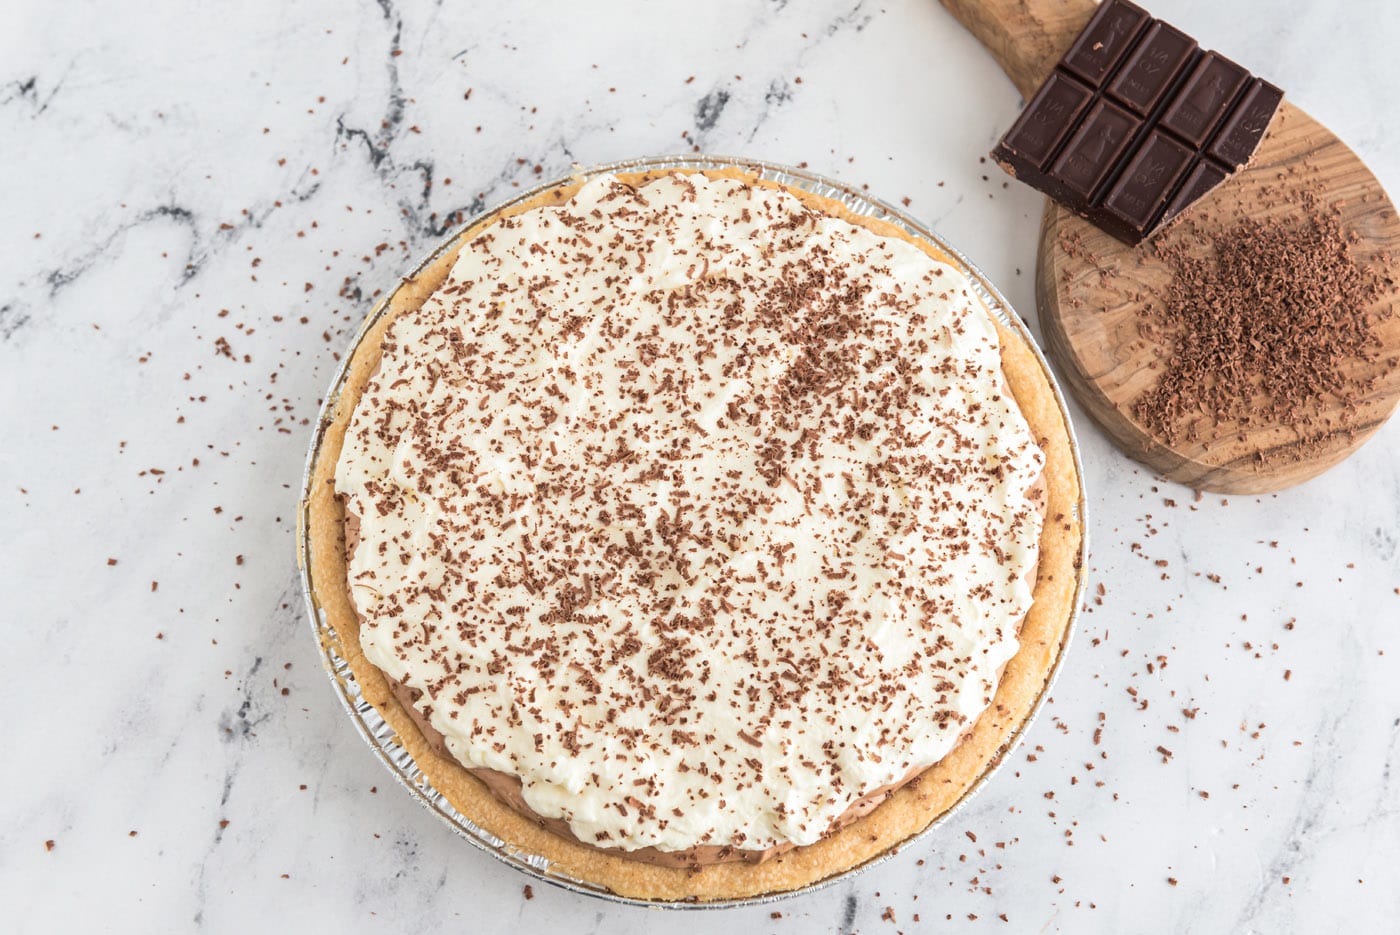
- When ready to serve, optionally garnish with shaved bittersweet chocolate.
Tips Before You Begin
- Make the filling first. The filling will be pale in color but will sometimes darken as it chills. Put it into a bowl, cover with plastic wrap and refrigerate. This allows it to set up and thicken a bit before adding it to the pie shell.
- Cool the chocolate. Melt the chocolate as instructed and let it cool completely. I usually melt the chocolate first so it’s cool by the time I need to add it to the filling in the mixer. If you add vanilla to hot or warm melted chocolate it may seize up.
- Make your pie crust. If making a crust from scratch, follow the instructions for a fully baked pie shell as this pie will not go in the oven. Let it cool completely.
- Add the chilled filling to the pie crust. Put it back in the fridge while you make the whipped topping. We like to chill the pie for two hours before topping with whipped cream, but it isn’t imperative. You can also wait to add the whipped topping until an hour or two before serving, either way will work. If you are using Cool Whip, go ahead and top the pie right away and refrigerate.
- WAIT until tomorrow to eat. You can certainly eat it after it has chilled for several hours, BUT believe me when I tell you that you will be very thankful that you waited overnight. The filling needs time to set up. Any graininess you may have detected when you tasted the filling will be gone after a good night’s rest.
Frequently Asked Questions & Expert Tips
Your pie filling may look grainy when mixing in the bowl, but don’t fret, simply beat it for several minutes until light and fluffy, about 6-7 minutes. The cause of graininess in your French silk pie is due to the sugar granules, which will melt while chilling overnight in the refrigerator. This isn’t necessarily a make-and-serve kind of pie. Be sure to chill it overnight for best results!
Yes, I highly suggest making this pie at least a day in advance. Though you can also make it up to 2 days in advance to save you even more time. Because we don’t bake this pie, you want to allow it ample time to set up in the refrigerator otherwise the pie may be grainy.
Store the pie covered with an air-tight lid or wrapped with plastic wrap in the refrigerator for 4-5 days.
Yes, you can freeze French silk pie! If you want to freeze the whole pie and thaw the entire thing later, place it in the freezer for a few hours. Then remove it and wrap the frozen pie in plastic wrap. Place the wrapped pie in a freezer bag. If it won’t fit, just double-wrap it with plastic wrap instead.
If you want to freeze slices, cut the pie into slices and place them on a waxed paper-lined cookie sheet. Place the entire thing in the freezer, making sure the slices are not touching each other. After a few hours, and the slices are frozen, remove from the freezer and wrap each one in plastic wrap. Place the wrapped slices into a freezer bag.
To thaw them out, simply remove from the freezer and immediately remove the plastic wrap. Allow to thaw at room temperature if you plan to eat it fairly soon. You can also thaw in the refrigerator but it will take quite a bit longer – probably a day.
Serving Suggestions
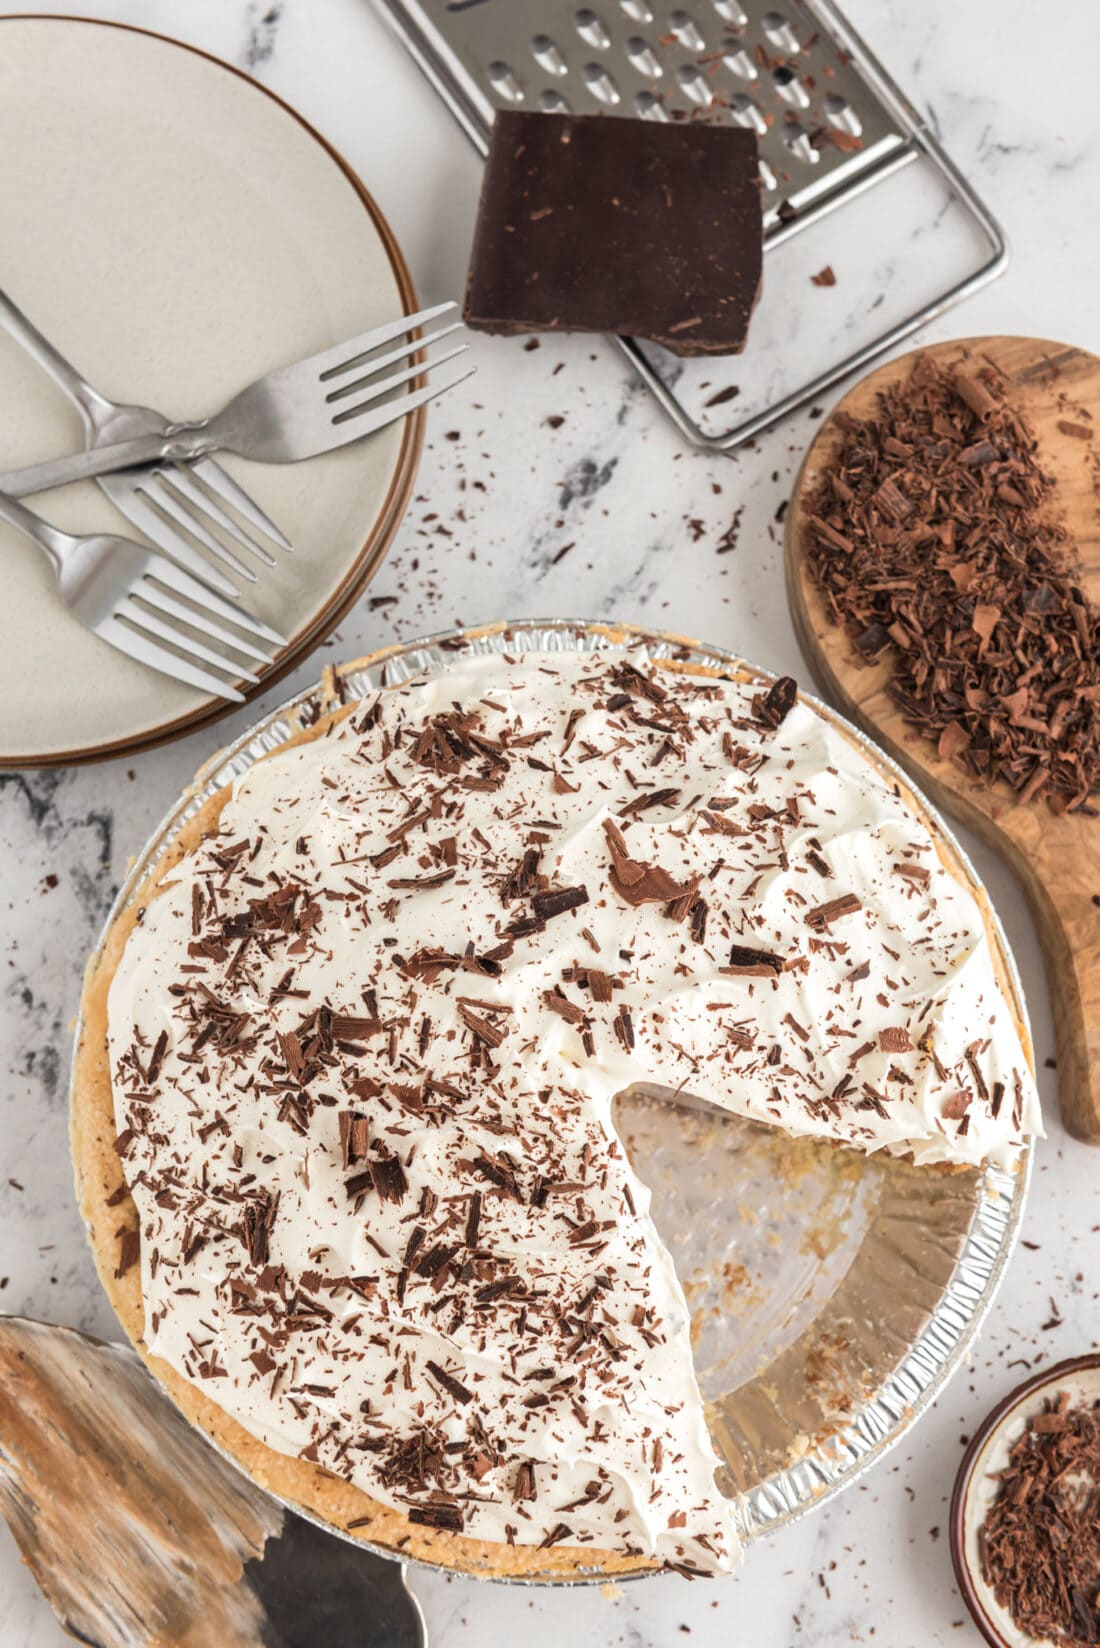
You can dress up the French silk pie by shaving some bittersweet chocolate through a mandolin or a vegetable peeler. Sprinkle the shavings on the top of the pie. You can also grate the chocolate for garnish. Serve chilled.
More Dessert Recipes
I love to bake and cook and share my kitchen experience with all of you! Remembering to come back each day can be tough, that’s why I offer a convenient newsletter every time a new recipe posts. Simply subscribe and start receiving your free daily recipes!
French Silk Pie
IMPORTANT – There are often Frequently Asked Questions within the blog post that you may find helpful. Simply scroll back up to read them!
Print It Rate ItIngredients
- 6 ounce deep dish frozen pie crust baked according to package
- 1 cup unsalted butter softened
- 1 ½ cups granulated sugar
- 2 ounces unsweetened chocolate melted and cooled COMPLETELY
- 2 teaspoons vanilla
- 4 large eggs
- 8 ounces heavy whipping cream or 8 ounce tub Cool Whip
- 1 Tablespoon powdered sugar
Things You’ll Need
Before You Begin
- We highly recommend making this pie a day ahead.
- The eggs in this recipe are not cooked. If that concerns you, you can use pasteurized eggs or learn how to pasteurize the eggs in your fridge.
- Do NOT use margarine, I have not tested this pie using margarine. Do NOT melt the butter. The butter should be softened, which means removing it from the fridge and letting it sit at room temp about 20-30 minutes.
- Make your pie crust first. If making a crust from scratch, follow the instructions for a fully baked pie shell as this pie will not go in the oven. Let it cool completely.
- We like to chill the pie for two hours before topping with whipped cream, but it isn’t imperative. You can also wait to add the whipped topping until an hour or two before serving, either way will work.
- I have used both Cool Whip and homemade whipped cream in the past when making this pie. It’s up to you on what you prefer.
Instructions
- Bake a homemade pie crust or use a Pillsbury refrigerated crust and make according to package directions for a fully baked crust. Set aside to cool.
- Melt the chocolate and set aside to cool completely.
- Beat sugar and butter on medium high until light and fluffy, about 6-7 minutes.
- Add cooled chocolate and vanilla and beat until incorporated.
- Add eggs, two at a time, beating a full 5 minutes after each addition.
- Pour filling into cooled pie crust.
- Chill in the refrigerator for two hours then top with whipped cream. Then chill again in the refrigerator for 6 hours or overnight. You can also wait until two hours or so before serving to add the whipped cream.
- To make the whipped cream, beat the heavy whipping cream and powdered sugar with a whisk attachment on medium-high speed until stiff peaks just begin to form. Add prepared whipped topping to top of pie.
- When ready to serve, optionally garnish with shaved bittersweet chocolate.
Expert Tips & FAQs
- WAIT until tomorrow to eat. You can certainly eat it after it has chilled for several hours, BUT believe me when I tell you that you will be very thankful that you waited overnight. The filling needs time to set up. Any graininess you may have detected when you tasted the filling will be gone after a good night’s rest.
- Store leftover pie covered with an air-tight lid or wrapped with plastic wrap in the refrigerator for 4-5 days.
- If you want to freeze the whole pie and thaw the entire thing later, place it in the freezer for a few hours. Then remove it and wrap the frozen pie in plastic wrap. Place the wrapped pie in a freezer bag. If it won’t fit, just double-wrap it with plastic wrap instead.
- If you want to freeze slices, cut the pie into slices and place them on a waxed paper-lined cookie sheet. Place the entire thing in the freezer, making sure the slices are not touching each other. After a few hours, and the slices are frozen, remove from the freezer and wrap each one in plastic wrap. Place the wrapped slices into a freezer bag.
- To thaw them out, simply remove from the freezer and immediately remove the plastic wrap. Allow to thaw at room temperature if you plan to eat it fairly soon. You can also thaw in the refrigerator but it will take quite a bit longer – probably a day.
Nutrition
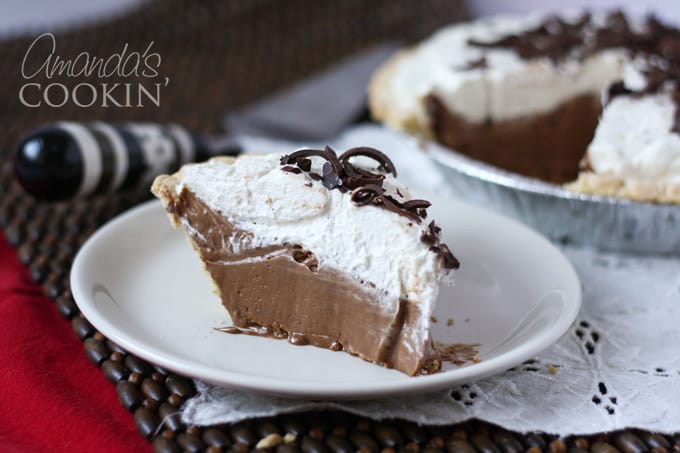
This post originally appeared on this blog on December 6, 2008 and has since been updated with new photos and expert tips. Pictured above is one of our old photos which you may recognize.
Amanda Davis
Latest posts by Amanda Davis (see all)
- Appetizer Veggie Pizza - December 23, 2024
- Pretzel Chocolate Chip Cookies - December 19, 2024
- Christmas Tree Cheese Platter - December 16, 2024


Anonymous says
I put it in the freezer a couple of hours ago. It's nice and cold but still not firm. I'll leave it over night.
Amanda says
I know that the first time I made this mine was the same way but after it say overnight it was outstanding. I made mine for Thanksgiving this morning and it was perfect by late afternoon. Try popping it into the freezer for half an hour or so and see if that helps!
Anonymous says
My pie has been in the fridge for 3 hours and still is thick but runny. Is it just my fridge? Did anyone elses take this long. But I keep licking the chocolate and it's yummy. It just won't firm up so i can eat it
Kevin says
You need to modify the recipe and the instructions a bit. A TRADITIONAL french Silk would have another ounce of chocolate, another egg, 1 c sugar not 1.5 cups. As for the instructions you do NOT add eggs two at a time but rather one at a time with 5 minutes of mixing between eggs.
The given recipe will make a good chocolate flavored pie. With the corrections you will get the pie that started it all and will finally understand the origin of the name. Until modified you won’t get the real “silk”. if done correctly this pie will NOT be runny when sent to the fridge to chill.
Amanda says
Thanks for that Kevin, I may have to give your adjustments a try sometime :) I’ve made the pie according to the above recipe probably 10 times and it tastes just like Baker’s Square French Silk Pie to me :) The filling was never runny when I sent it to the fridge, but I definitely firms up after chilling. :)
KAte says
Kevin,
What about if I wanted to make the Christmas Peppermint French Silk? Replace the vanilla with peppermint? Or something more complex?
Cheers,
KAte
Amanda Formaro says
Kate, I haven’t tried that yet, but if I were to try I would use 1/2 teaspoon peppermint extract and 1 1/2 teaspoons vanilla extract instead of the 2 teaspoons vanilla the recipe calls for. :) This is based off of making peppermint ice cream multiple times. If you try it, let me know how it goes!
Amanda says
Yes Susan, that is correct :) If you are concerned about egg safety you can use pasteurized eggs, get them from a local farmer, or it might not be for you. it's my favorite chocolate pie that I have made several times. :)
Susan says
You don't say to "cook" the filling; really? Raw eggs?
Amanda says
Happy birthday, hope you get to make it!
Anonymous says
I'm with you- in love with Baker's Square's French Silk pie- miss it terribly from my youth in Wisconsin…
Thanks for the recipe! I may make it for my 39th birthday next week!
megan says
Wish I had this at my Easter dinner! :)
Amanda says
Thanks Heather!
Heather Davis says
Wow that looks so yummy! Even after all the Easter chocolate I've consummed today could quite happily tuck in to that.
Amanda says
Thanks Winnie! An old post, but a goodie :)
Winnie says
That looks silky and incredible!
Amanda says
Thank you Barbara!
Amanda says
Katrina – Good idea! I had seen your french silk pie when you posted it :) Looked fabulous!!
The sugar seems grainy when you are whipping it, but once the pie is made it's smooth and creamy, can't even tell! YUMMMMM
Barbara @ moderncomfortfood says
Oh, yum! You always have the dreamiest looking desserts, Amanda.
Katrina says
Had a French Silk Pie with some friends in February. (It's posted on my blog, maybe you saw it). But the trick I used was Superfine Sugar. Didn't even have to beat it very long and it wasn't grainy AT ALL. Otherwise, I think our recipes look similar. Try superfine sugar sometime, just replace it in any French Silk Pie recipe and it it works great!
http://www.bakingandboys.com/2010/02/twdrick-katzs-brownies-for-julia-and.html
I didn't even post a recipe, but I think it's because I combined a couple recipes I'd been looking at and used superfine sugar in a recipe that just called for granulated. But I got the idea from another recipe.
Happy Easter. Your pie certainly looks fabulously creamy!
Amanda says
I haven't tried powdered sugar, and it would definitely measure differently, but if you follow the recipe instructions the pie comes out perfect. Nice and creamy, even if it seems grainy when you are making it :) there's no graininess when it's finished. hope that helps!
Anonymous says
Has anyone tried powdered sugar? Since getting the sugar to break down is so important would this be an idea or are they 2 totally different things?
Gabe's Girl says
I just read your Best Recipes of 2009 and just had to see this recipe. It looks great! So easy. Printed it out and gonna make this week!
Kieran says
This pie looks very yummy… good enough to be served with our Christmas dinner tonight :)
.:Kieran
http://feasting.in