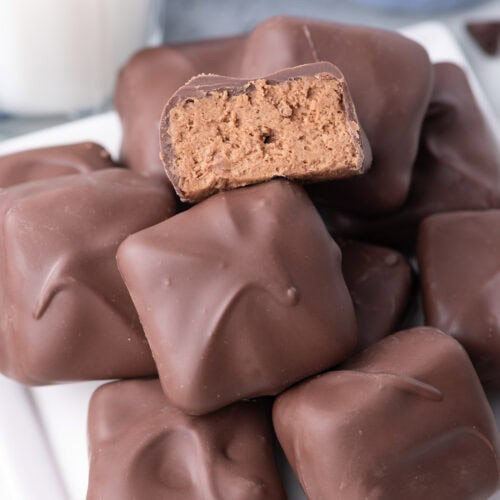
This cool whip candy is easy to make with only 3 ingredients. A delicious dark chocolate shell gives way to a soft, nougat-like center!
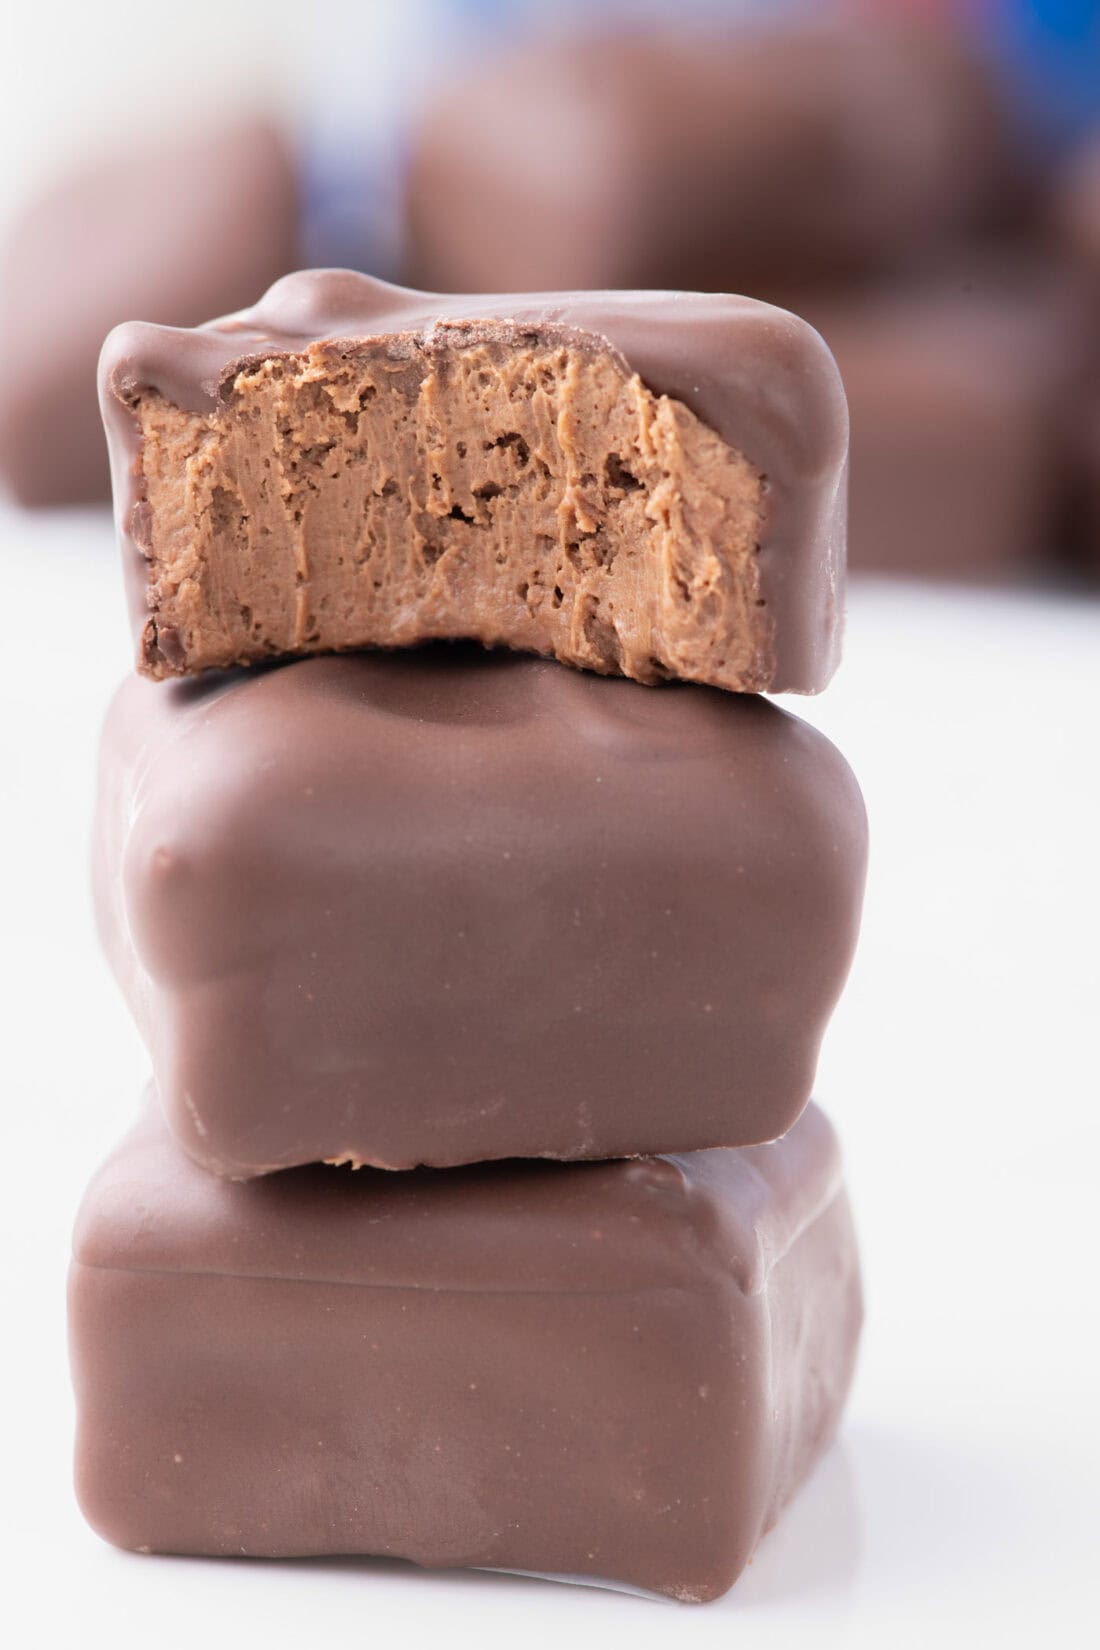
Why this recipe works
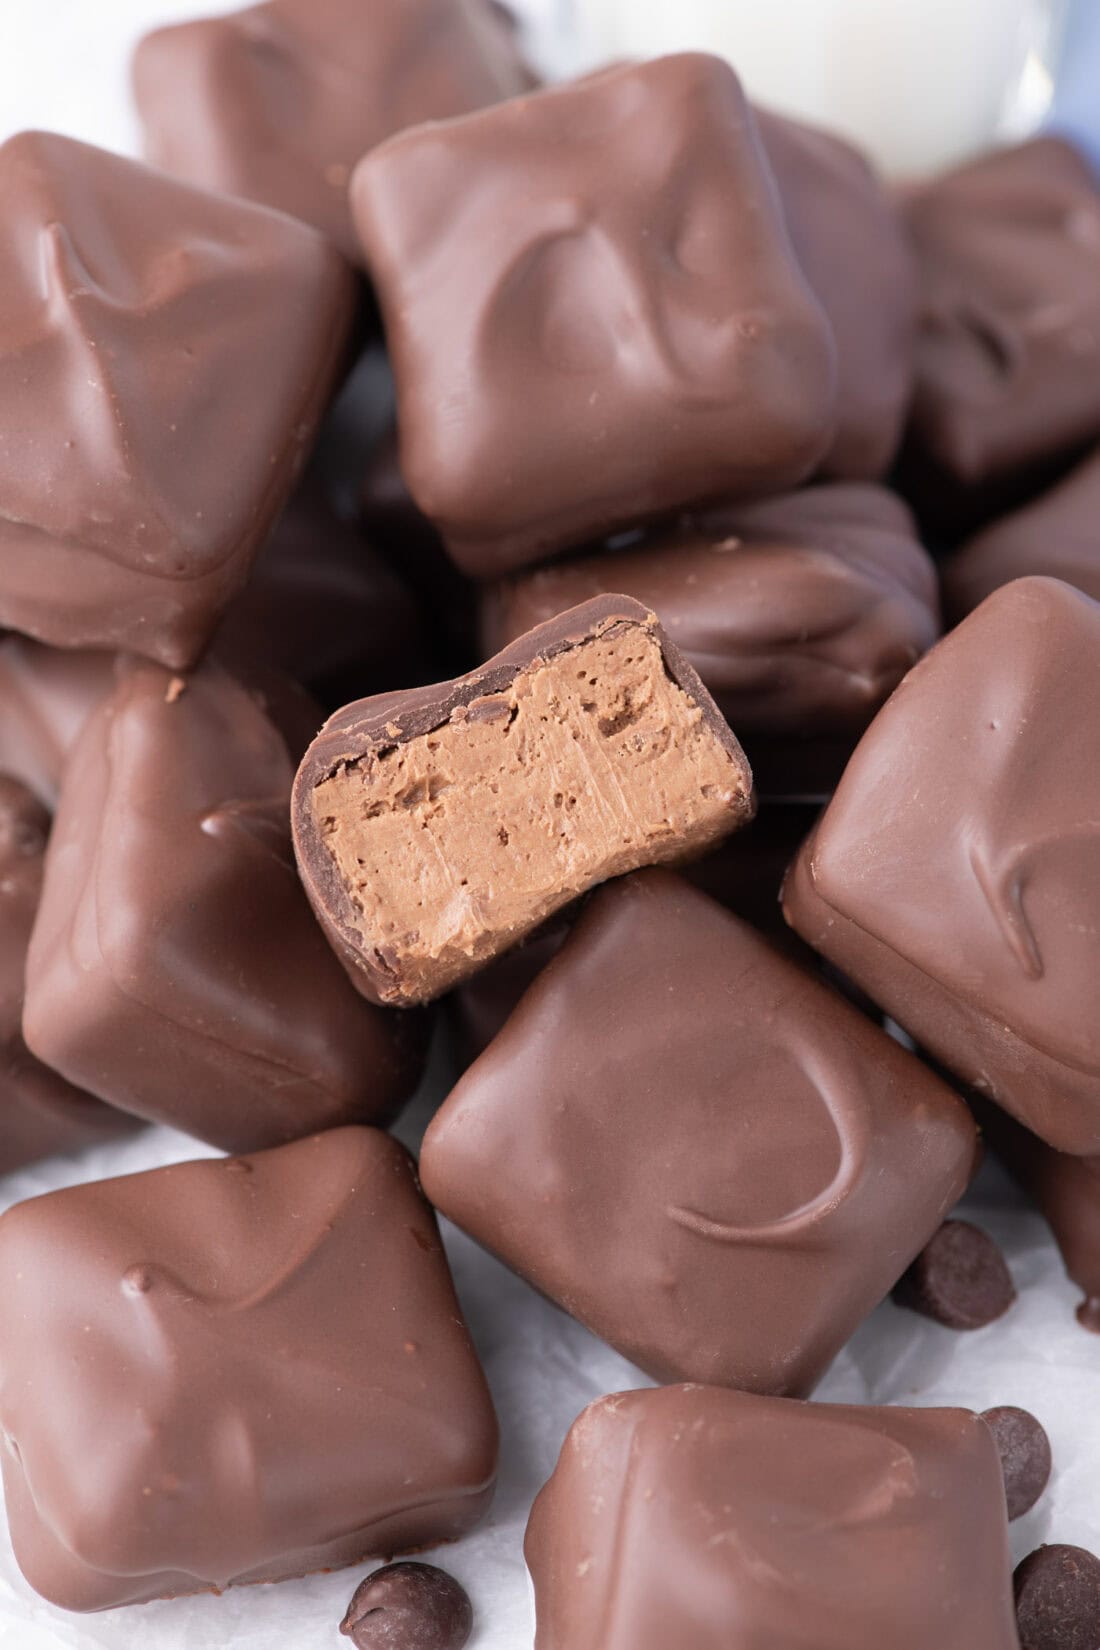
Cool whip candy is similar to a classic 3 Musketeers bar texture-wise with a soft and fluffy chocolate center wrapped in dark chocolate. Except these are of course homemade with only 3 ingredients – and they’re bite-sized too! All you’ll need is milk chocolate and semi-sweet chocolate chips plus Cool Whip to make a batch of homemade candy.
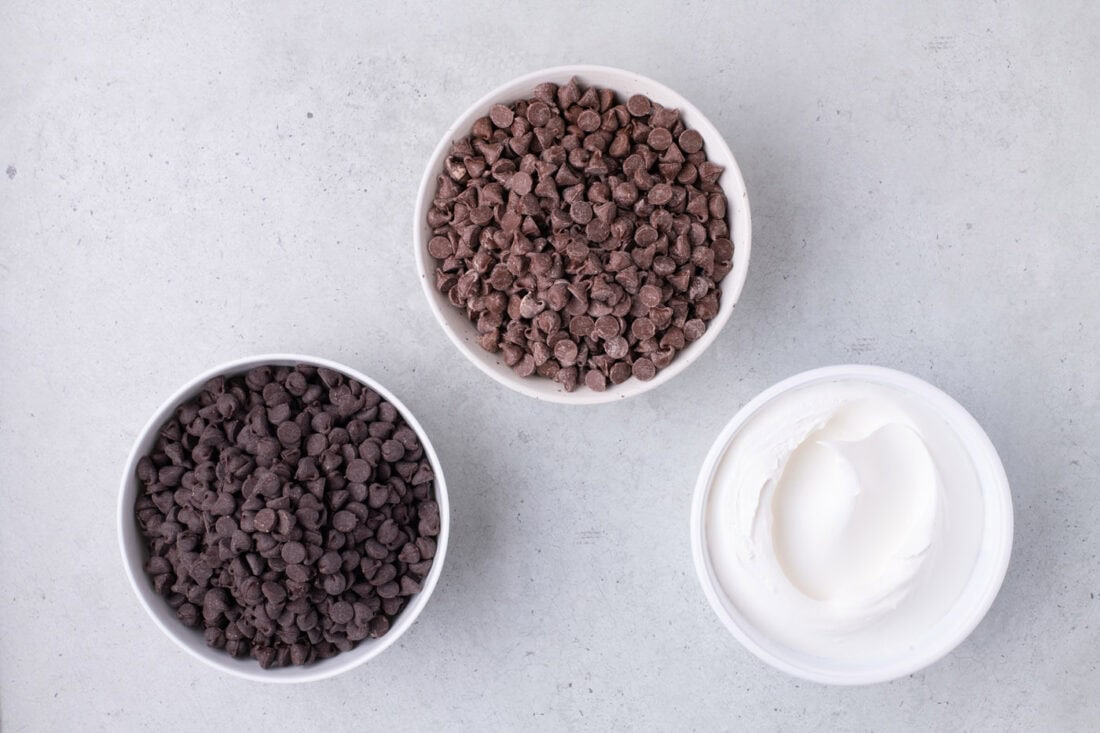
Ingredients you will need
Get all measurements, ingredients, and instructions in the printable version at the end of this post.
Ingredient Info and Substitution Suggestions
CHOCOLATE CHIPS – We are using both milk and semi-sweet chocolate chips here. I highly recommend using good quality chips as it’s the star of the show! You can substitute the semi-sweet with an even further concentration of dark chocolate if preferred.
COOL WHIP – You’ll want your Cool Whip to be at room temperature as it’s easier to combine with the melted chocolate. Do not be tempted to warm the Cool Whip/chocolate mixture to make it easier to stir. Doing so will condense the Cool Whip and essentially turn the mixture into a dense and sticky fudge.
How to Make Cool Whip Candy
These step by step photos and instructions are here to help you visualize how to make this recipe. You can Jump to Recipe to get the printable version of this recipe, complete with measurements and instructions at the bottom.
- Line a baking sheet with parchment paper and an 8-inch square baking pan with 2 sheets of parchment paper (long enough to create handles for easy removal of the chocolate candy). Set both aside.
- Place the milk chocolate chips into a large microwave-safe bowl and heat in 30-second increments, stirring after each interval to ensure the chocolate chips don’t burn.
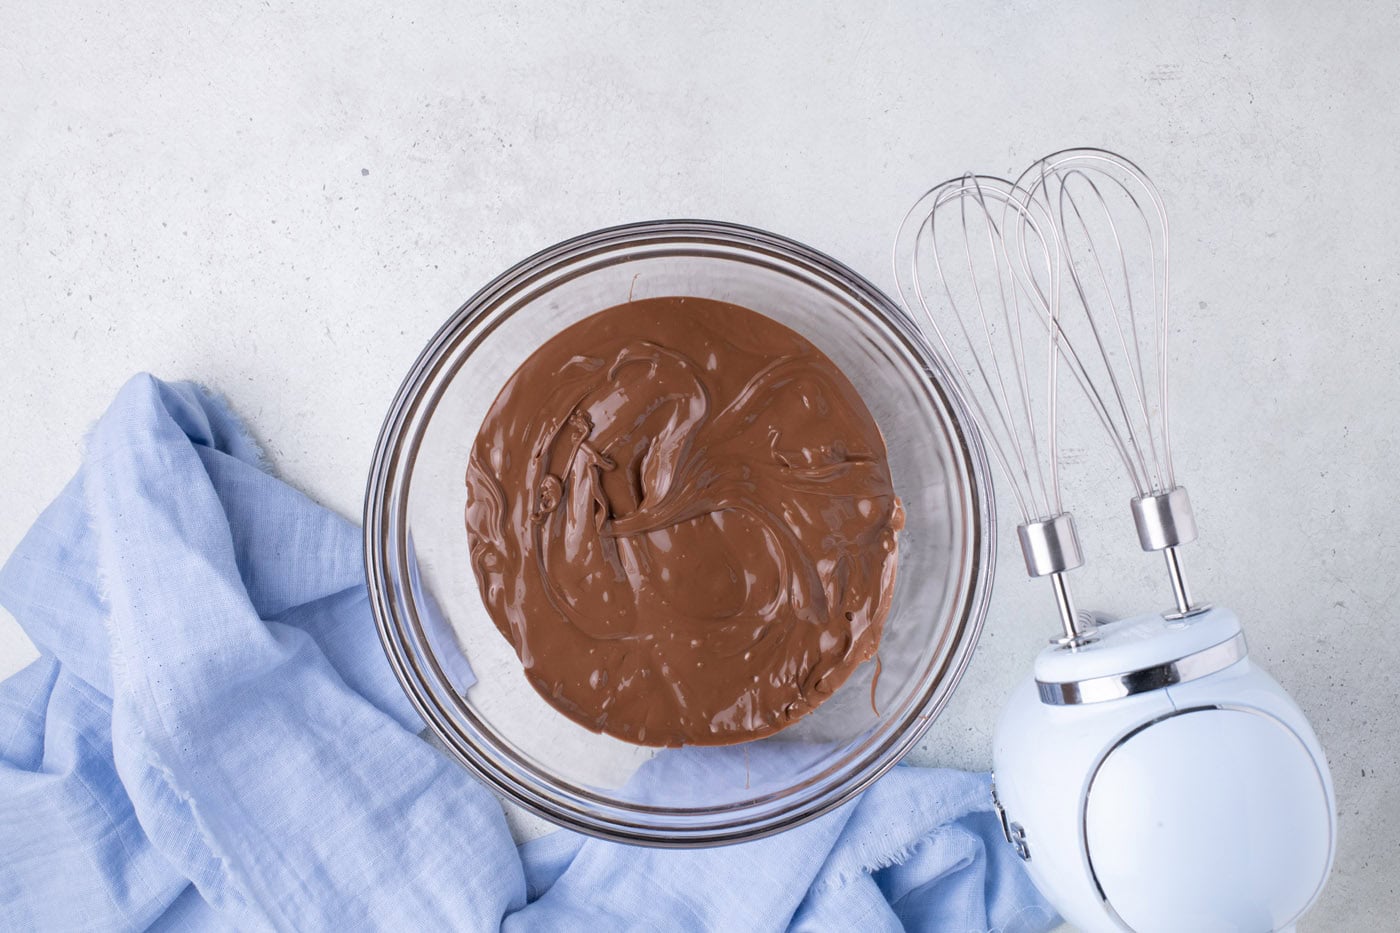
- Once the chocolate chips have melted and are smooth, add volume to the chocolate by beating it with a hand mixer until it is lighter in color.
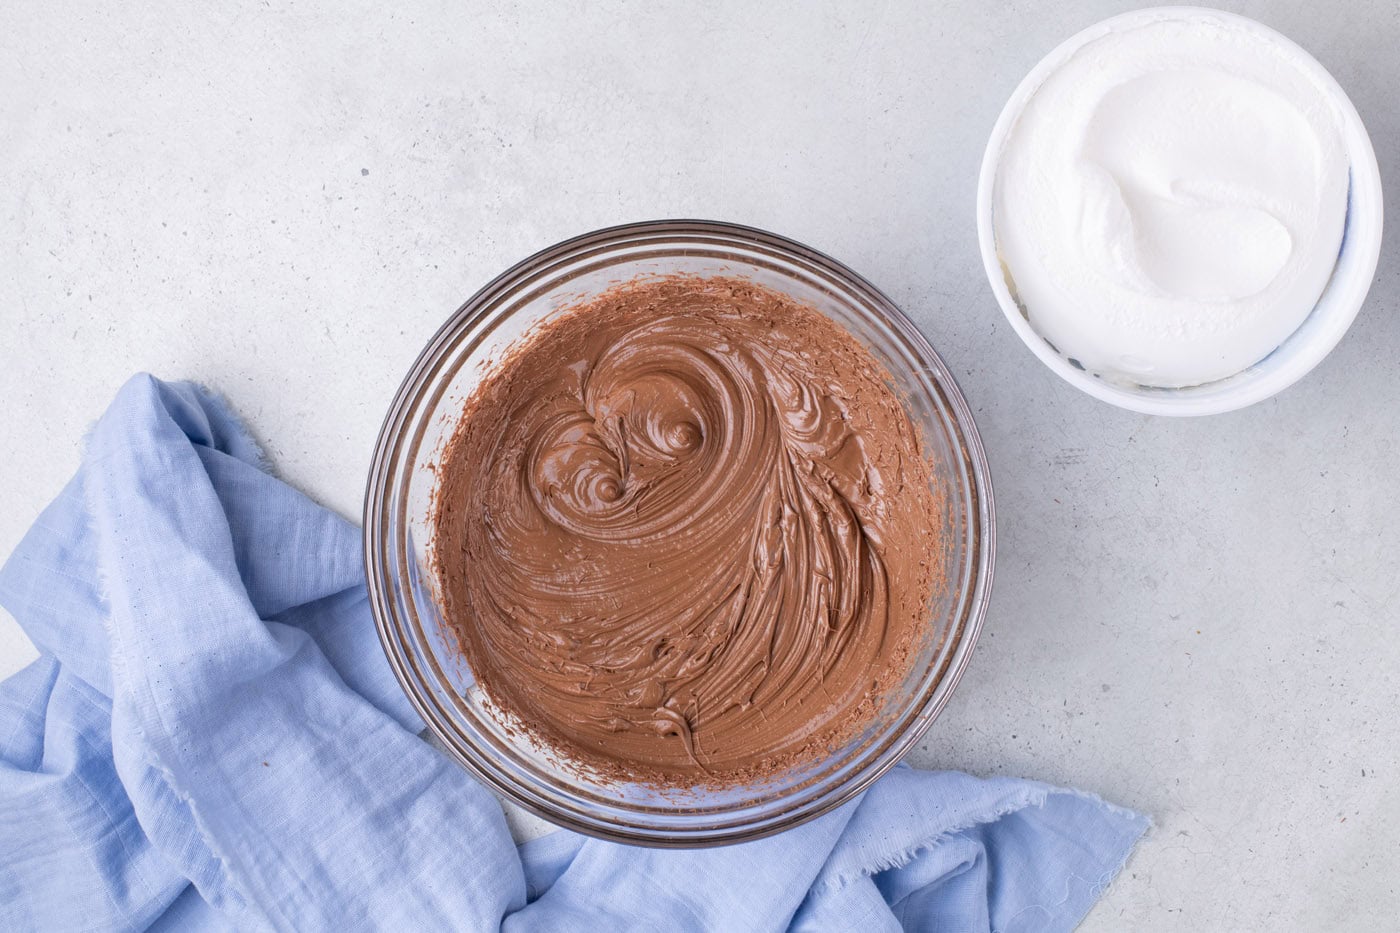
- Fold in the Cool Whip until combined.

- Transfer the chocolate mixture to the prepared baking pan, smoothing out the top with a small offset spatula. Make sure the chocolate gets into all the corners.
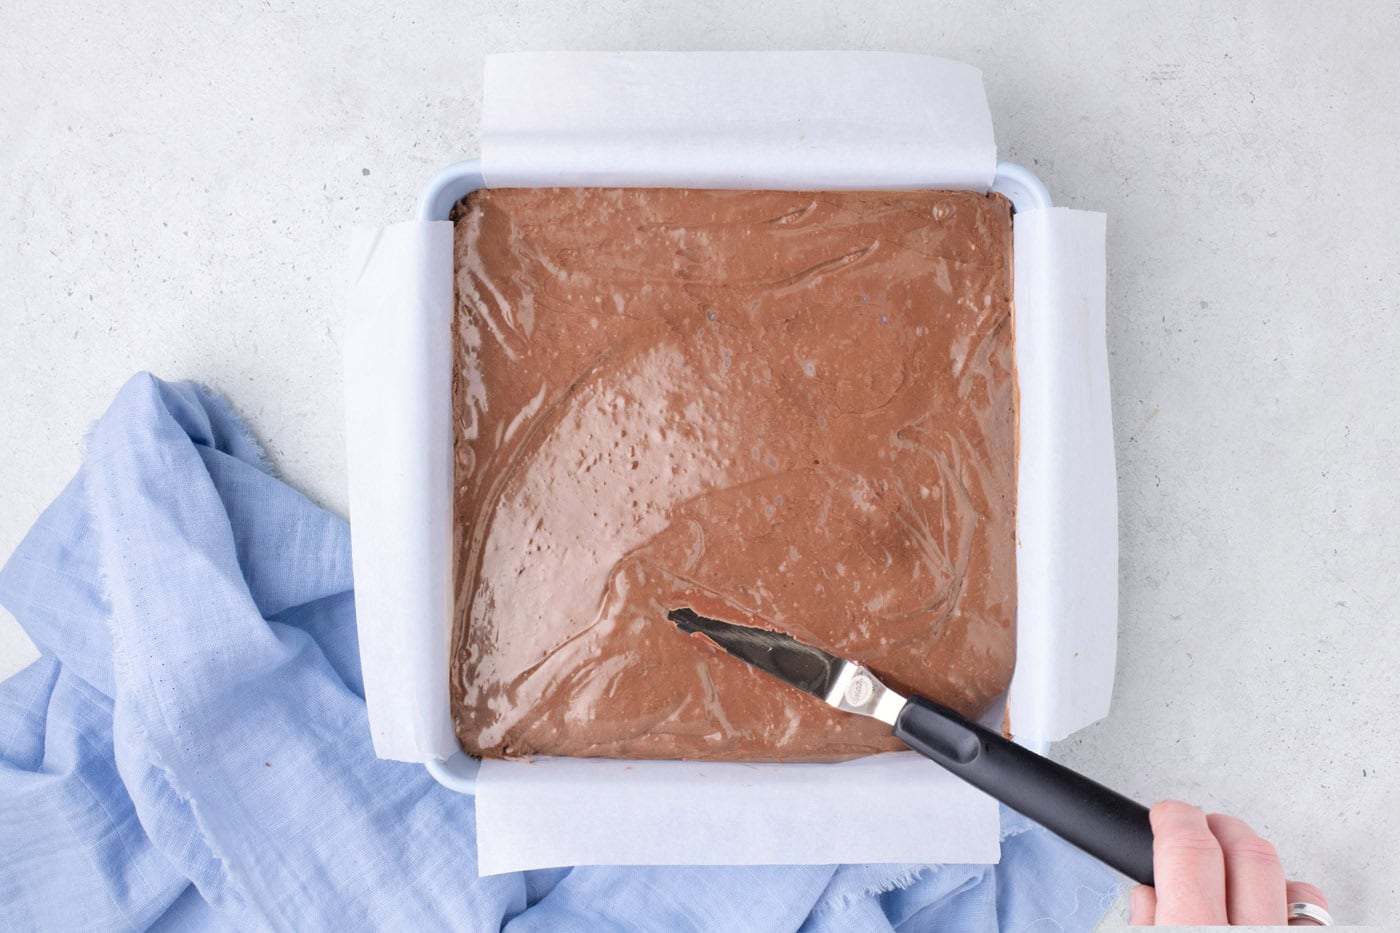
- Place the baking pan in the freezer for 45 minutes (or until the chocolate is solid).
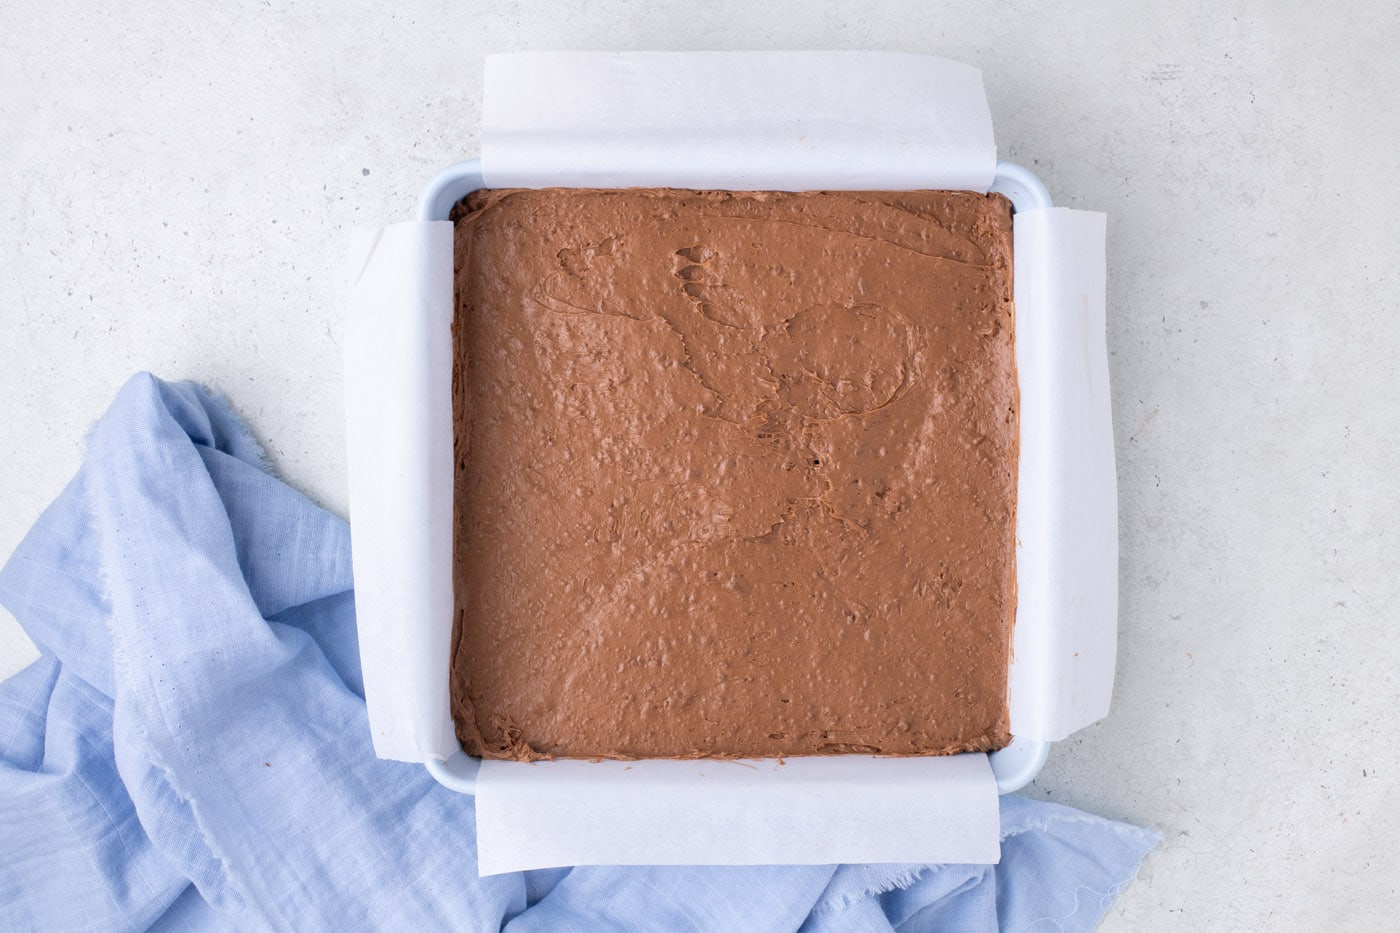
- Remove the hardened chocolate mixture from the pan using the parchment paper handles. Using a sharp chef’s knife, cut 36 equal-sized squares and return them to the freezer to chill for another 30 minutes.
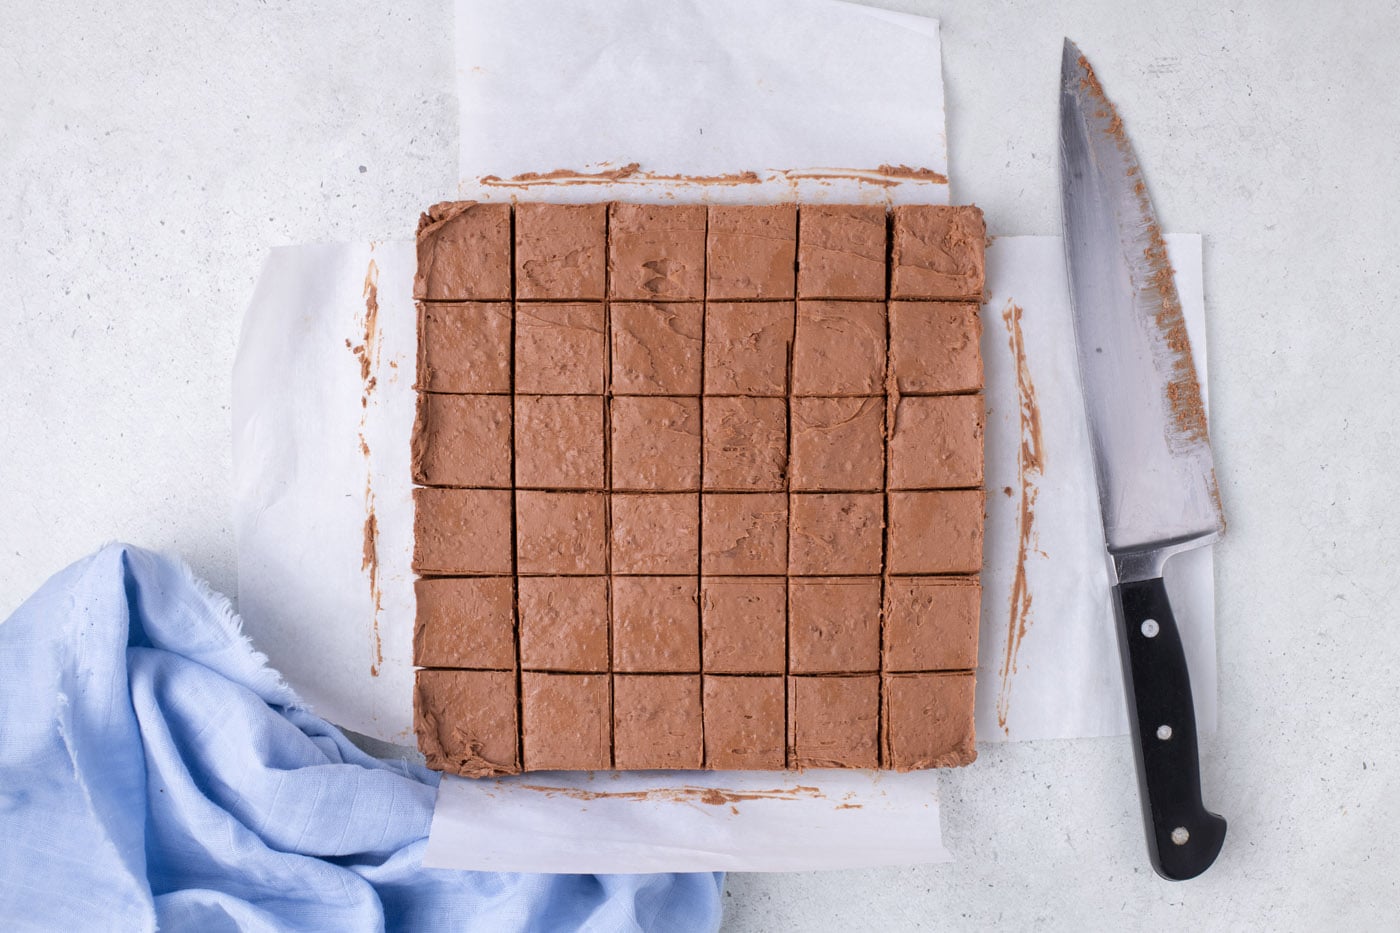
- In a smaller microwave-safe bowl, heat the semi-sweet chocolate chips in 30-second increments until smooth and the chocolate has melted.
- Place a chocolate square on a fork and dip it into the melted chocolate. Scrape the bottom of the fork against the edge of the bowl to remove any excess chocolate.
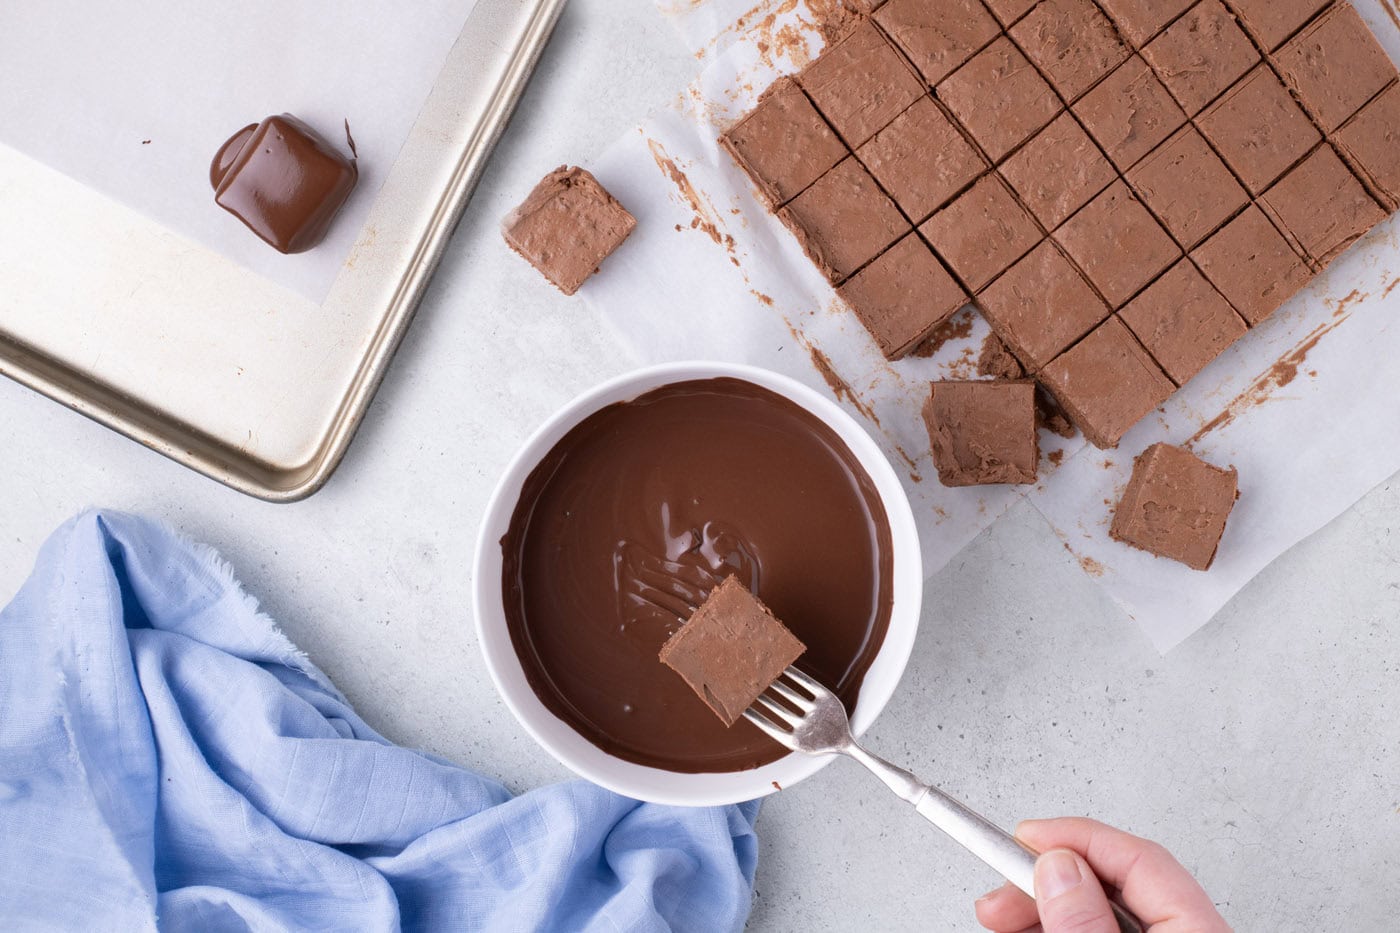
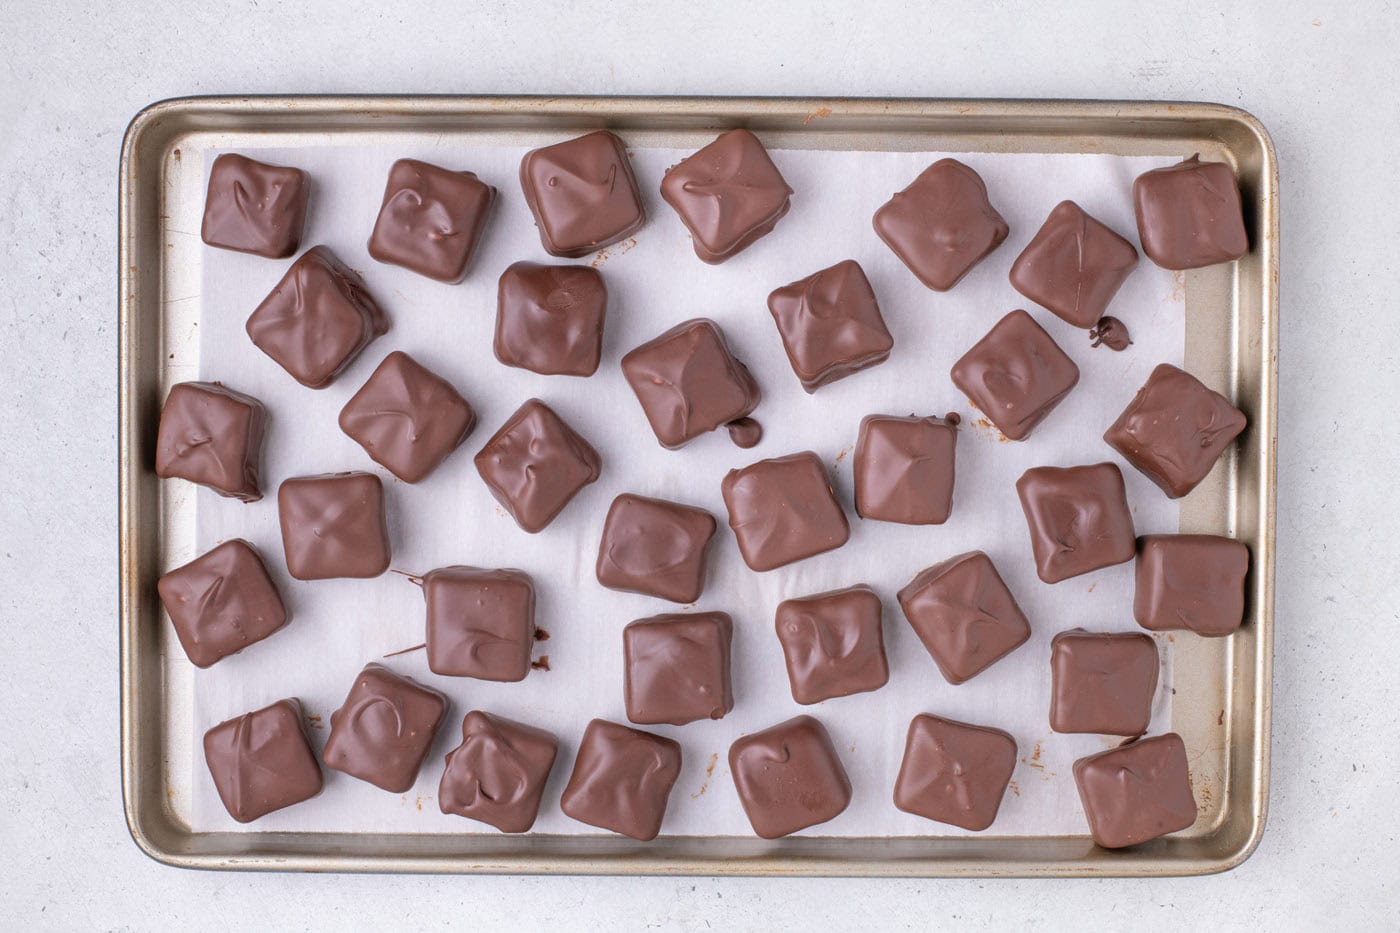
- Place the chocolate squares on the prepared baking sheet, repeating this with the remaining squares. Let the chocolate coating set, then serve.
Frequently Asked Questions & Expert Tips
Store the chocolates in an air-tight container kept at room temperature for up to 7 days. They will keep even longer if stored in the refrigerator or freezer. Place them in a ziptop bag and freeze for up to 1 month, or in the refrigerator for up to 2 weeks.
This mixture is very sticky before it is dipped into the melted chocolate, and cutting can be tricky. However, for smoother cuts, be sure to freeze the chocolate mixture in the baking pan for the full 45 minutes. Also, dip your knife into hot water and dry it off before making each cut.
This particular recipe works best with Cool Whip, as its smooth and creamy texture slightly differs from regular whipped cream. However, you can try your hand at homemade stabilized whipped cream if you want to make it yourself.
Serving Suggestions
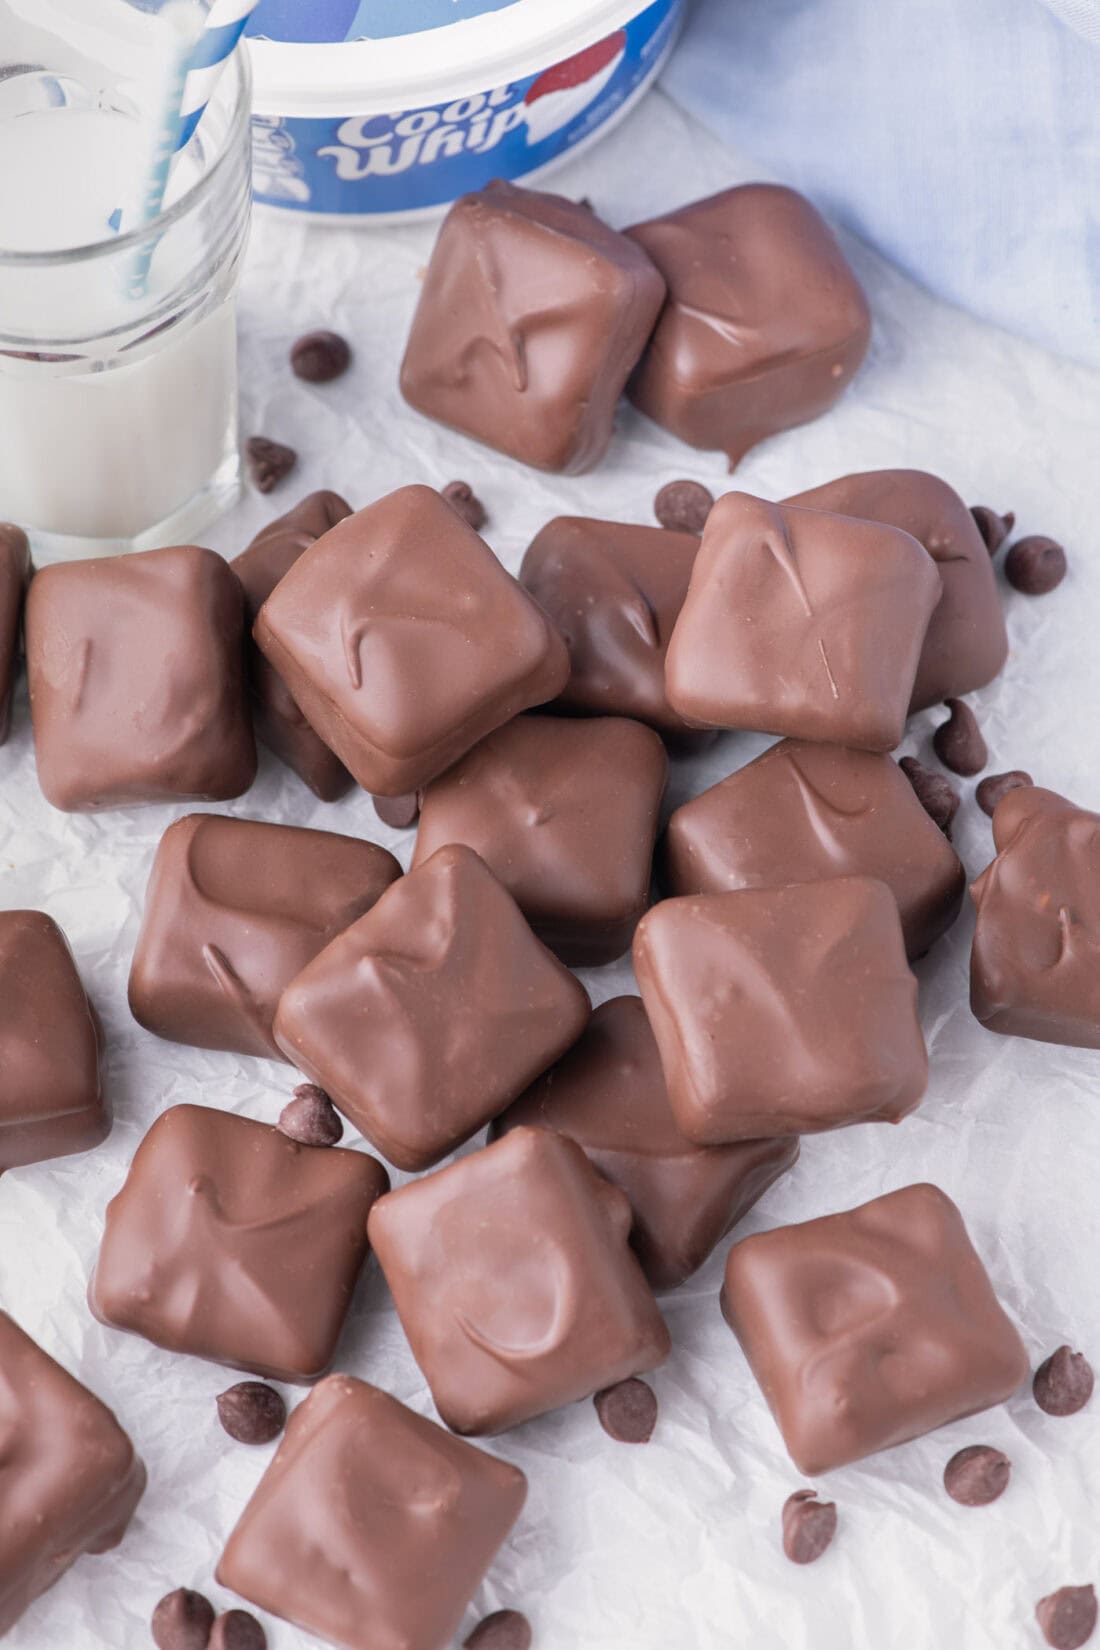
Cool Whip candy can be served at room temperature, chilled, or frozen. They are amazing all three ways!
Optionally drizzle the top of the candies with extra melted chocolate. These make great edible gifts around the holidays. Tie them in a cellophane bag and wrap with a ribbon for gift-giving!
More Related Recipes
I love to bake and cook and share my kitchen experience with all of you! Remembering to come back each day can be tough, that’s why I offer a convenient newsletter every time a new recipe posts. Simply subscribe and start receiving your free daily recipes!
Cool Whip Candy
IMPORTANT – There are often Frequently Asked Questions within the blog post that you may find helpful. Simply scroll back up to read them!
Print It Rate ItIngredients
- 23 ounces milk chocolate chips two 11.5 ounce bags
- 8 ounces Cool Whip room temperature
- 24 ounces semi-sweet chocolate chips two 12 ounce bags
Things You’ll Need
Before You Begin
- You’ll want your Cool Whip to be at room temperature as it’s easier to combine with the melted chocolate.
- Do not be tempted to warm the Cool Whip/chocolate mixture to make it easier to stir. Doing so will condense the Cool Whip and essentially turn the mixture into a dense and sticky fudge.
- This mixture is very sticky before it is dipped into the melted chocolate, and cutting can be tricky. However, for smoother cuts, be sure to freeze the chocolate mixture in the baking pan for the full 45 minutes. Also, dip your knife into hot water and dry it off before making each cut.
Instructions
- Line a baking sheet with parchment paper and an 8-inch square baking pan with 2 sheets of parchment paper (long enough to create handles for easy removal of the chocolate candy). Set both aside.
- Place the milk chocolate chips into a large microwave-safe bowl and heat in 30-second increments, stirring after each interval to ensure the chocolate chips don’t burn.23 ounces milk chocolate chips
- Once the chocolate chips have melted and are smooth, add volume to the chocolate by beating it with a hand-held mixer until it is lighter in color.
- Fold in the Cool Whip until combined.8 ounces Cool Whip
- Transfer the chocolate mixture to the prepared baking pan, smoothing out the top with a small offset spatula. Make sure the chocolate gets into all the corners.
- Place the baking pan in the freezer for 45 minutes (or until the chocolate is solid).
- Remove the hardened chocolate mixture from the pan using the parchment paper handles. Using a sharp chef’s knife, cut 36 equal-sized squares and return them to the freezer to chill for another 30 minutes.
- In a smaller microwave-safe bowl, heat the semi-sweet chocolate chips in 30-second increments until smooth and the chocolate has melted.24 ounces semi-sweet chocolate chips
- Place a chocolate square on a fork and dip it into the melted chocolate. Scrape the bottom of the fork against the edge of the bowl to remove any excess chocolate.
- Place the chocolate squares on the prepared baking sheet, repeating this with the remaining squares. Let the chocolate coating set, then serve.
Expert Tips & FAQs
- Store the chocolates in an air-tight container kept at room temperature for up to 7 days. They will keep even longer if stored in the refrigerator or freezer. Place them in a ziptop bag and freeze for up to 1 month, or in the refrigerator for up to 2 weeks.
Nutrition
Kristen Rittmer
Latest posts by Kristen Rittmer (see all)
- Chicken Pot Pie Pasta - January 15, 2025
- Butterscotch Brownies - January 8, 2025
- Instant Pot Split Pea Soup - December 25, 2024


Stephanie says
It didn’t turn out like I expected, waste of time and money
Amanda Davis says
Sorry you had trouble. This is a very simple recipe, so I have to ask what was it that you expected that didn’t happen?
Kerry Thomas says
Sounds heavenly
Brenda Winer says
I followed the simple directions, exactly as instructed, but combining the room temp Cool Whip into the melted Milk Chocolate chips did not produce an airy fluffy center. It was more of a dark fudge like consistency . I did not bother to cover in another chocolate, as it was already super sweet.
Amanda Davis says
Sounds like you may have missed a step. Did you beat the melted chocolate with the electric mixer until fluffy? See step 3 in the printable recipe:
“Once the chocolate chips have melted and are smooth, add volume to the chocolate by beating it with a hand-held mixer until it is lighter in color.”
That’s what produces the airy fluffy center. It’s after that step that you fold in the Cool Whip.