Making Tie Dye Easter Eggs is a super fun and different way to color your Easter eggs this year. Make all the pretty colors you’d like! Prepare to get messy, so grab an apron and your eggs and let’s get started!
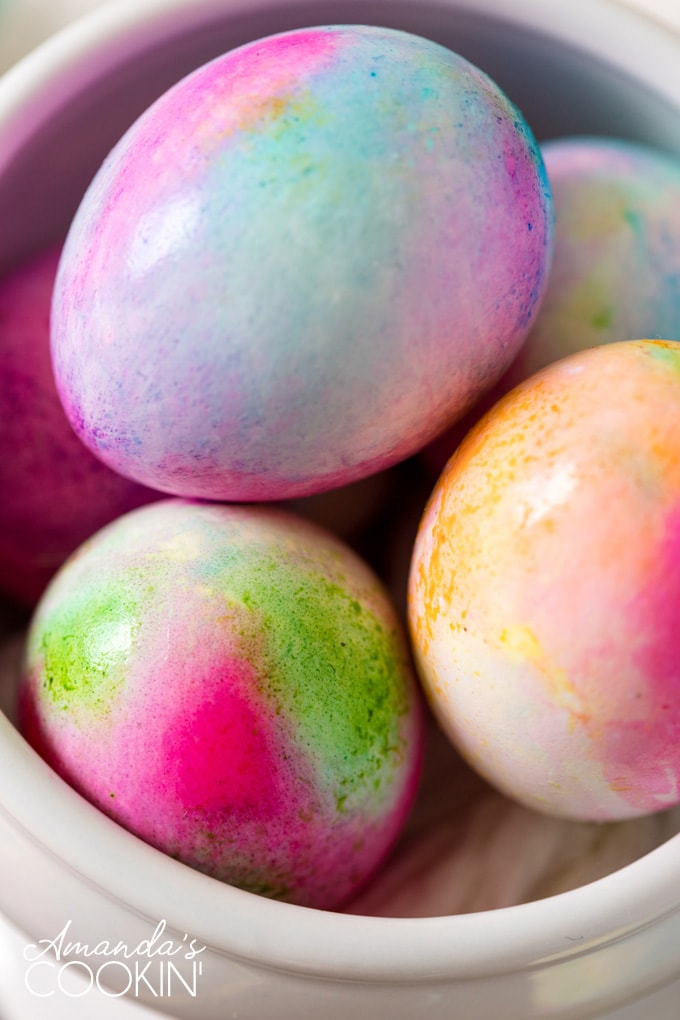
Tie Dye Easter Eggs: Two Ways
Decorating Easter eggs was always one of my kids’ favorite things to do, but as they got older we tried to find different ways to color eggs outside of the typical plain pastels. That’s when we decided to get a little messy in the kitchen with these tie dyed Easter eggs as well as these awesome cracked colored eggs.
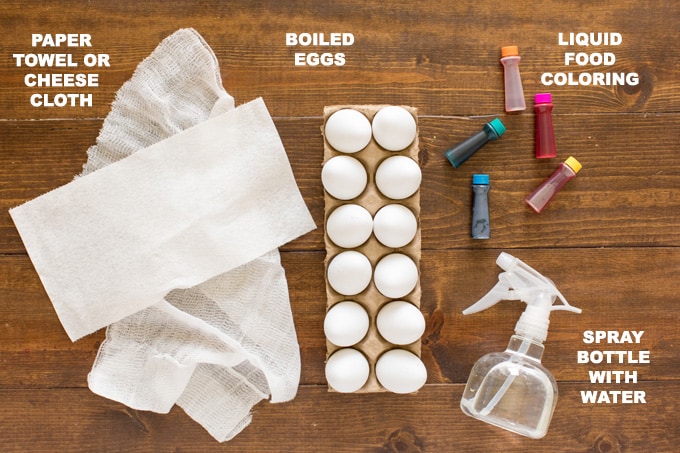
Supplies you will need
I’m going to show you two methods for decorating tie dye eggs. You can use cheesecloth or a sturdy paper towel.
- plastic wrap for the counter
- cheesecloth OR paper towels
- liquid food coloring
- a small spray bottle with water (or a small cup of water)
- rubber band
- empty cardboard egg carton to hold eggs
Helpful Kitchen Tips
- You can let all the eggs dry in a cardboard egg carton, or you can be like me and speed up the process using a hairdryer on the cool setting.
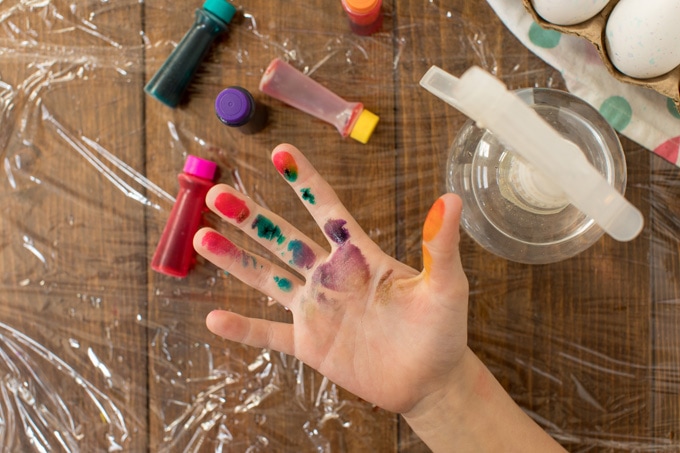
- If you don’t want to deal with food coloring stains on skim, have kids wear rubber gloves.
- To remove food coloring from your skin, first rub hands with hand lotion. Make a paste from white vinegar and salt and run onto stained skin. Rinse and repeat until gone.
- If using the paper towel method, you should use a sturdy paper towel. However, you can double or triple the number of sheets to make it stronger.
Cheesecloth Method
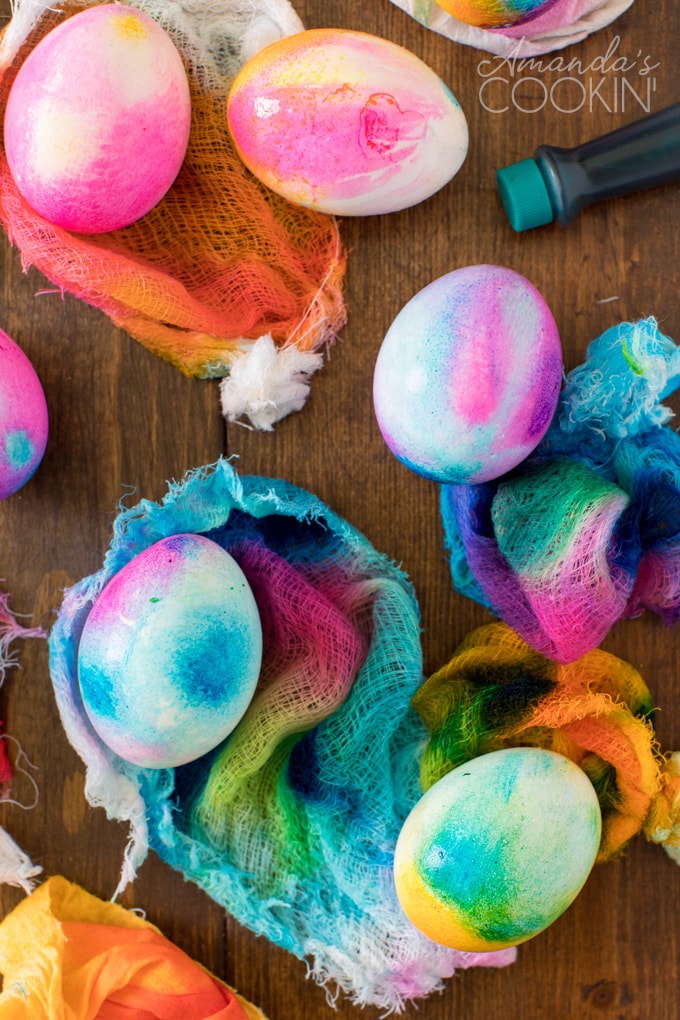
- Layer the counter with plastic wrap. Cut cheesecloth into 6″ lengths.
- Get the cheesecloth wet and wring it out.
- Place a boiled egg into the center of the cheesecloth.
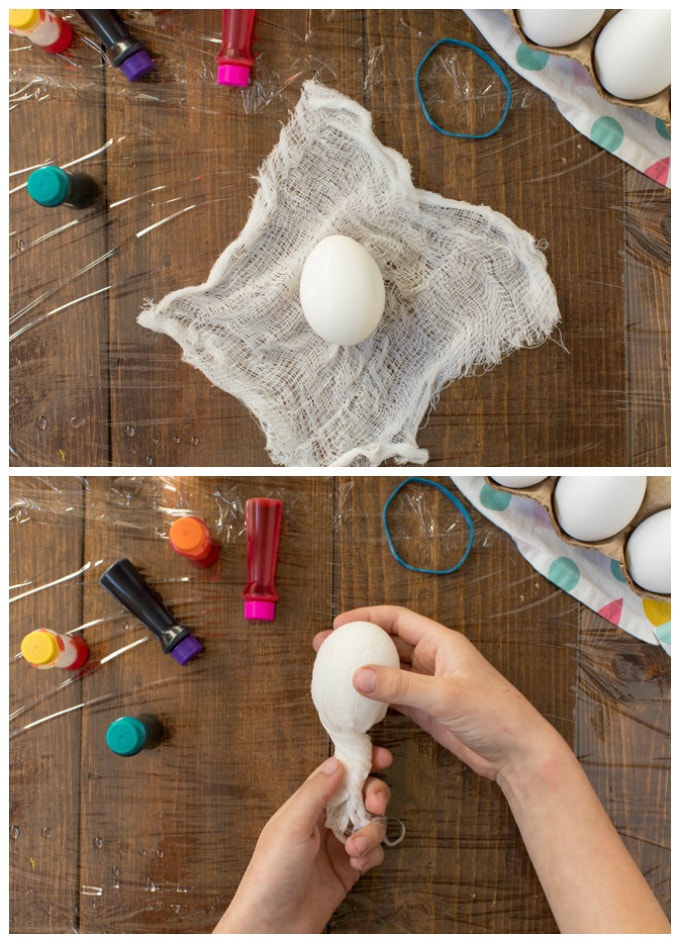
- Gather the ends of the cheesecloth together tightly around the egg and secure with a rubber band.
- Hold egg by the rubber banded end and add drops of food coloring to the damp cheesecloth.
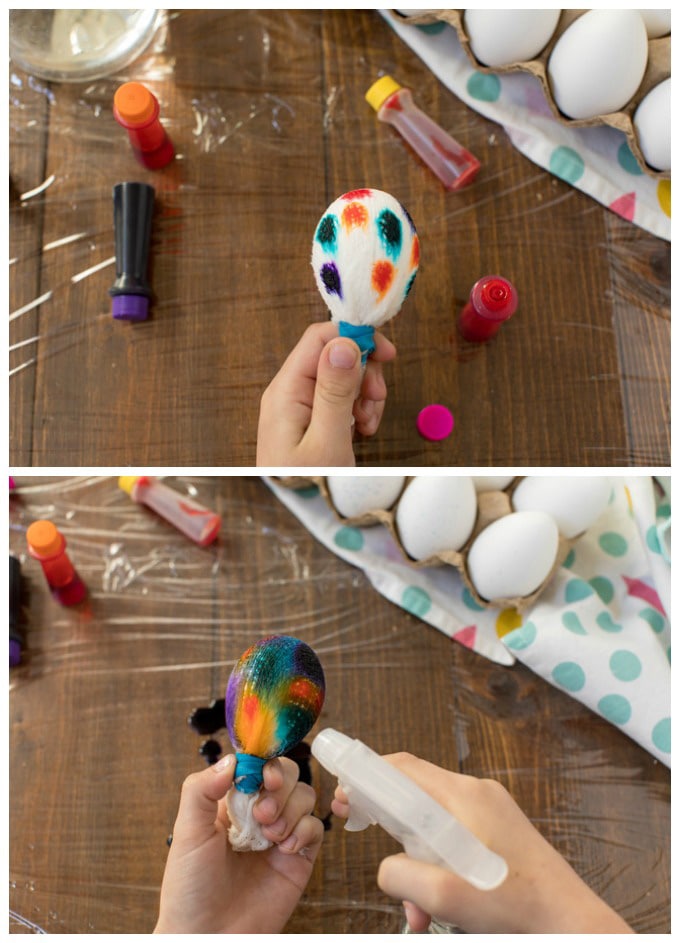
- Leave some white space, but use whatever colors you like.
- Spray it with water. The less water you use the darker the colors, the more water you use the more muted your colors will be. The idea is to allow the water to blend the colors together, but not completely combine them into one big color blob.
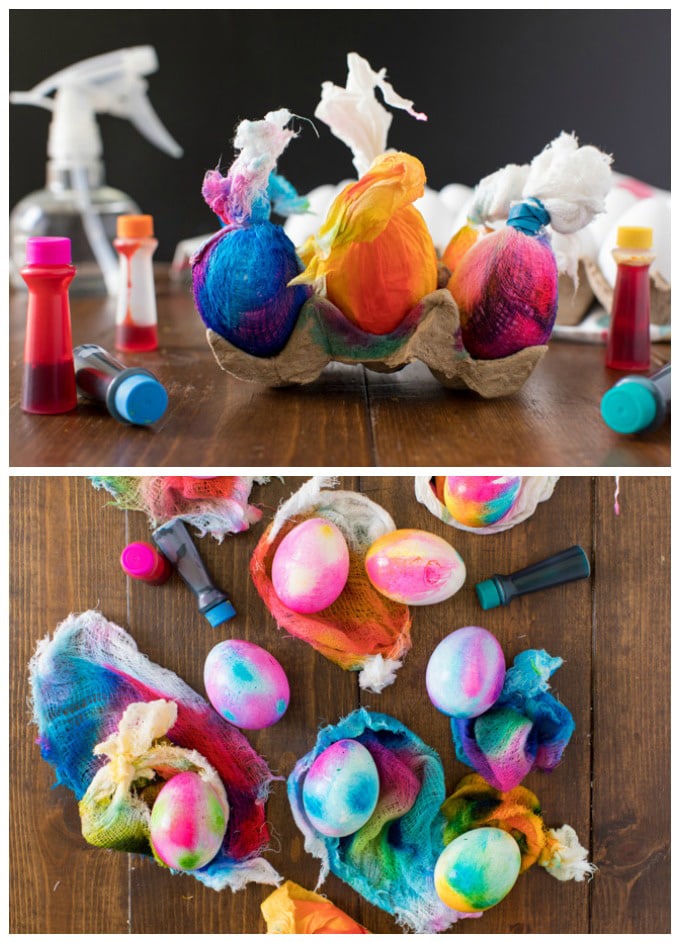
- Carefully hug the egg with your hand and gently squeeze out any excess food coloring and water.
- Place in the cardboard egg carton to dry.
I told you it was messy!
Unwrap and revel in your amazingness.
Paper Towel Method
- The second method is a little different.
- Take a piece of paper towel, get it wet and wring it the water, you just want it to be damp. Open it up and place it on the plastic wrap lined counter.
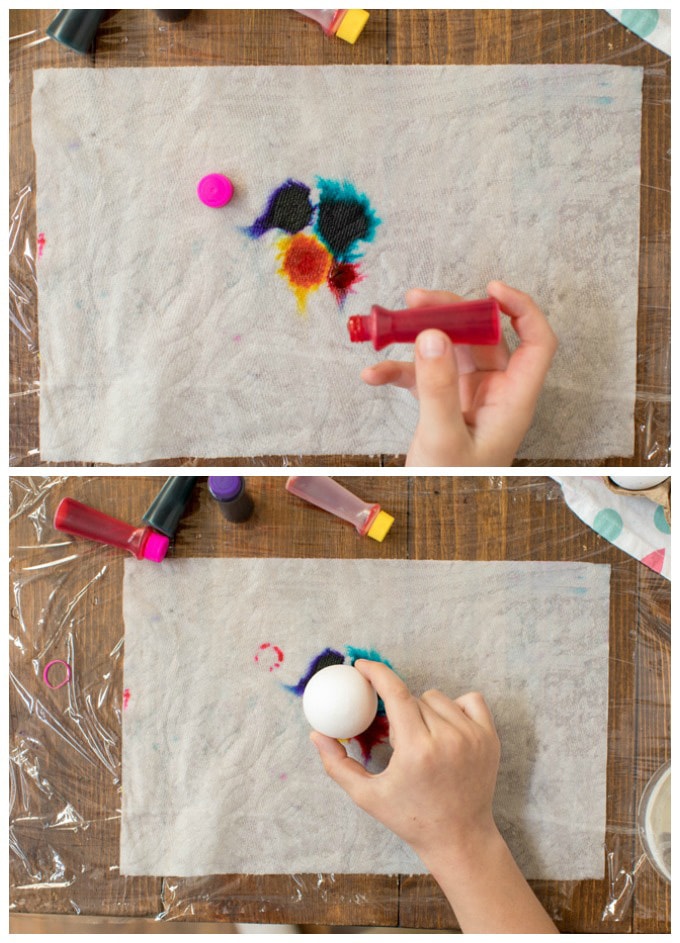
- Drip some food coloring in the center of the paper towel.
- Place egg in the center of the colors and gather the paper towel around the egg.
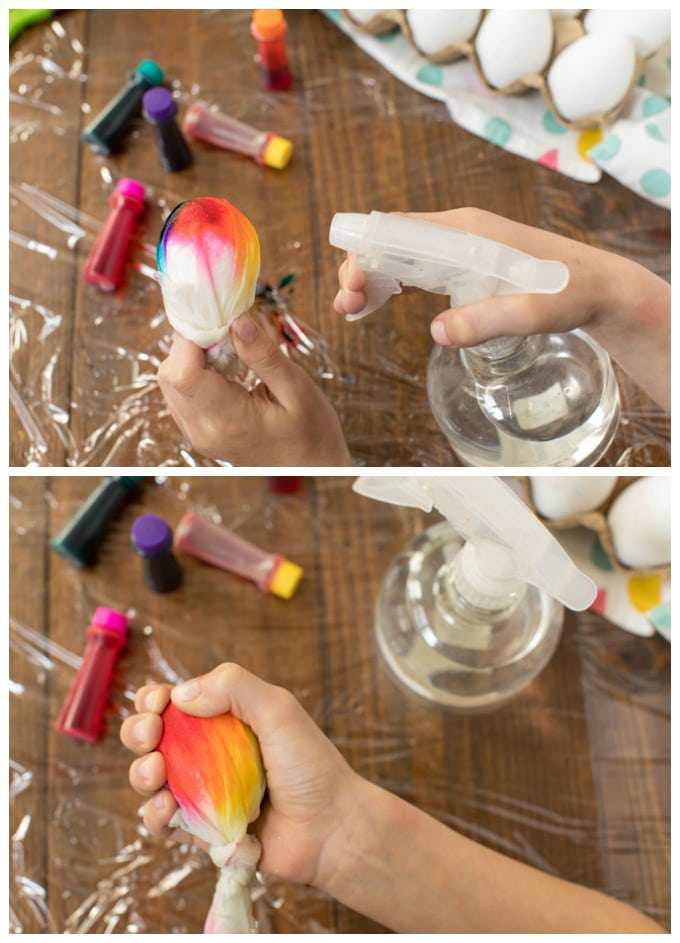
- Get it wet using a spray bottle.
- Squeeze out the excess and set in cardboard egg carton to dry.
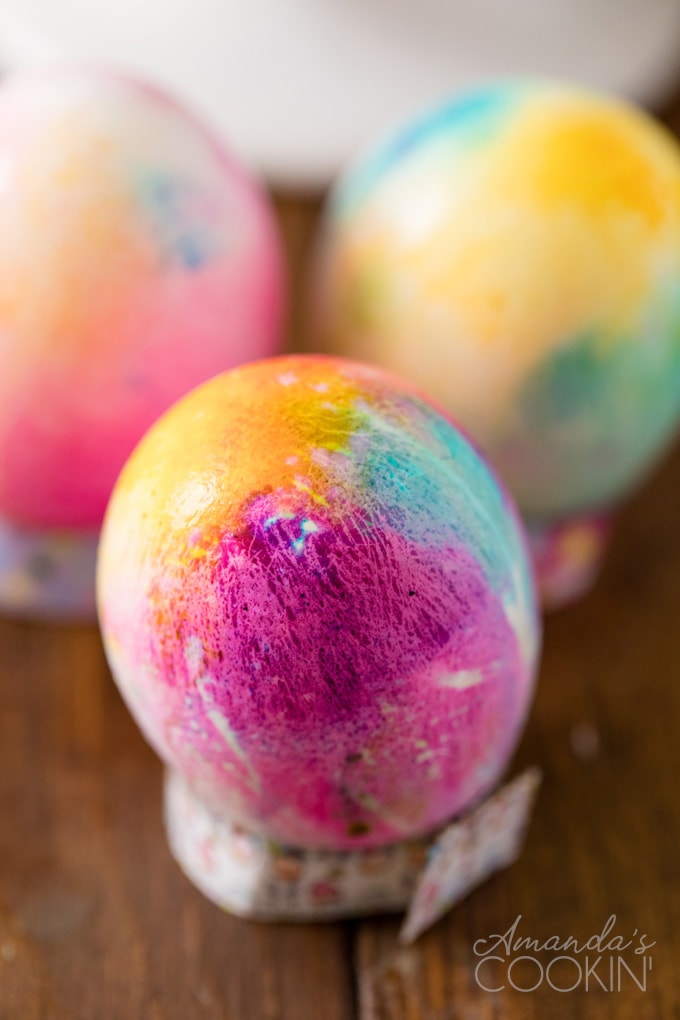
Display these pretty eggs in egg cups, print some basket tags to give as gifts, include them in an Easter egg hunt, or make them part of a scavenger hunt!
If you are looking for more Easter egg decorating ideas, check out my craft blog. I have posted 7 Cool Ways to Decorate Easter Eggs!
Tie Dye Easter Eggs
IMPORTANT - There are often Frequently Asked Questions within the blog post that you may find helpful. Simply scroll back up to read them!
Print It Rate ItIngredients
- plastic wrap for the counter
- cheesecloth OR paper towels
- liquid food coloring
- a small spray bottle with water or a small cup of water
- rubber band
- empty cardboard egg carton to hold eggs
Before You Begin
- You can let all the eggs dry in a cardboard egg carton, or you can be like me and speed up the process using a hair dryer on cool setting.
- If you don't want to deal with food coloring stains on skim, have kids wear rubber gloves.
- To remove food coloring from skin, first rub hands with hand lotion. Make a paste from white vinegar and salt and run onto stained skin. Rinse and repeat until gone.
- If using the paper towel method, you should use a sturdy paper towel. However, you can double or triple the number of sheets to make it stronger.
Instructions
Cheesecloth Method
- Layer the counter with plastic wrap. Cut cheesecloth into 6" lengths.
- Get the cheesecloth wet and wring it out.
- Place a boiled egg into the center of the cheesecloth.
- Gather the ends of the cheesecloth together tightly around the egg and secure with a rubber band.
- Hold egg by the rubber banded end and add drops of food coloring to the damp cheesecloth.
- Leave some white space, but use whatever colors you like.
- Spray it with water. The less water you use the darker the colors, the more water you use the more muted your colors will be. The idea is to allow the water to blend the colors together, but not completely combine them into one big color blob.
- Carefully hug the egg with your hand and gently squeeze out any excess food coloring and water.
- Place in the cardboard egg carton to dry.
Paper Towel Method
- Layer the counter with plastic wrap. Take a piece of paper towel, get it wet and wring it the water, you just want it to be damp. Open it up and place it on the plastic wrap lined counter.
- Drip some food coloring in the center of the paper towel.
- Place egg in the center of the colors and gather the paper towel around the egg.
- Get it wet using a spray bottle.
- Squeeze out the excess and set in cardboard egg carton to dry.
This post originally appeared here on Mar 3, 2014.
Amanda Davis
Latest posts by Amanda Davis (see all)
- Chocolate Covered Strawberries - January 20, 2025
- Cauliflower Pizza Crust - January 13, 2025
- Keto Peanut Butter Cookies - January 9, 2025


nisha says
These came out awesome! I did the paper towel method; check out my Instagram for my results if interested c:
Nisha014
Hima says
Hey Amanda! This method is so cool. I’ve tried tie dye eggs before but they never come out right and just end up messy. I can’t wait to try the paper towel method :D.
Amanda Formaro says
Hope you had fun!
AmberAndAshley says
Thanks for sharing this idea.:) Me and my sister are 14 and 15 we’ll have fun with this!Thanks its brilliant.:D
Amanda says
That’s awesome, hope you had fun!
shelby says
Does this work Good?
Amanda says
Yes it does :)
Michelle says
These are so pretty and such a great idea! I would love if you would link this activity up to my Made by Little Hands Monday linky part!!
Thanks so much!
Michelle
http://www.delicateconstruction.blogspot.com
Meaghan Luby says
so frackin cool! this looks seriously great! thanks for sharing, lots of love happening for this and all your posts :)
-meg
@ http://clutzycooking.blogspot.com
jfb57 says
This is a fascinating! I found you via Red Ted Art! I have set up a link over at the Head's Office for crafty mums to link their fantastic ideas that can be shared with teachers. I'd love it if you could link! http://t.co/3L9nBUJ
RedTedArt says
Oh wow! These look wonderful! Aren't you simply too clever. I love love love!
Thank you for linking up to Kids Get Crafty!
Maggy
yvette says
Looks like a really fun experience! Your tutorial was clear and informative…a real adventure!yvette@twistedvines
Kristina says
This is very cool! Excellent tutorial. Looks totally doable.
Barbara @ Modern Comfort Food says
My "little" one is 28 now, but I'm certain we'd both have a blast making this fun Easter project together. Way to go girl on bringing your seriously creative craft chops to the kitchen! And the thought occurs that if we wear our tie dyed T-shirts we won't have to worry about the mess factor at all.
Kitchen Flavours says
Wow…looks like you people had much fun there….
Rainbow Sprinkles says
That's so simple, it's genius. Thanks for sharing!
Cooking Gallery says
Thank you for sharing, the eggs look gorgoeus…!!
Julie says
Brilliant technique – I hadn't tried that before! we will this year! thanks!