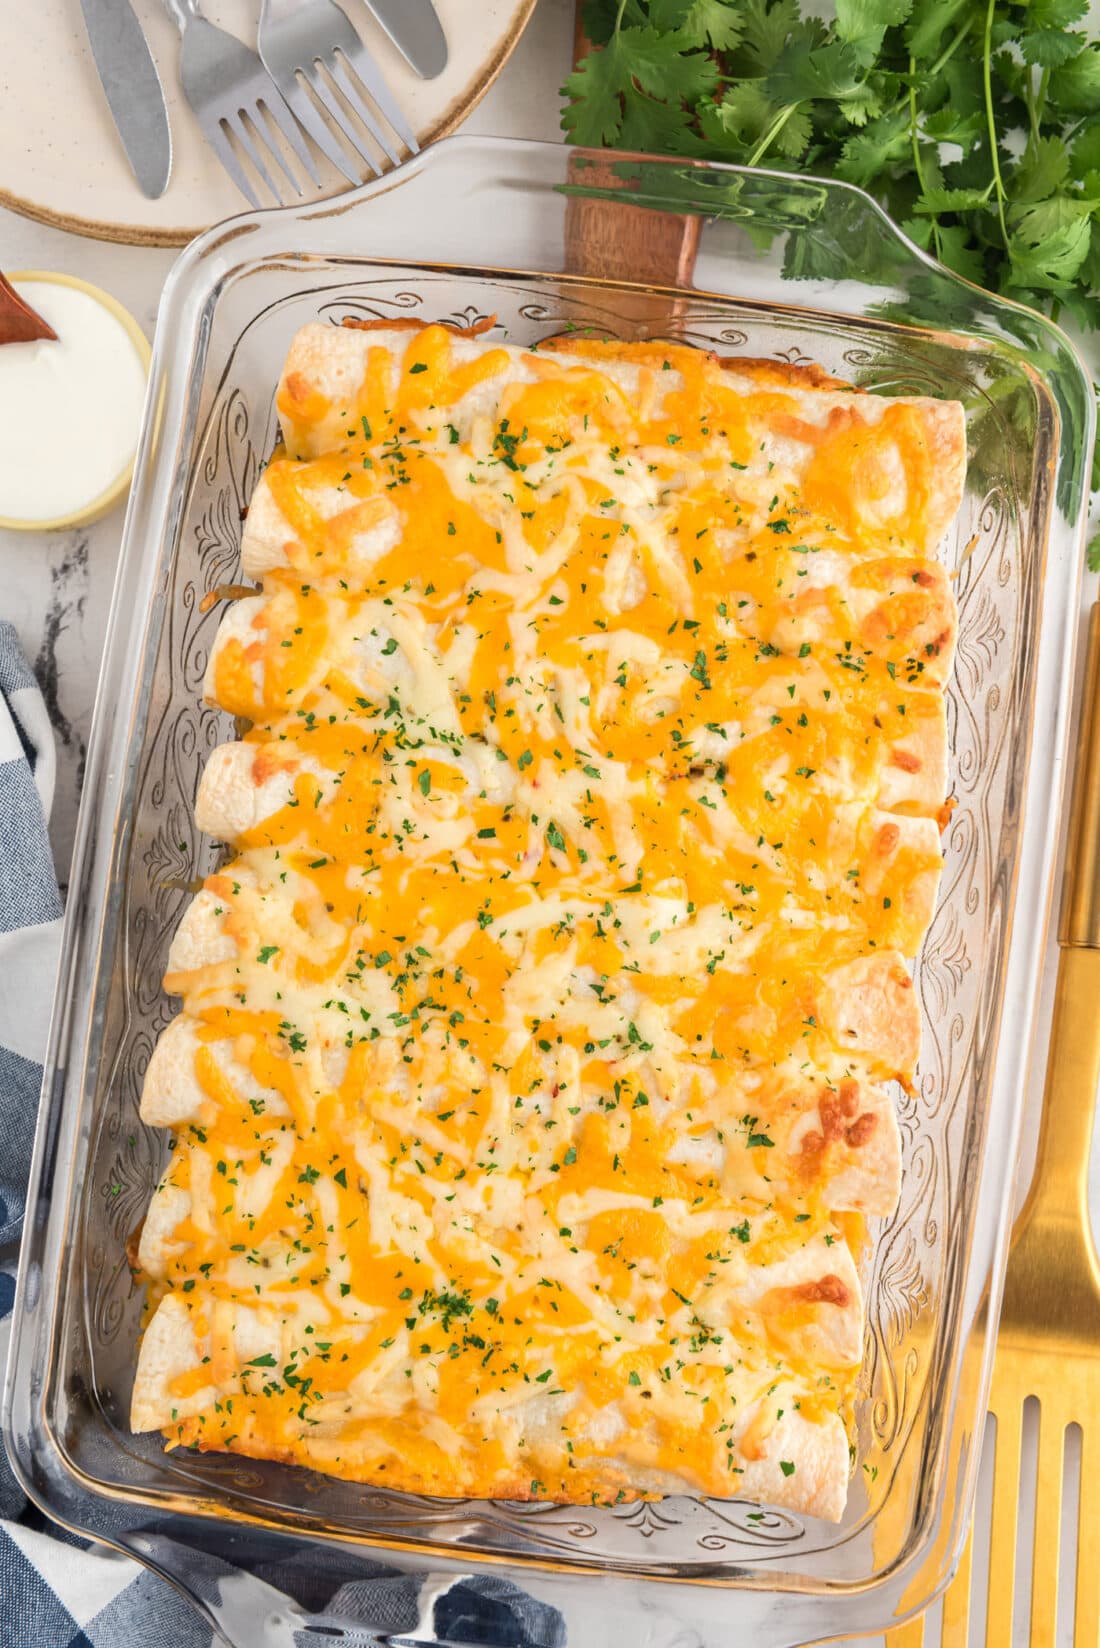
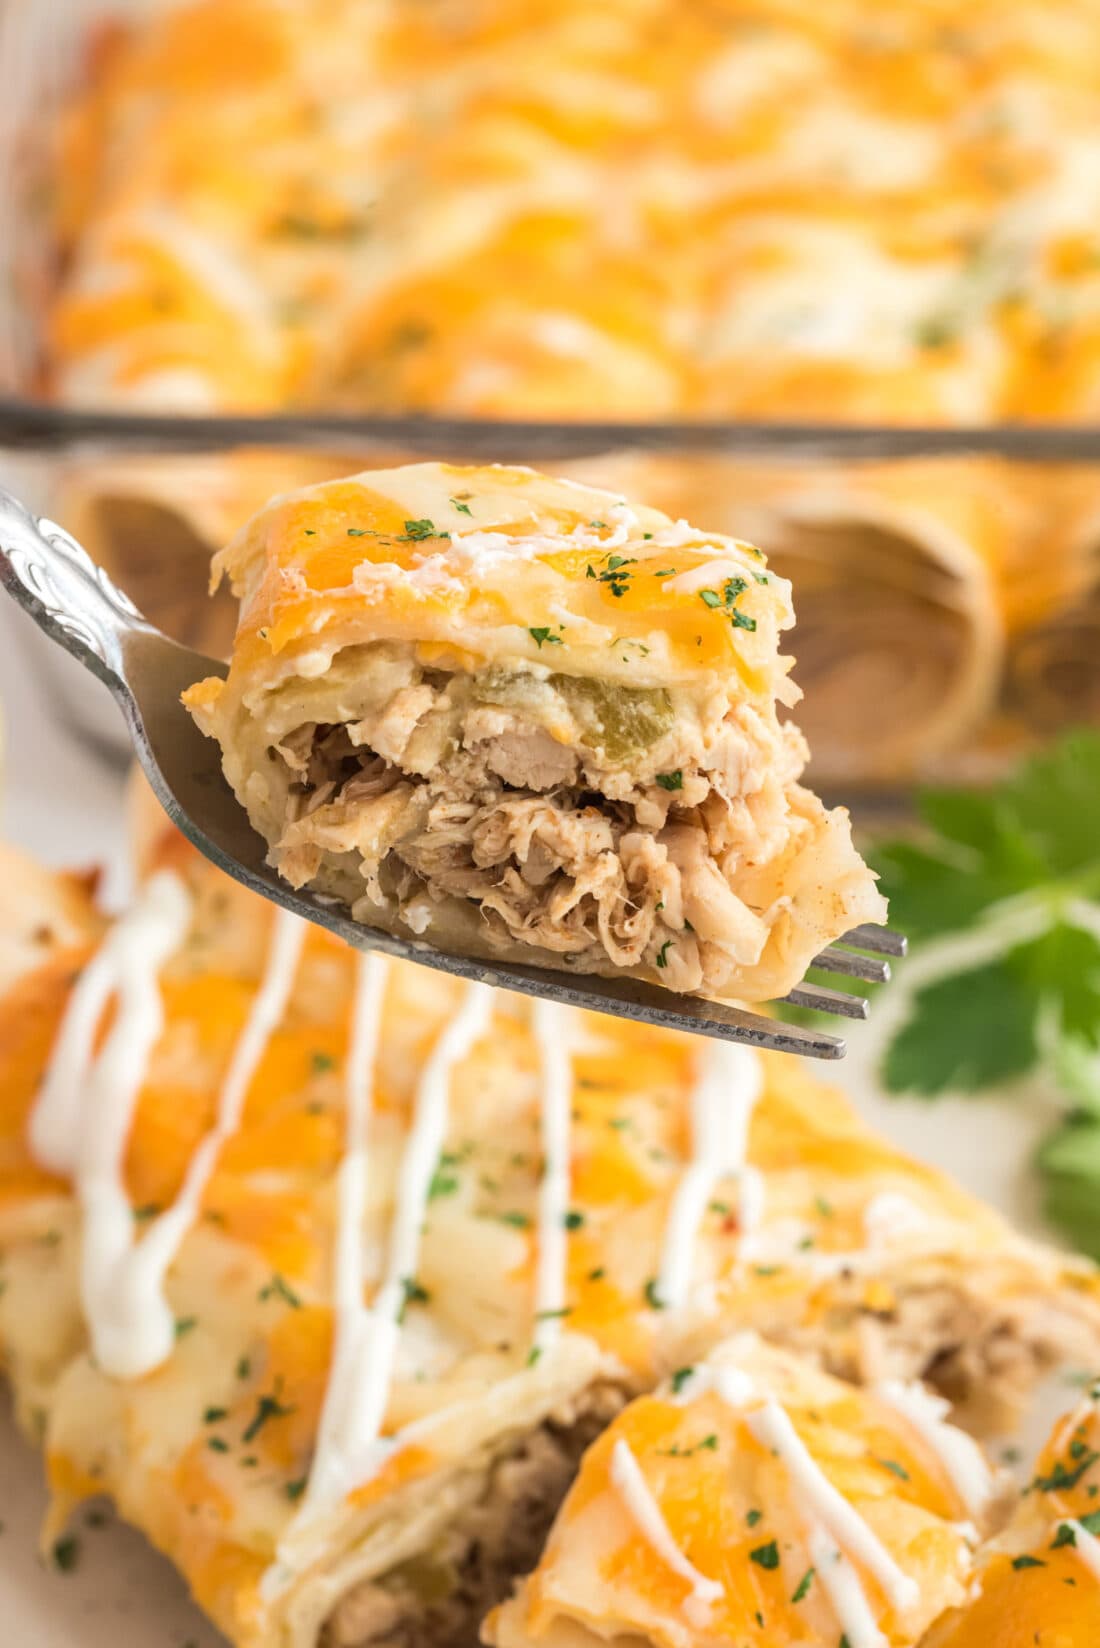
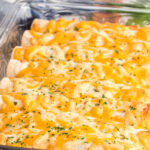
Flavor packed shredded chicken and chile enchiladas made with simple ingredients are the perfect weeknight meal to make in a pinch or prep ahead of time.
Why this recipe works
These shredded chicken and chile enchiladas are freezer-friendly and super easy to prepare. While this version isn’t smothered in a typical enchilada sauce, the flavors speak for themselves. It’s something you can always add if you wanted!
That’s one of the main reasons we love enchiladas. You can make them with a traditional green or red enchilada sauce, broth bases, ground beef, chicken, pork and of course, there’s shredded beef enchiladas. No matter how you make them they are a wonderful meal you can enjoy at any time of the year whether they’re strictly traditional or sprinkled with a little personal flair.
Ingredients you will need
Get all measurements, ingredients, and instructions in the printable version at the end of this post.
Ingredient Info and Substitution Suggestions
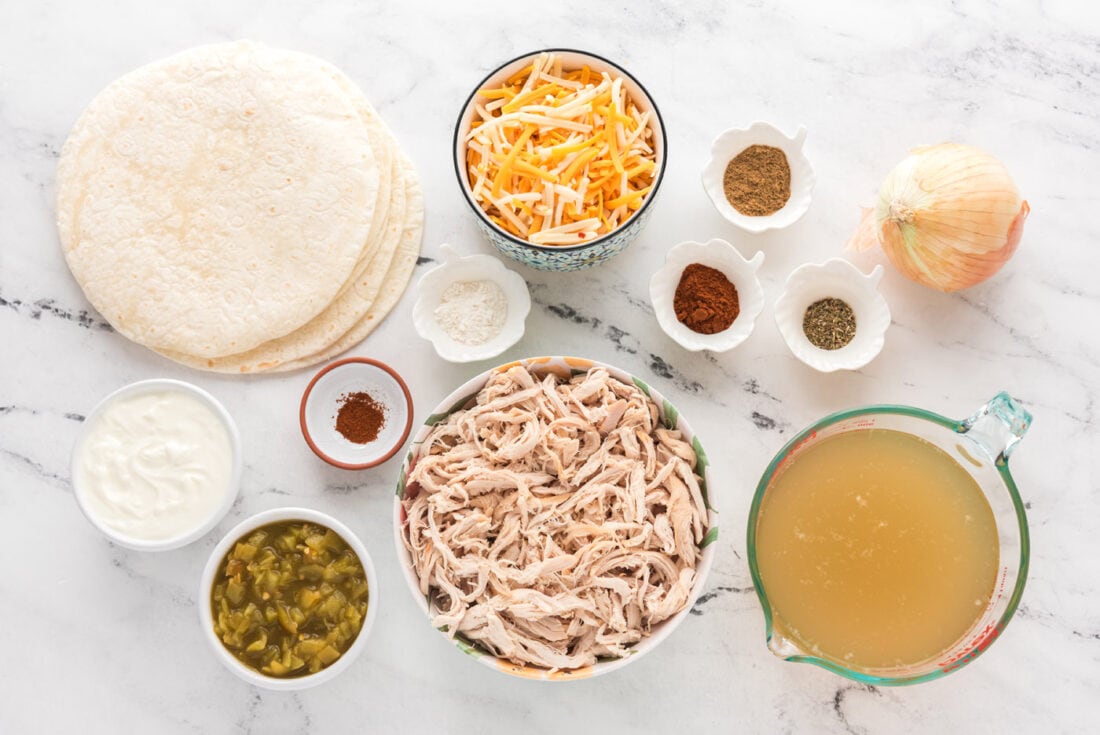
CHICKEN – For convenience factor and to save valuable time, I used a rotisserie chicken from the supermarket. You can also make the chicken yourself or use leftover chicken, depending on how many you are serving. If you do make the chicken yourself, use the stock that it creates in place of the canned stock in the ingredient list.
CHEESE – Use your favorite blend of cheese here. Mexican blend or a mixture of pepperjack and cheddar are great options.
TORTILLA – We’ve found that flour tortillas hold the filling for these enchiladas better, but it really comes down to personal preference. You can certainly use corn tortillas instead. If you sub out the flour for corn tortillas, you’ll likely end up with a few more enchiladas as the shells are smaller.
How to Make Shredded Chicken and Chile Enchiladas
These step by step photos and instructions are here to help you visualize how to make this recipe. You can Jump to Recipe to get the printable version of this recipe, complete with measurements and instructions at the bottom.
- Preheat oven to 350 F. Remove meat from chicken and place in a dish, keep warm. Combine the next 5 ingredients in a saucepan and bring to a boil over medium-high heat. Maintaining heat, cook onion and broth mixture until it’s reduced by half, about 20 minutes.
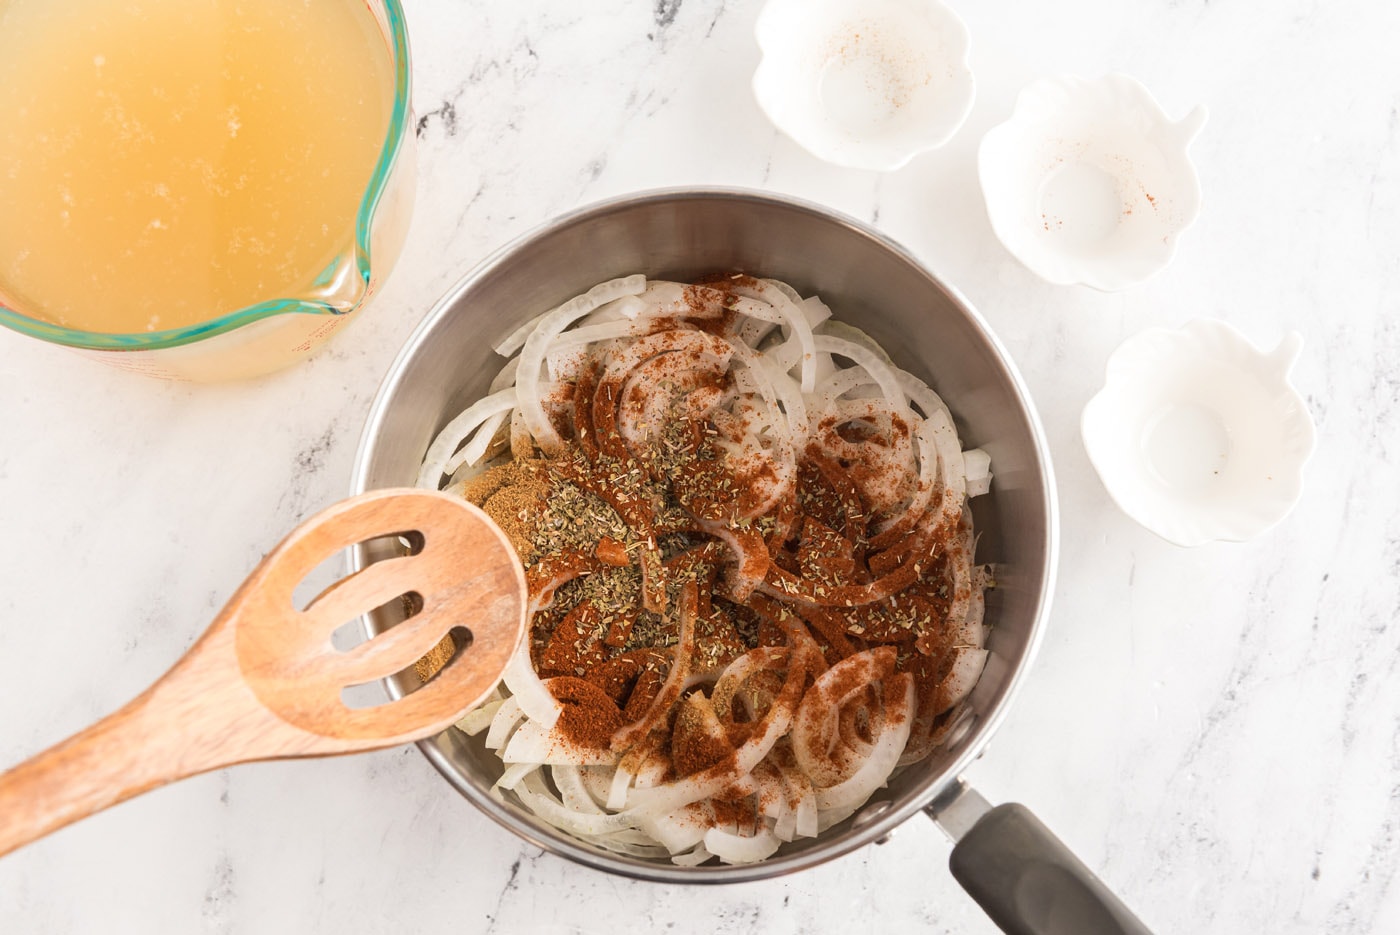
- Add chicken to broth mixture and simmer for ten minutes to heat through. Remove chicken and onion with a slotted spoon. Reserve about one cup of the broth and discard the rest.
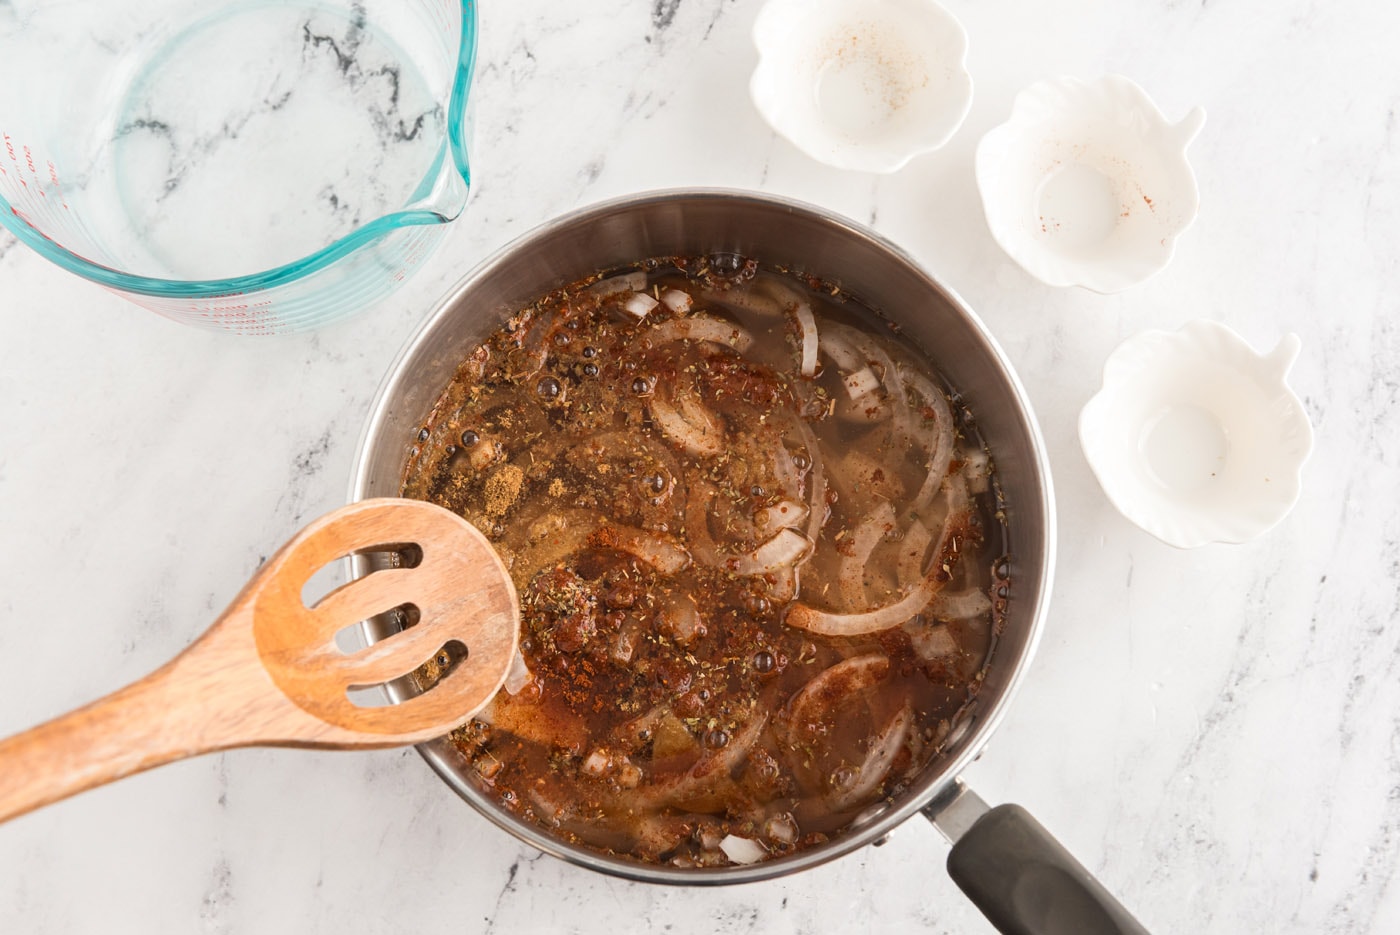
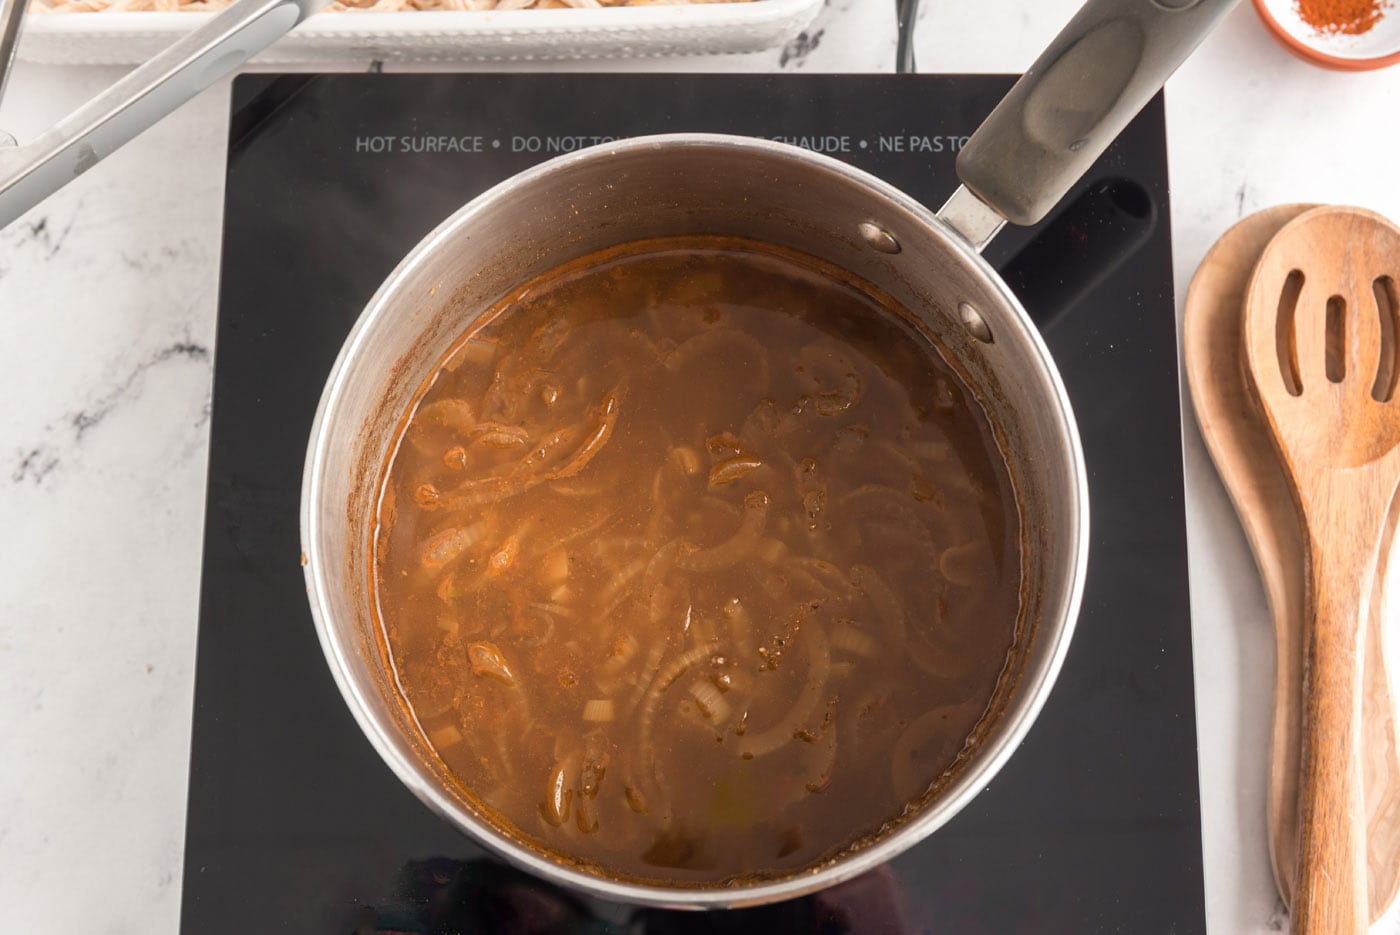
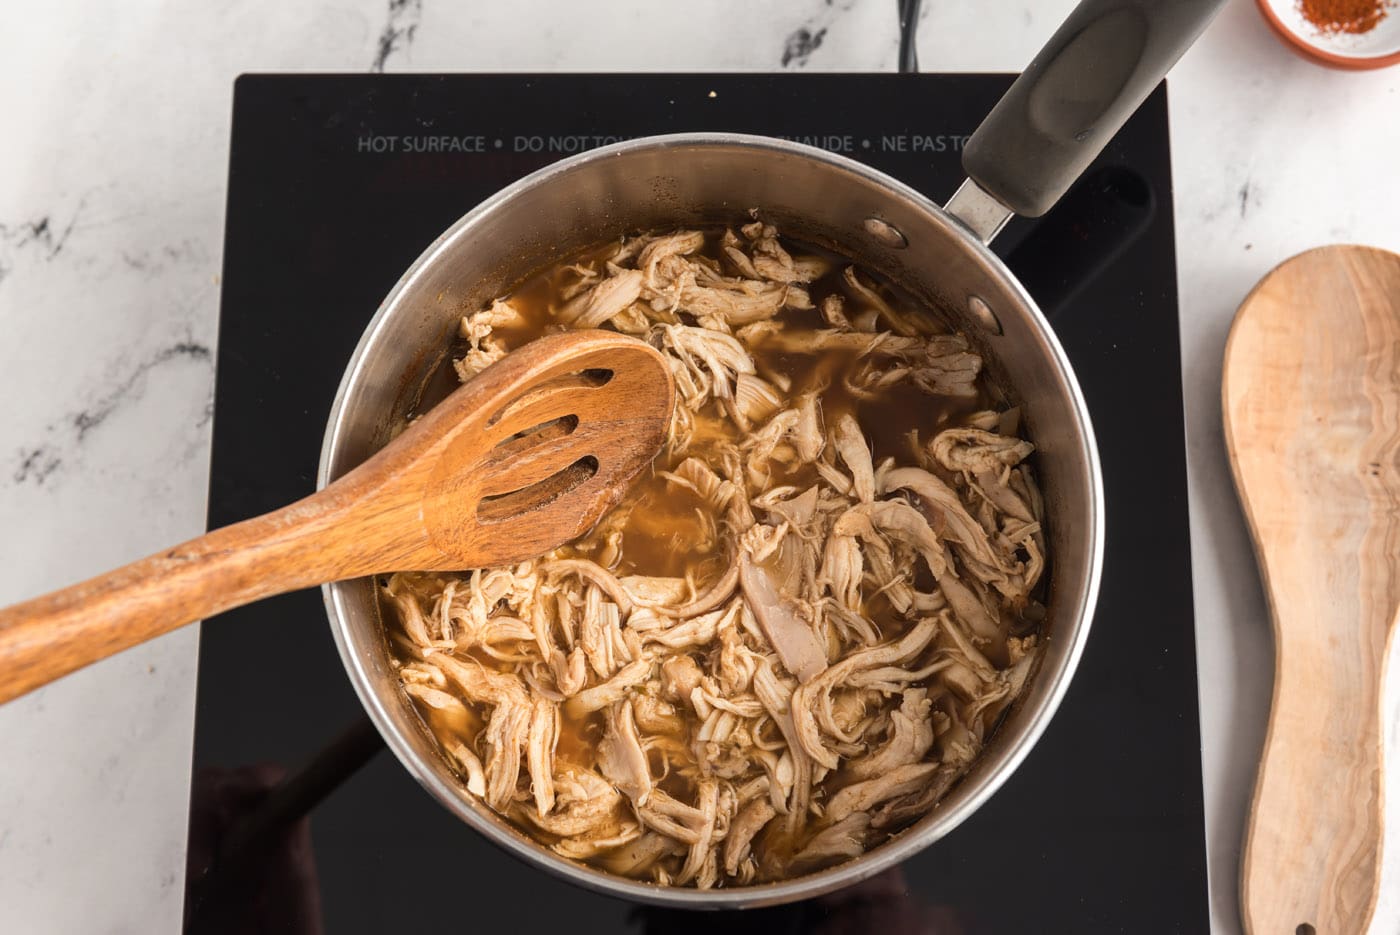
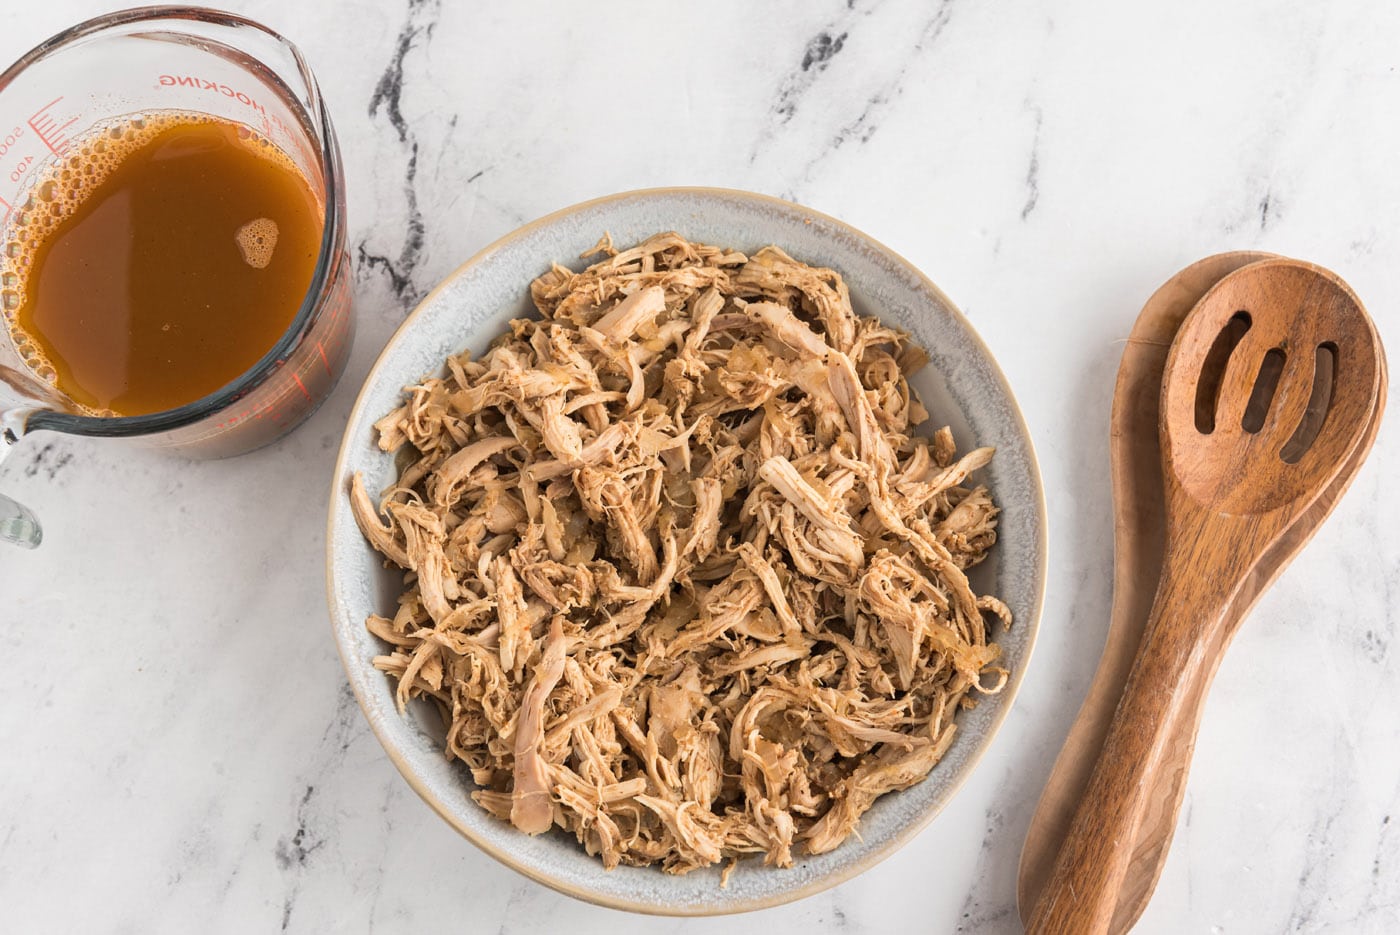
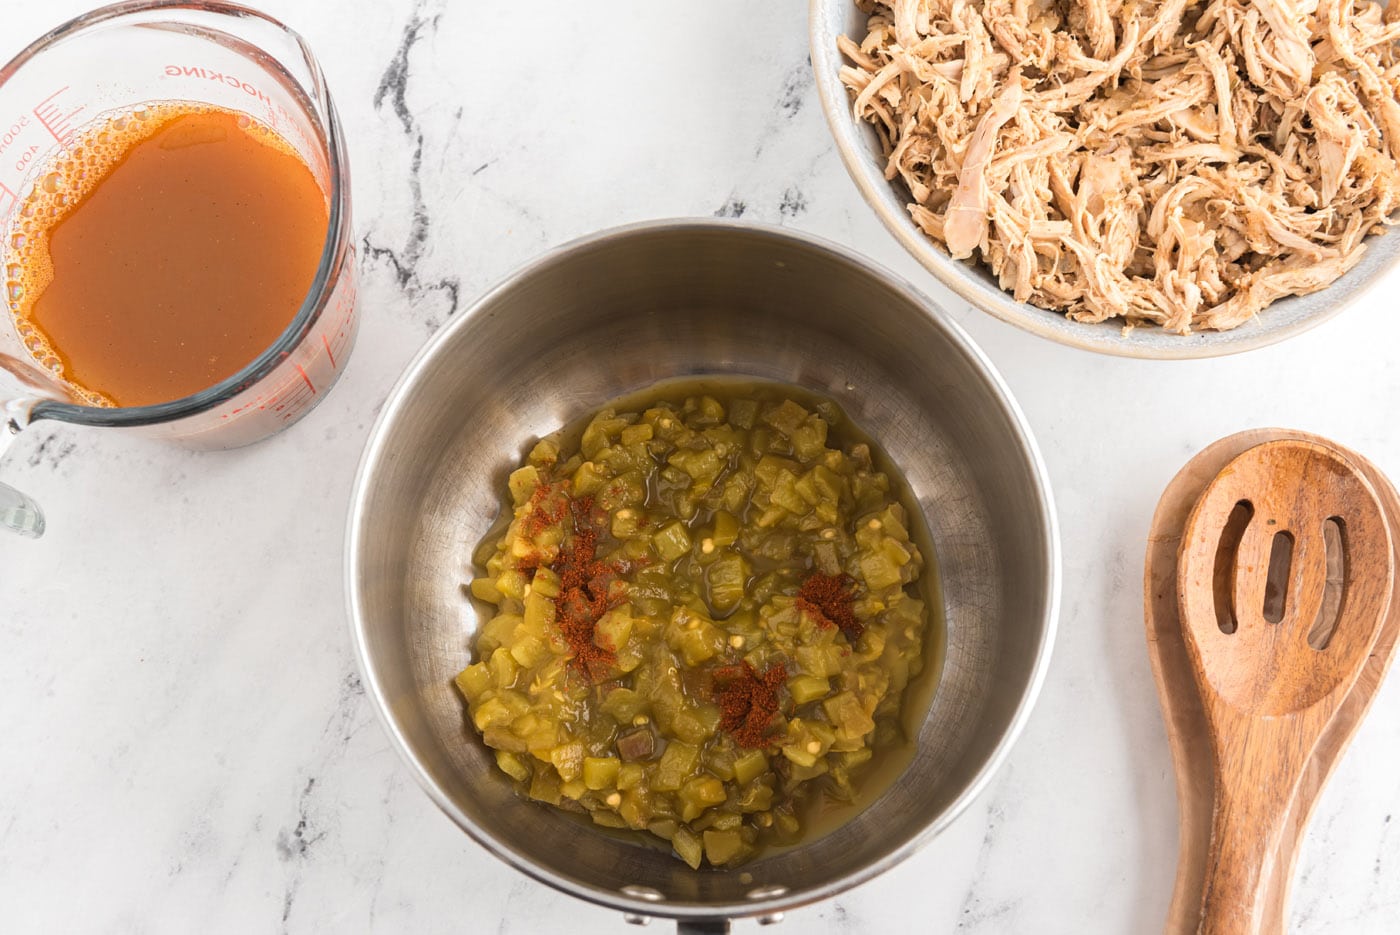
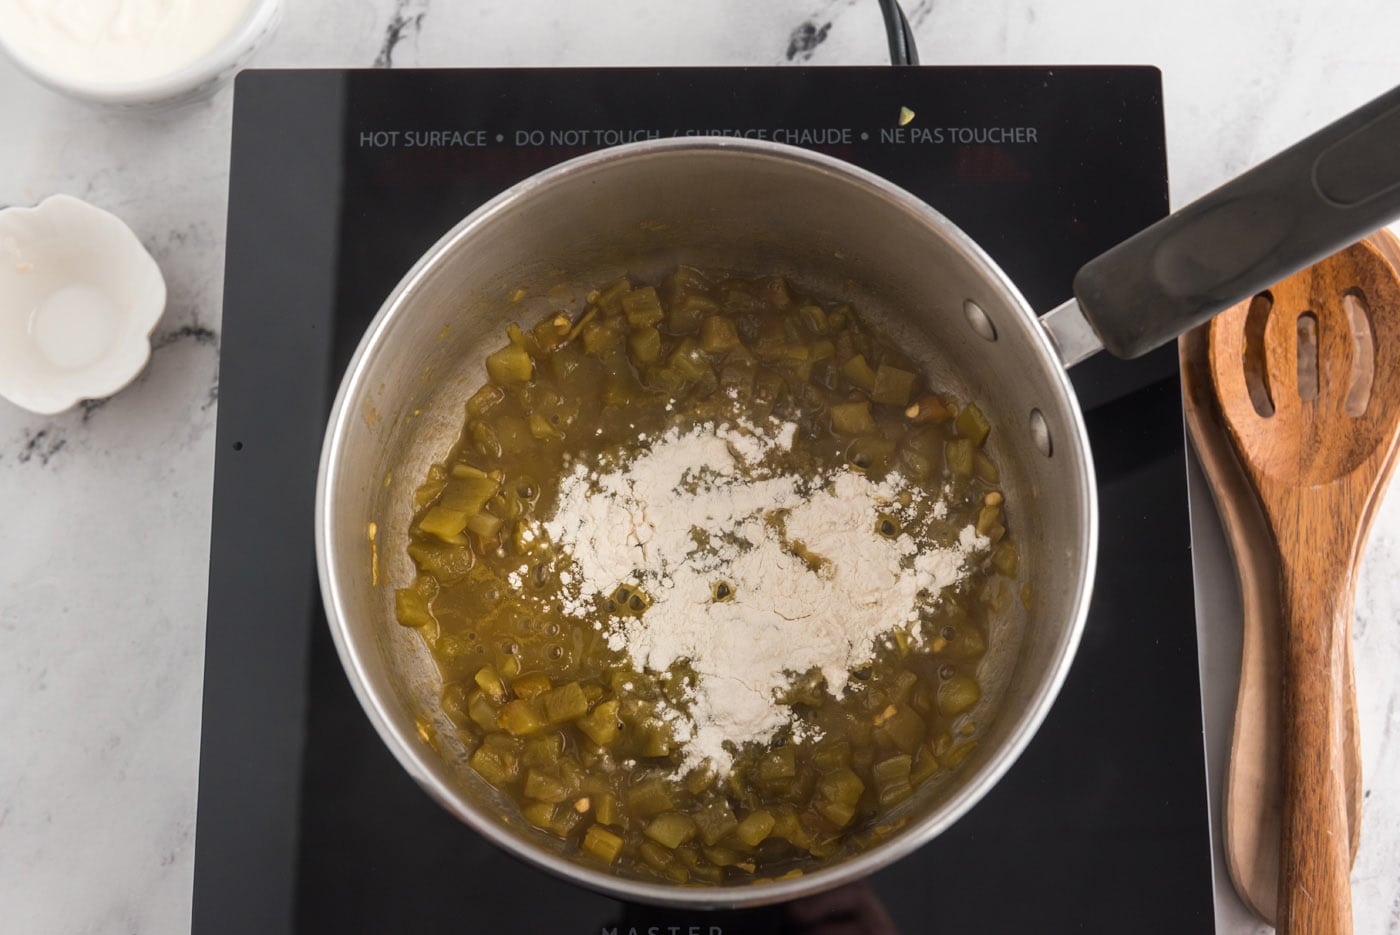
- Rinse out the saucepan, then add the green chiles and the 1/4 teaspoon chili powder; cook about one minute or until heated through. Stir in flour. Cook and stir for one minute more.
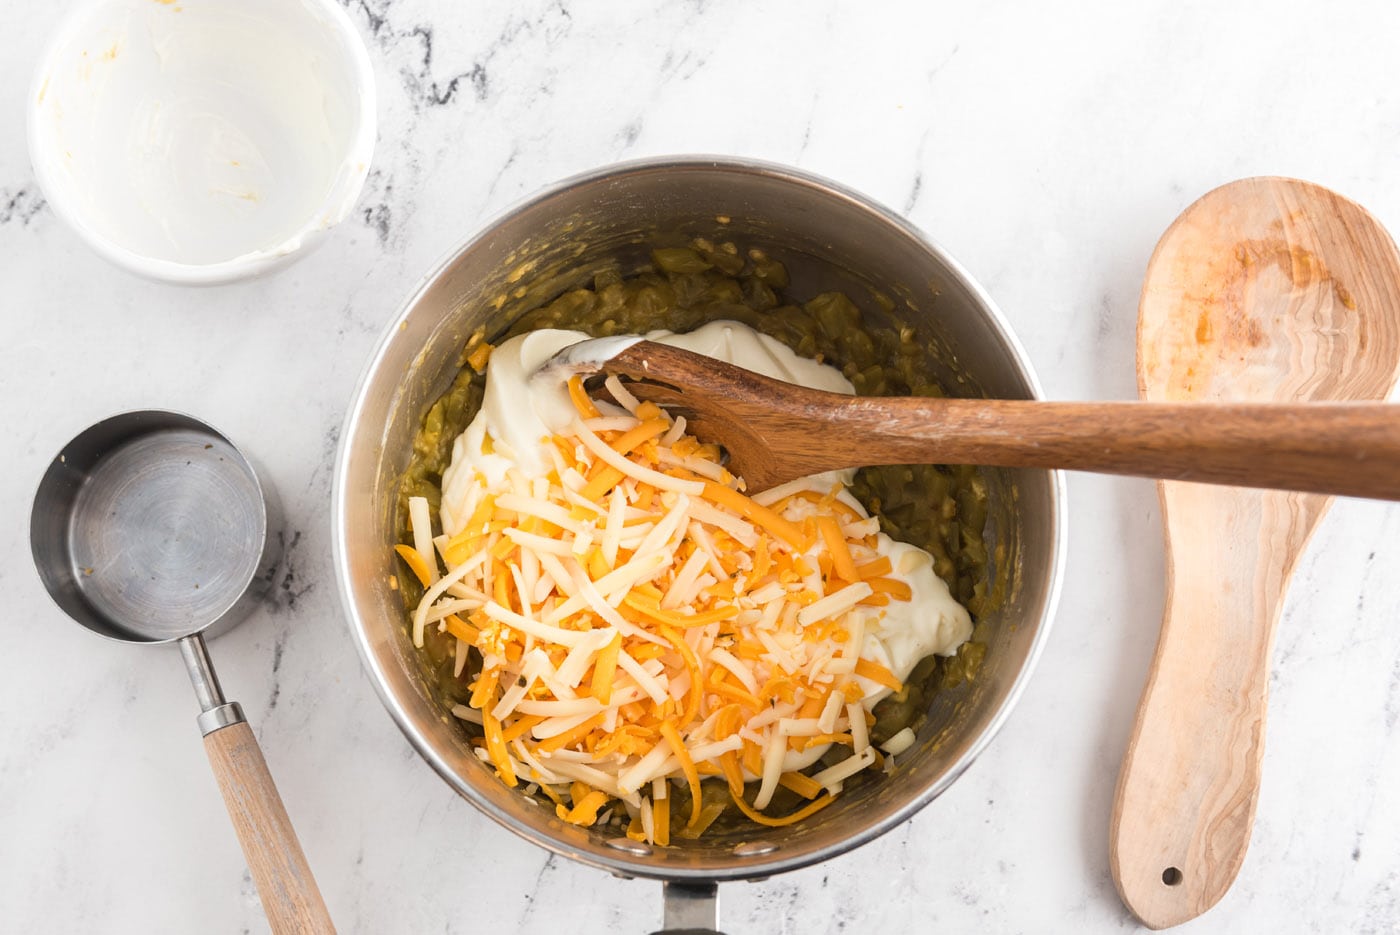
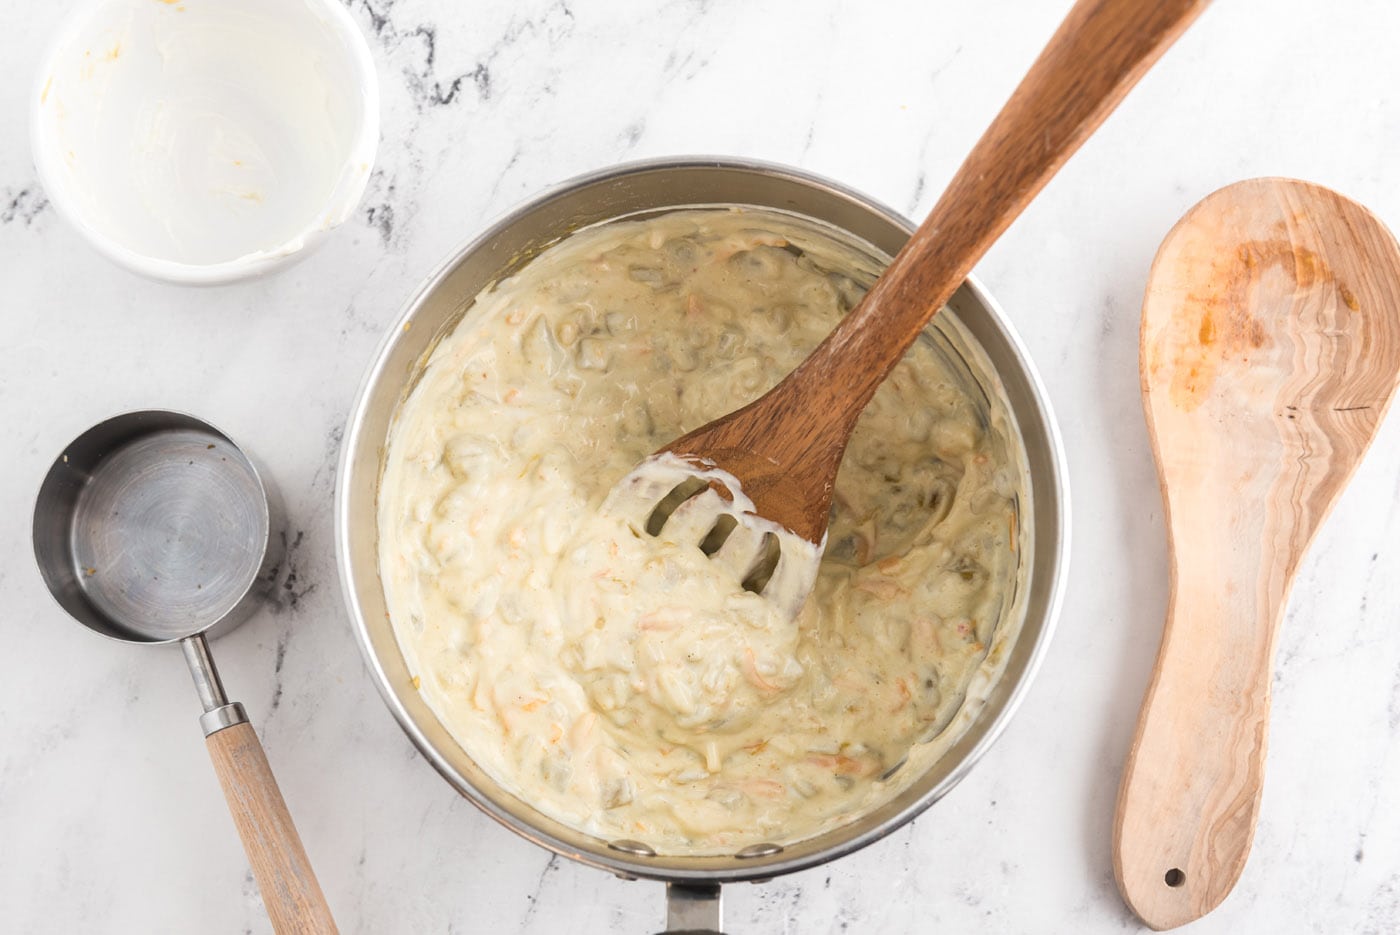
- Remove from heat and stir in sour cream and 1/2 cup of the cheese.
- Grease or spray a 13×9 baking dish; set aside.
- Mix the onion and chicken mixture, if too dry, add a bit of the reserved broth mixture. Divide the shredded meat mixture among tortillas, placing meat mixture along one edge. Top with sour cream mixture and roll up tortillas (they will be full). Arrange in baking dish, seam side down. Bake, covered, for 30 minutes.
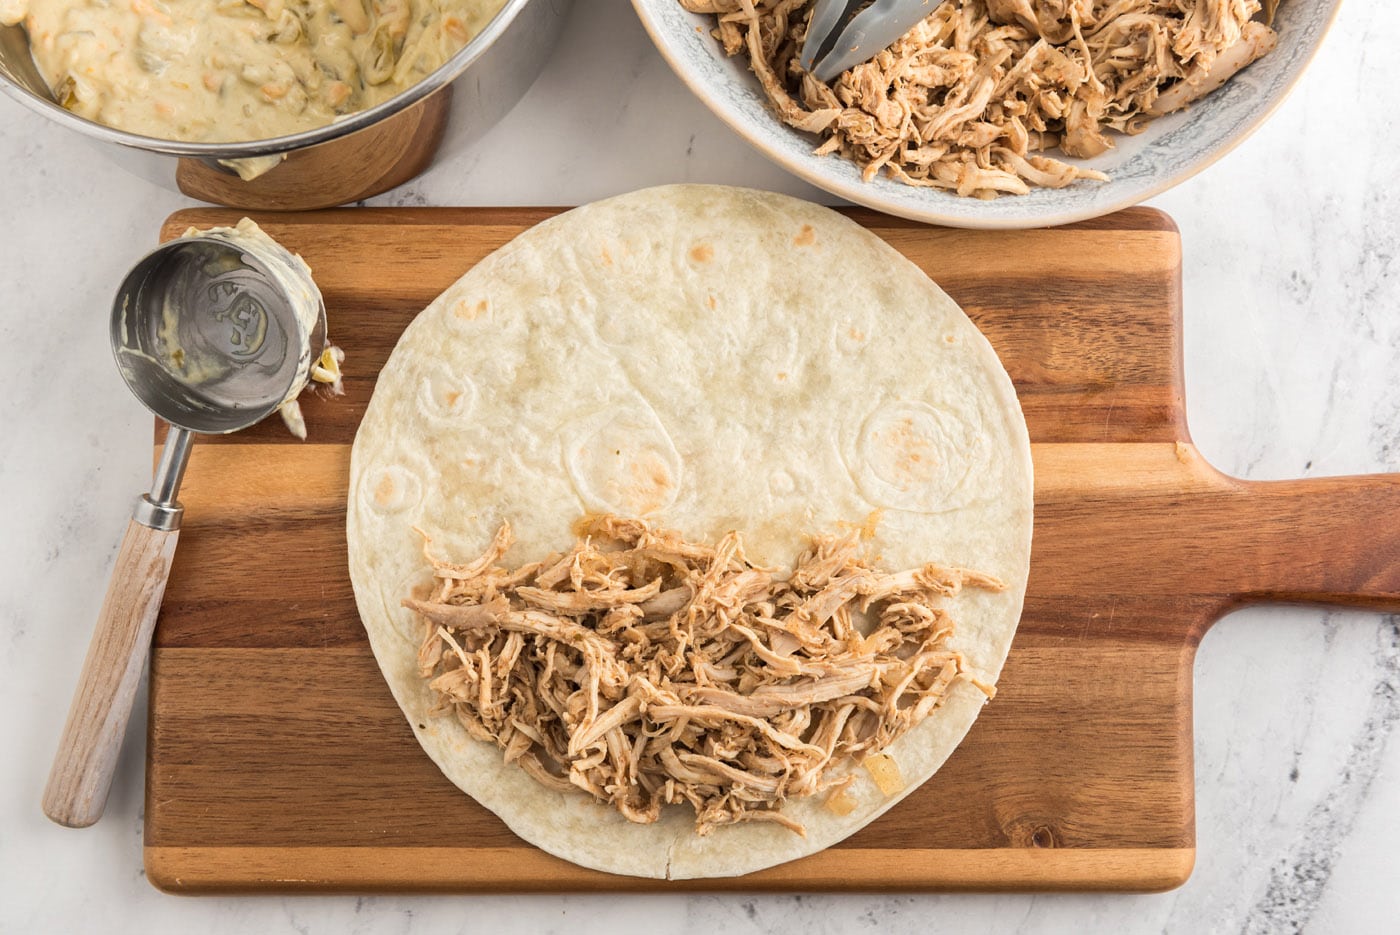
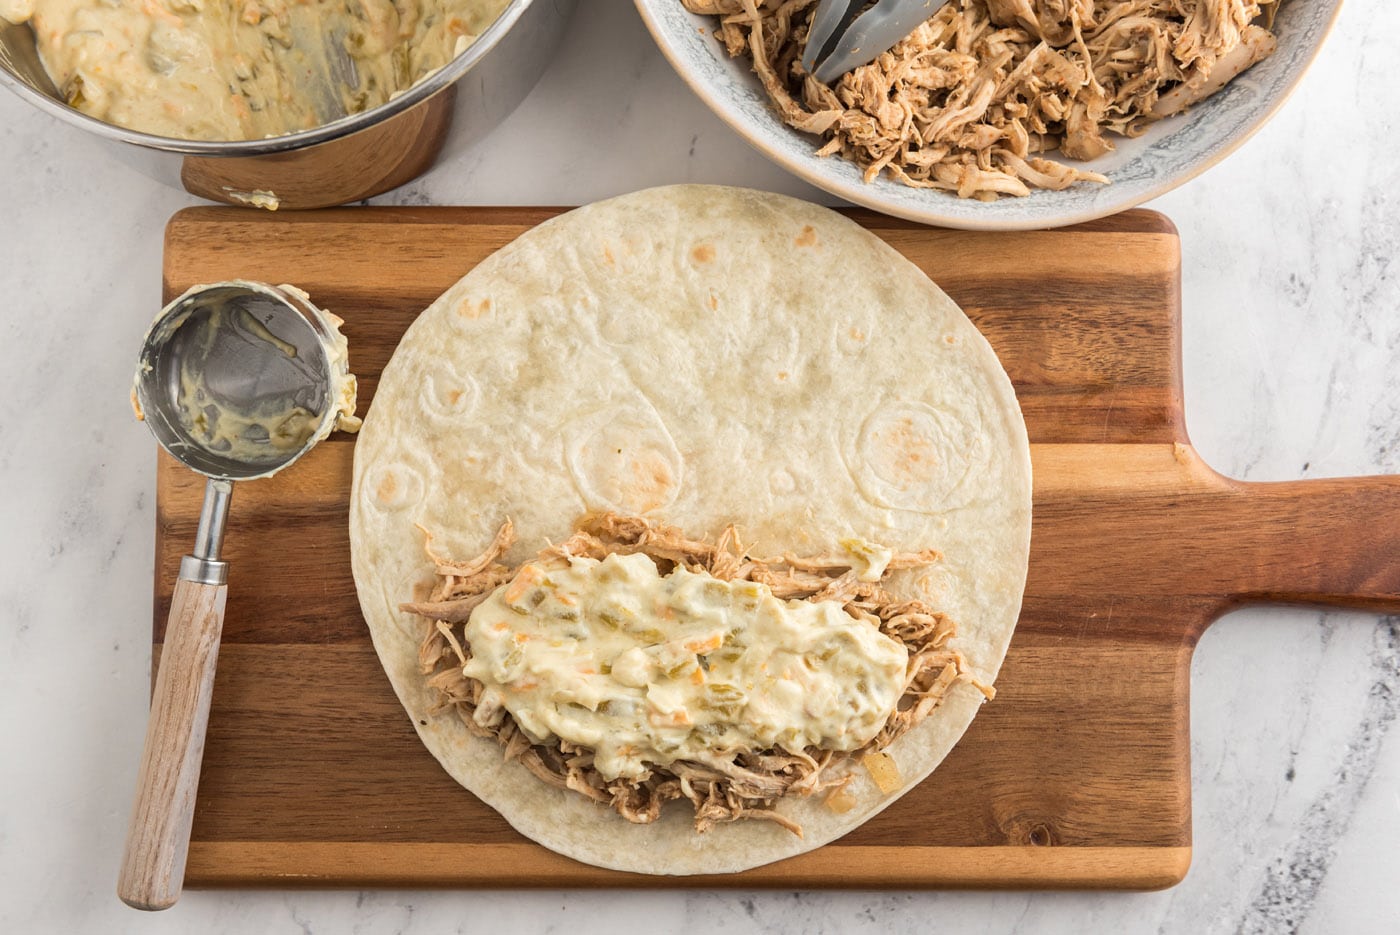
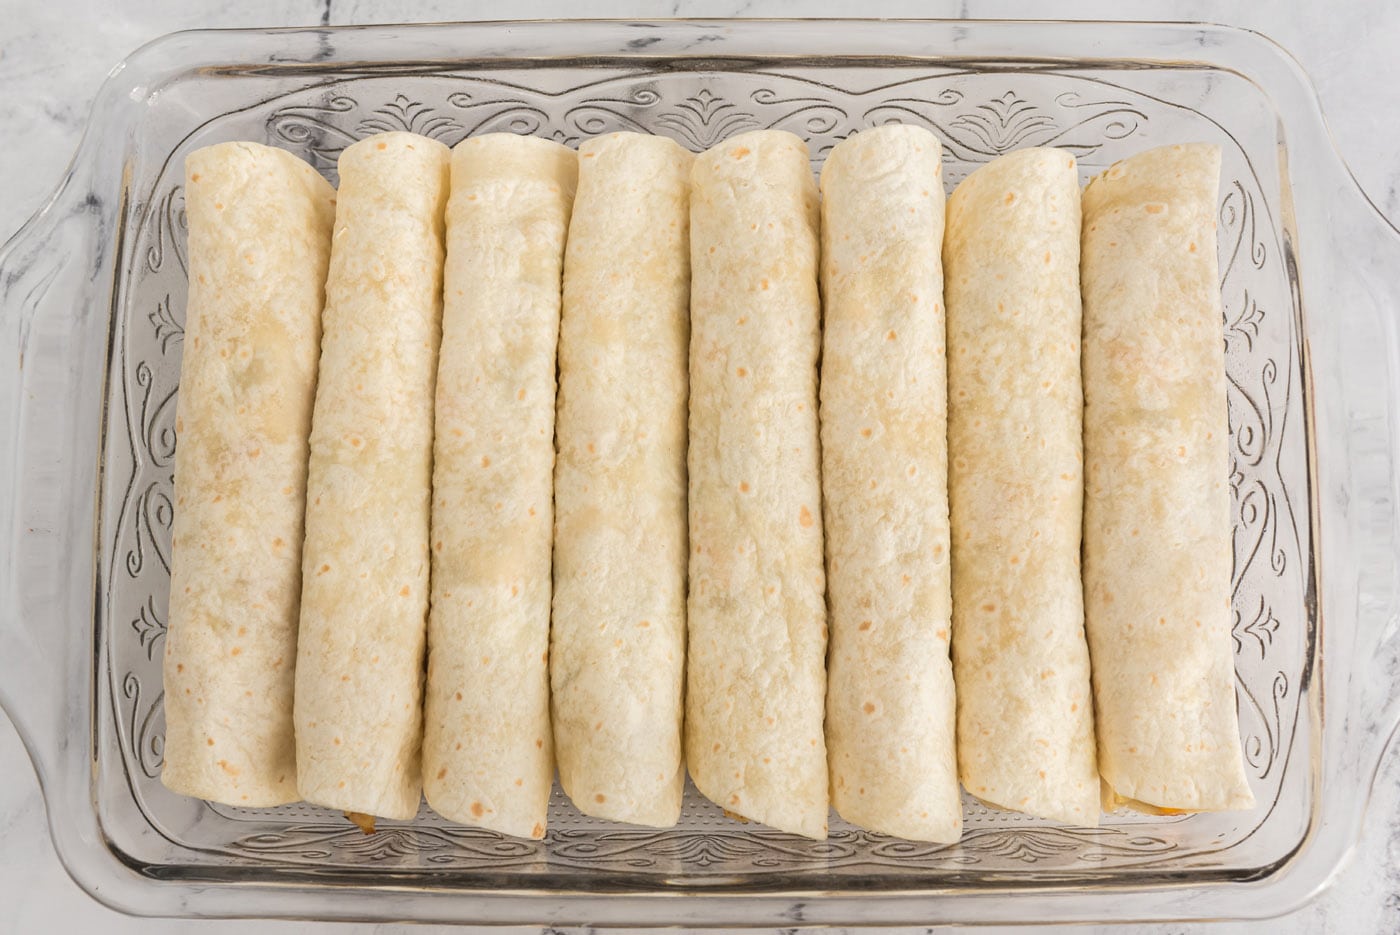
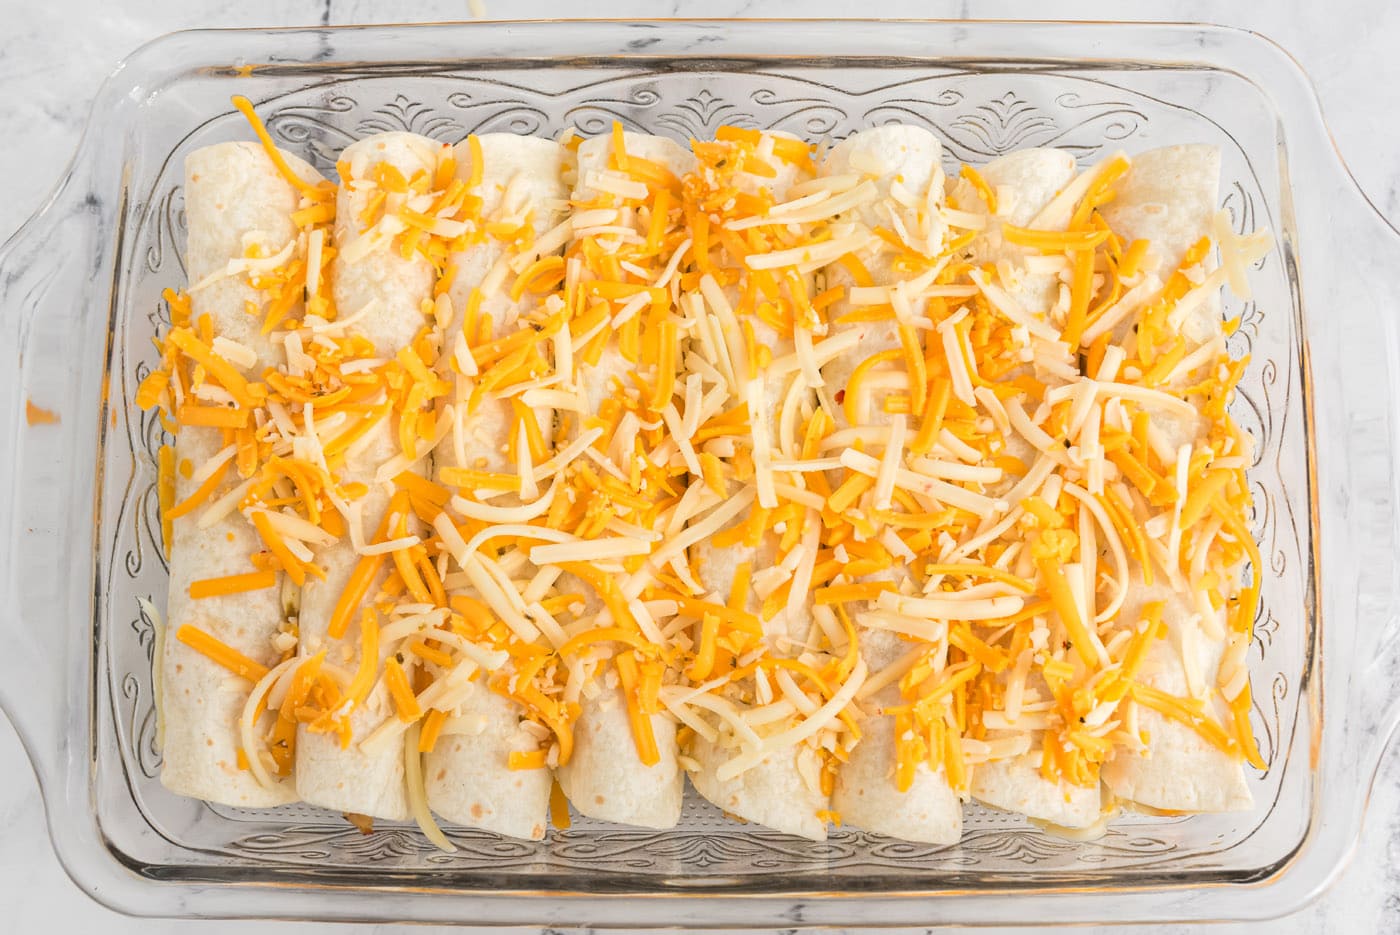
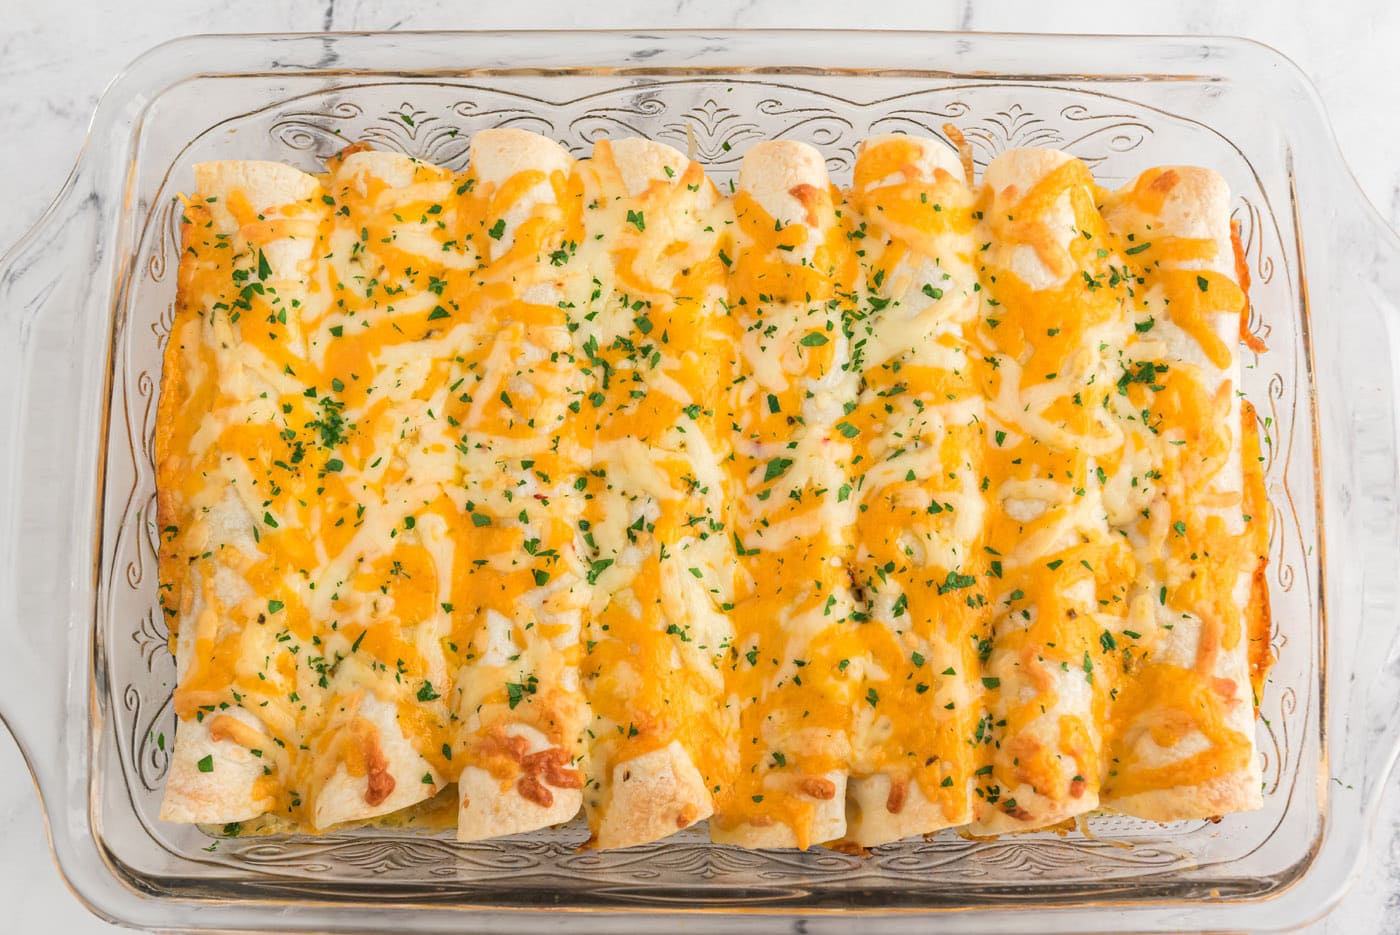
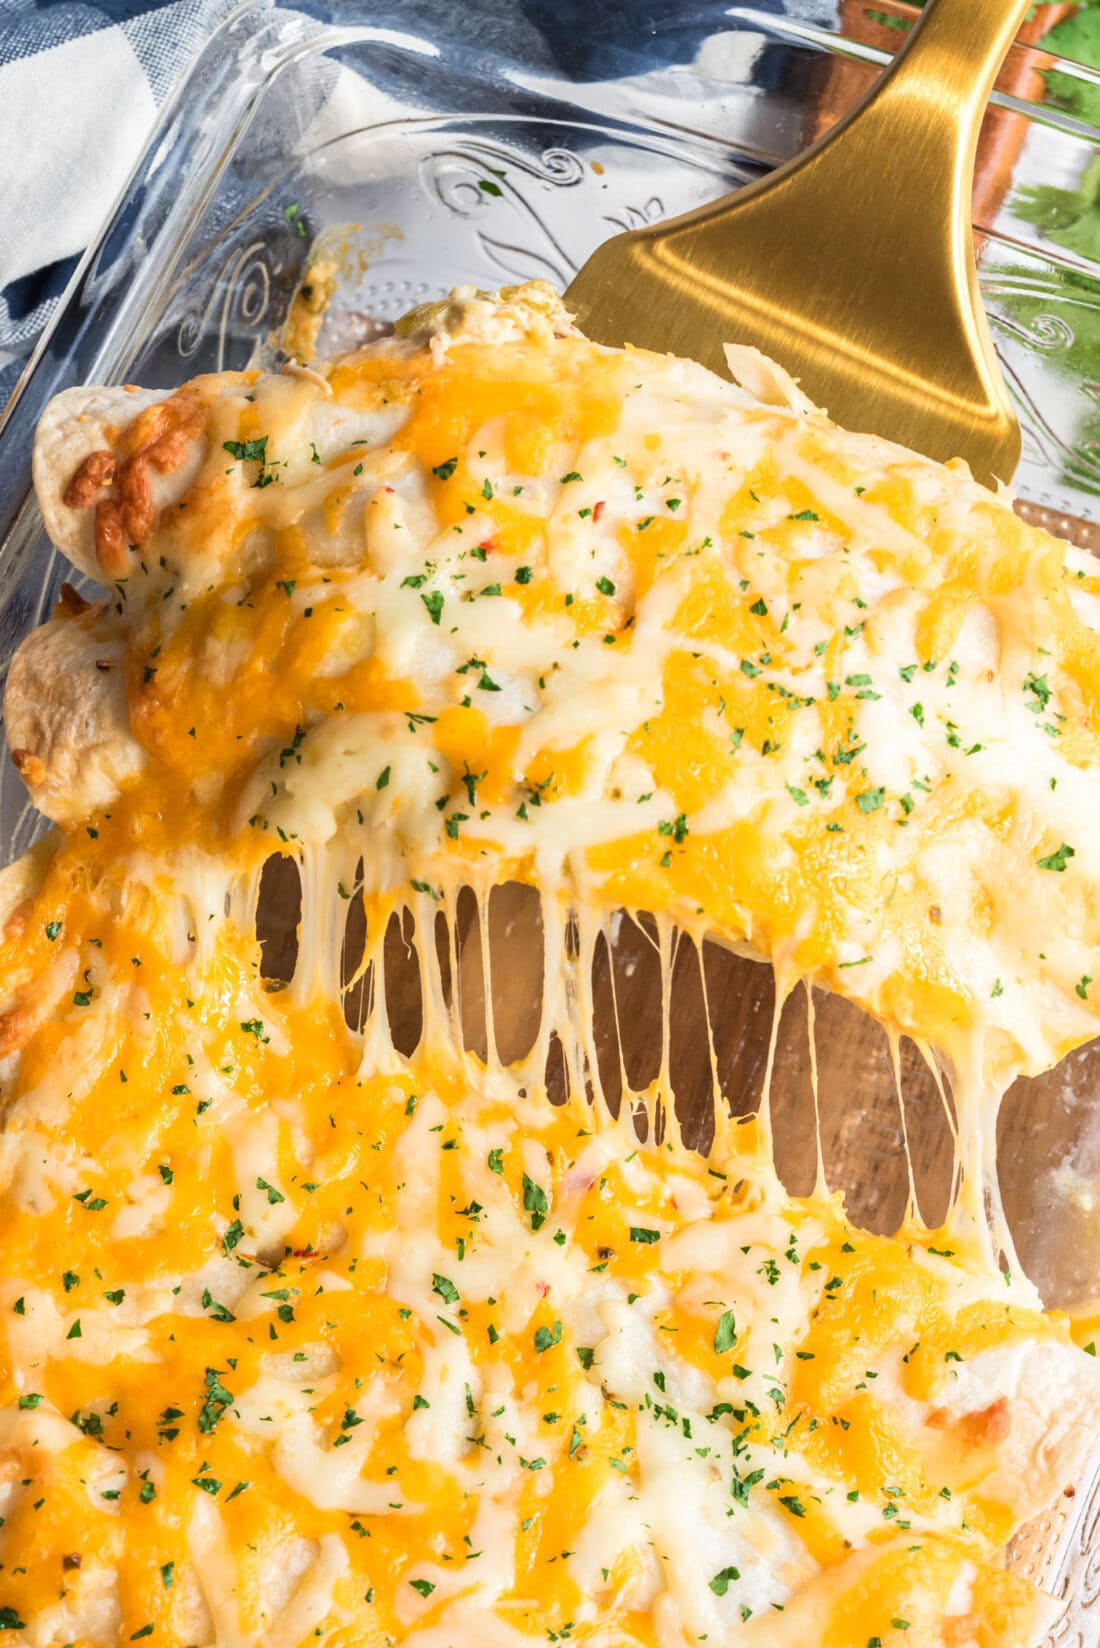
- Uncover and sprinkle with the remaining 1 1/2 cups of cheese. Bake uncovered, 10 minutes more, or until cheese is melted and enchiladas are heated through.
Frequently Asked Questions & Expert Tips
Store leftovers in an air-tight container kept in the refrigerator for up to 4 days. Reheat in a 350F oven until warmed through or pop them in the microwave.
You can make this ahead, all the way up to the part where you put them in the oven. Cover and store the dish in the refrigerator. Take out the dish about half an hour before cooking to bring it to room temperature, then bake as directed. If you don’t have time to take it out early, simply add a little cooking time to compensate.
These enchiladas are mild, not spicy. You can up the heat factor by using hot green chiles instead of mild.
Yes, absolutely. Place the prepared enchiladas, cooked or uncooked, in an air-tight container or large ziptop bag, seam side down. Freeze for up 3 months. Allow enchiladas to thaw in the refrigerator overnight then bake according to directions (if uncooked), adding a few extra minutes if needed. Or pop them in the oven at 350F until warmed through if they are precooked.
Serving Suggestions
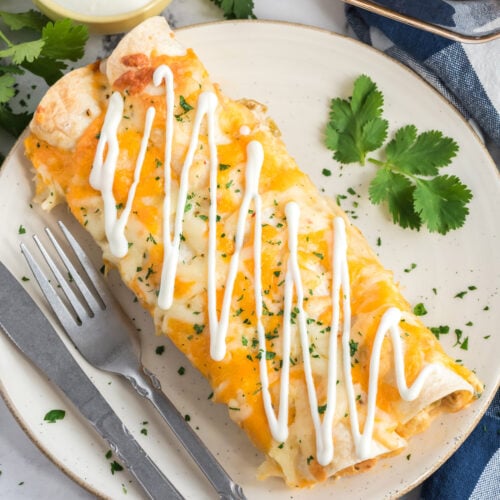
Serve shredded chicken and chile enchiladas with beans and classic Spanish rice on the side! As mentioned above, you can incorporate homemade enchilada sauce into the mix or simply keep it on the side for those who aren’t keen on smothered enchiladas. Optionally garnish with sour cream, diced tomatoes, onions, and chopped cilantro.
More Related Recipes
I love to bake and cook and share my kitchen experience with all of you! Remembering to come back each day can be tough, that’s why I offer a convenient newsletter every time a new recipe posts. Simply subscribe and start receiving your free daily recipes!
Shredded Chicken and Chile Enchiladas
IMPORTANT – There are often Frequently Asked Questions within the blog post that you may find helpful. Simply scroll back up to read them!
Print It Rate ItIngredients
- 4 cups shredded chicken we used a 3 pound rotisserie chicken
- 4 ½ teaspoons chili powder
- 1 Tablespoon ground cumin
- 1 teaspoon dried oregano crushed
- 1 large onion thinly sliced
- 28 ounces chicken broth
- 8 ounces diced green chiles two 4 ounce cans, undrained
- ¼ teaspoon chili powder
- 1 Tablespoon all purpose flour
- 8 ounces sour cream
- 2 cups shredded Mexican cheese
- 8 flour tortillas 8 inches
Things You’ll Need
Before You Begin
- I used a rotisserie chicken from the supermarket. You can also make the chicken yourself or use leftover chicken, depending on how many you are serving. If you do make the chicken yourself, use the stock that it creates in place of the canned stock in the ingredient list.
- Use your favorite blend of cheese here. Mexican blend or a mixture of pepperjack and cheddar are great options.
- We’ve found that flour tortillas hold the filling for these enchiladas better, but it really comes down to personal preference. You can certainly use corn tortillas instead. If you sub out the flour for corn tortillas, you’ll likely end up with a few more enchiladas as the shells are smaller.
Instructions
- Preheat oven to 350 F. Remove meat from chicken and place in a dish, keep warm. Combine the next 5 ingredients in a saucepan and bring to a boil over medium-high heat. Maintaining heat, cook onion and broth mixture until it's reduced by half, about 20 minutes.
- Add chicken to broth mixture and simmer for ten minutes to heat through. Remove chicken and onion with a slotted spoon. Reserve about one cup of the broth and discard the rest.
- Rinse out the saucepan, then add the green chiles and the 1/4 teaspoon chili powder; cook about one minute or until heated through. Stir in flour. Cook and stir for one minute more.
- Remove from heat and stir in sour cream and 1/2 cup of the cheese.
- Grease or spray a 13×9 baking dish; set aside.
- Mix the onion and chicken mixture, if too dry, add a bit of the reserved broth mixture. Divide the shredded meat mixture among tortillas, placing meat mixture along one edge. Top with sour cream mixture and roll up tortillas (they will be full). Arrange in baking dish, seam side down. Bake, covered, for 30 minutes.
- Uncover and sprinkle with the remaining 1 1/2 cups of cheese. Bake uncovered, 10 minutes more, or until cheese is melted and enchiladas are heated through.
Expert Tips & FAQs
- You can incorporate homemade enchilada sauce into the mix if desired or simply keep it on the side for those who aren’t keen on smothered enchiladas. Optionally garnish with sour cream, diced tomatoes, onions, and chopped cilantro.
- Store leftovers in an air-tight container kept in the refrigerator for up to 4 days. Reheat in a 350F oven until warmed through or pop them in the microwave.
- Make Ahead – Prepare all the way up to the part where you put them in the oven. Cover and store the dish in the refrigerator. Take out the dish about half an hour before cooking to bring it to room temperature, then bake as directed. If you don’t have time to take it out early, simply add a little cooking time to compensate.
- Freezing – Place the prepared enchiladas, cooked or uncooked, in an air-tight container or large ziptop bag, seam side down. Freeze for up 3 months. Allow enchiladas to thaw in the refrigerator overnight then bake according to directions (if uncooked), adding a few extra minutes if needed. Or pop them in the oven at 350F until warmed through if they are precooked.
Nutrition
This recipe originally appeared here on Nov 11, 2010 and has since been updated with new photos and expert tips.
Amanda Davis
Latest posts by Amanda Davis (see all)
- Raspberry Poke Cake - January 21, 2025
- Chocolate Covered Strawberries - January 20, 2025
- Cauliflower Pizza Crust - January 13, 2025


Glenda Easter says
A family favorite. I doubled the recipe and served it to eight adults and three children. Everyone loved it!
Glenda Easter says
I loved the recipe, but my husband has ulcers. Even though I used mild green chili peppers, he was unable to eat1 them. Is there anything I could substitute for the mild green chili peppers?
Amanda Davis says
You can just omit them.
Glenda Easter says
I tried that, but he said they were too bland. I substituted onion for the green peppers, but even that was bland. Do you think that adding some Lipton’s Onion Soup Mix to his enchiladas would work? I don’t want to change the regular enchiladas for the rest of the family. We love them just as they are. Thank you for all of these wonderful new recipes. Now I have variety for each evening meal.
Amanda Davis says
The only other thing I might recommend is those mini sweet peppers you can buy at the store.
Glenda Easter says
This is a wonderful recipe. I cooked the Bell Pepper Deep Dish recipe last week and my family loved it. Thank you for breaking our family from redundant meals. They like change and so do I.
Sandra says
Easy to do, similar to other “enchilada” style recipes I’ve made before.
Wondering if anyone has made this yet with the chicken from the Chile-Lime chicken yet?
Amanda Davis says
We have not but bet it would be delicious!
Beverly Fields says
THIS IS AN EASY AND DELICIOUS RECIPE AND I WILL DEFINITELY USE THIS AGAIN AND AGAIN. I HAVE USED SOME OF YOUR OTHER RECIPES, FOUND THEM DELICIOUS AND SOMEWHAT EASY TO FOLLOW.
THANK YOU FOR SENDING YOUR RECIPES AND I HOPE YOU CONTINUE TO DO SO.