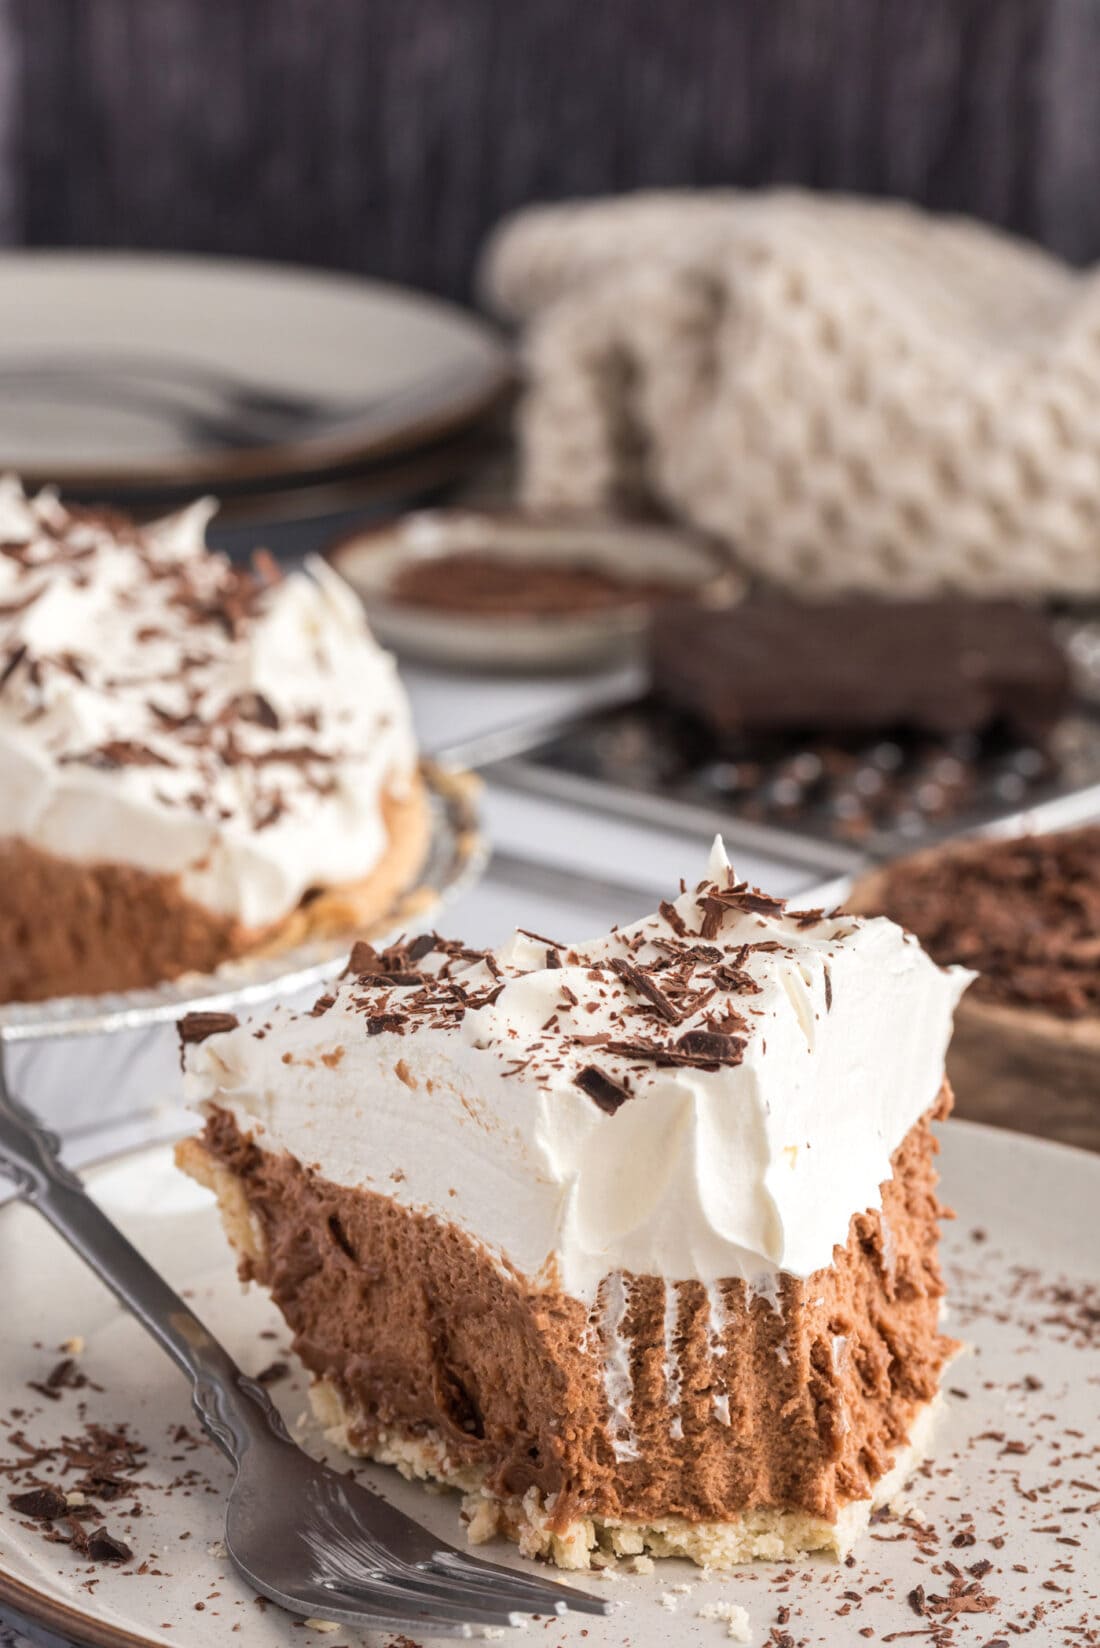
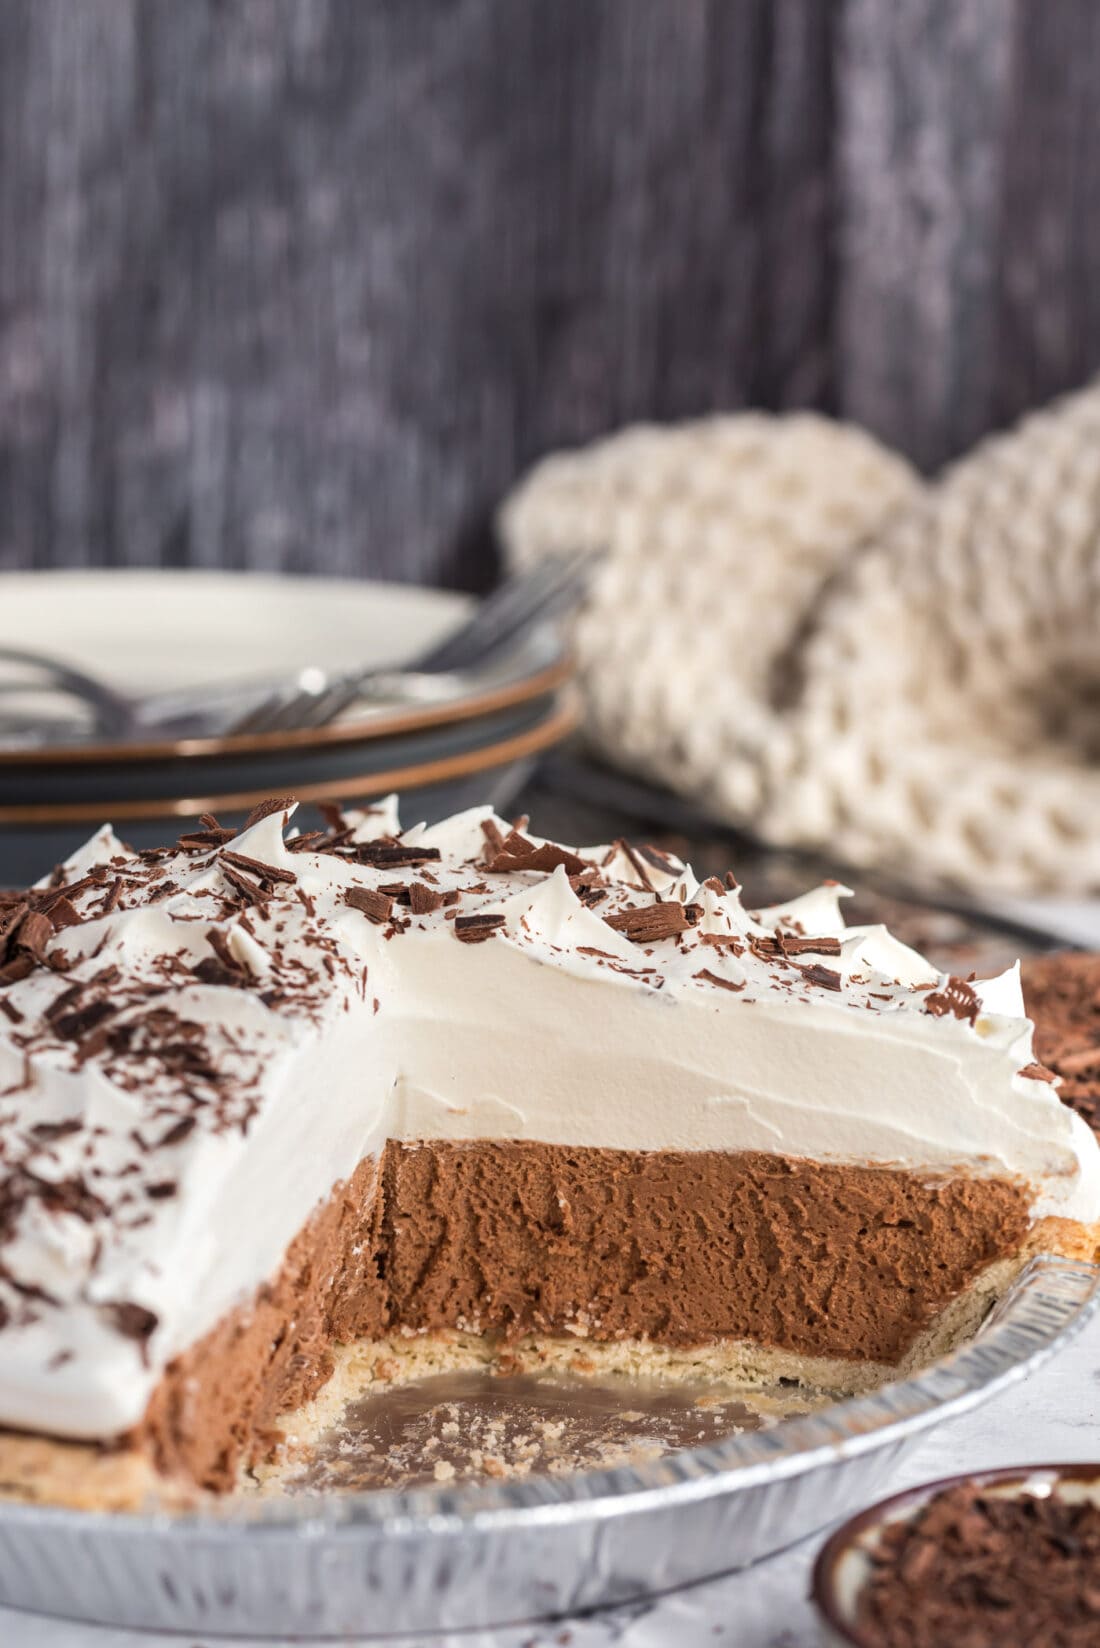
French Silk Pie is a dreamy chocolate mousse topped with fluffy whipped cream and shaved chocolate. Our recipe tastes just like Baker’s Square’s famous pie; rich, decadent, and delicious.
Why this recipe works
This French silk pie is a dream. The silky chocolate filling is rich with decadence and beats the store-bought frozen pies by a mile. I was inspired by my absolute favorite pie growing up from Baker’s Square, and I think this recipe hits the nail on the head.
French silk pie is really easy to prepare with a few important tips. We love it so much we’ve even transformed them into mini French silk pies that are great for parties. There isn’t a holiday that goes by that I don’t make this pie, it’s famous in my household! Each bite is full of silky chocolate indulgence topped with mounds of whipped cream.
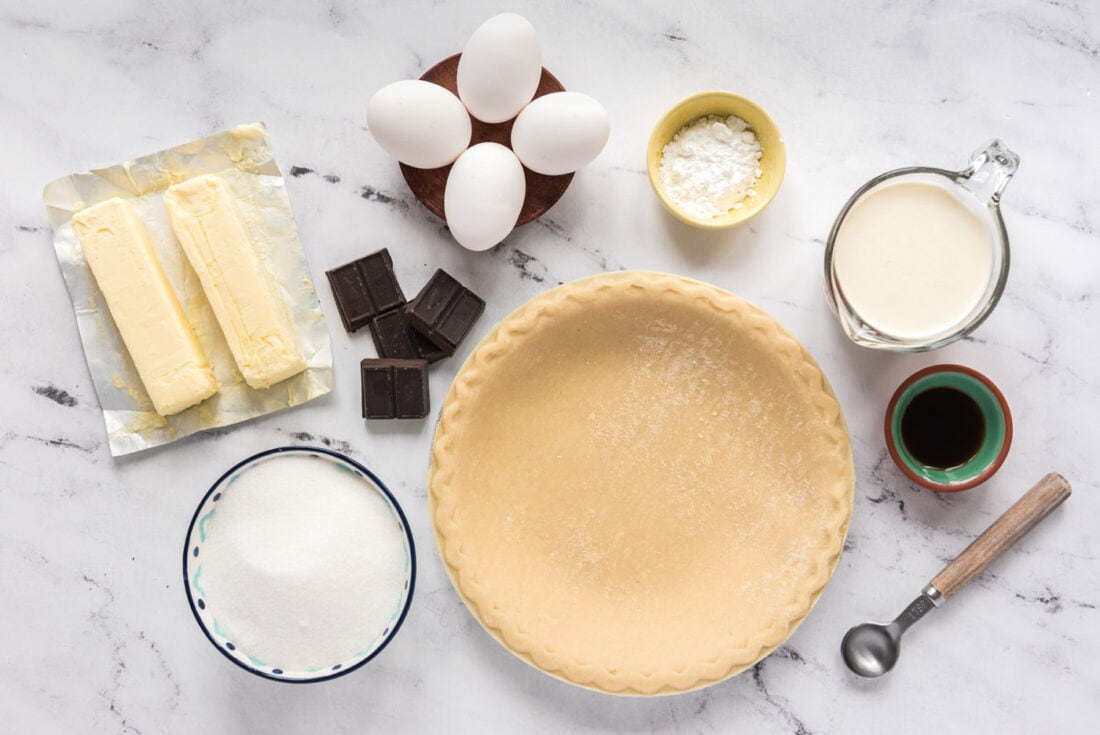
Ingredients you will need
Get all measurements, ingredients, and instructions in the printable version at the end of this post.
Ingredient Info and Substitution Suggestions
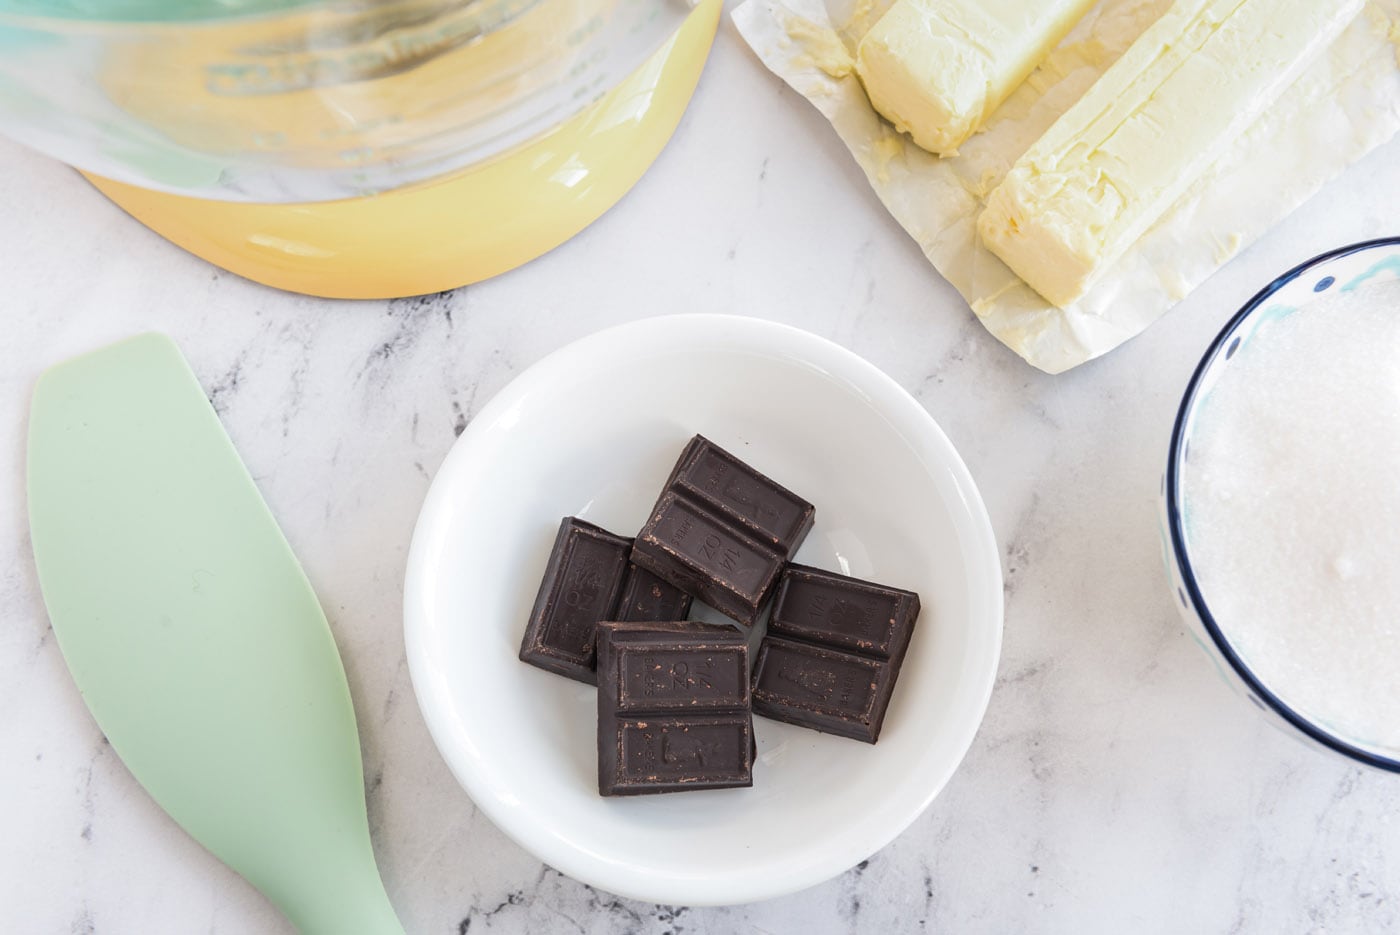
CHOCOLATE – You will need unsweetened chocolate for this recipe. Melt it and be sure to cool it completely before incorporating.
EGGS – The eggs in this recipe are not cooked. If that concerns you, you can use pasteurized eggs or learn how to pasteurize the eggs in your fridge.
BUTTER – Do not use margarine, I have not tested this pie using margarine. Do not melt the butter. The butter should be softened, which means removing it from the fridge and letting it sit at room temperature for about 20-30 minutes.
CRUST – We used a store-bought pie crust, but homemade pie crust always adds an extra special touch. Check out our how to make pie crust recipe if you don’t already have one on hand. You’ve probably also seen this pie made with an Oreo cookie crust, which is another great option. Visit our Bailey’s cheesecake recipe for an Oreo cookie crust recipe or use a premade one from the store.
TOPPING – I have used both Cool Whip and homemade whipped cream in the past when making this pie. It’s up to you on what you prefer.
How to Make French Silk Pie
These step by step photos and instructions are here to help you visualize how to make this recipe. You can Jump to Recipe to get the printable version of this recipe, complete with measurements and instructions at the bottom.
- Bake a homemade pie crust or use a Pillsbury refrigerated crust and make according to package directions for a fully baked crust. Set aside to cool.
- Melt the chocolate and set aside to cool completely.
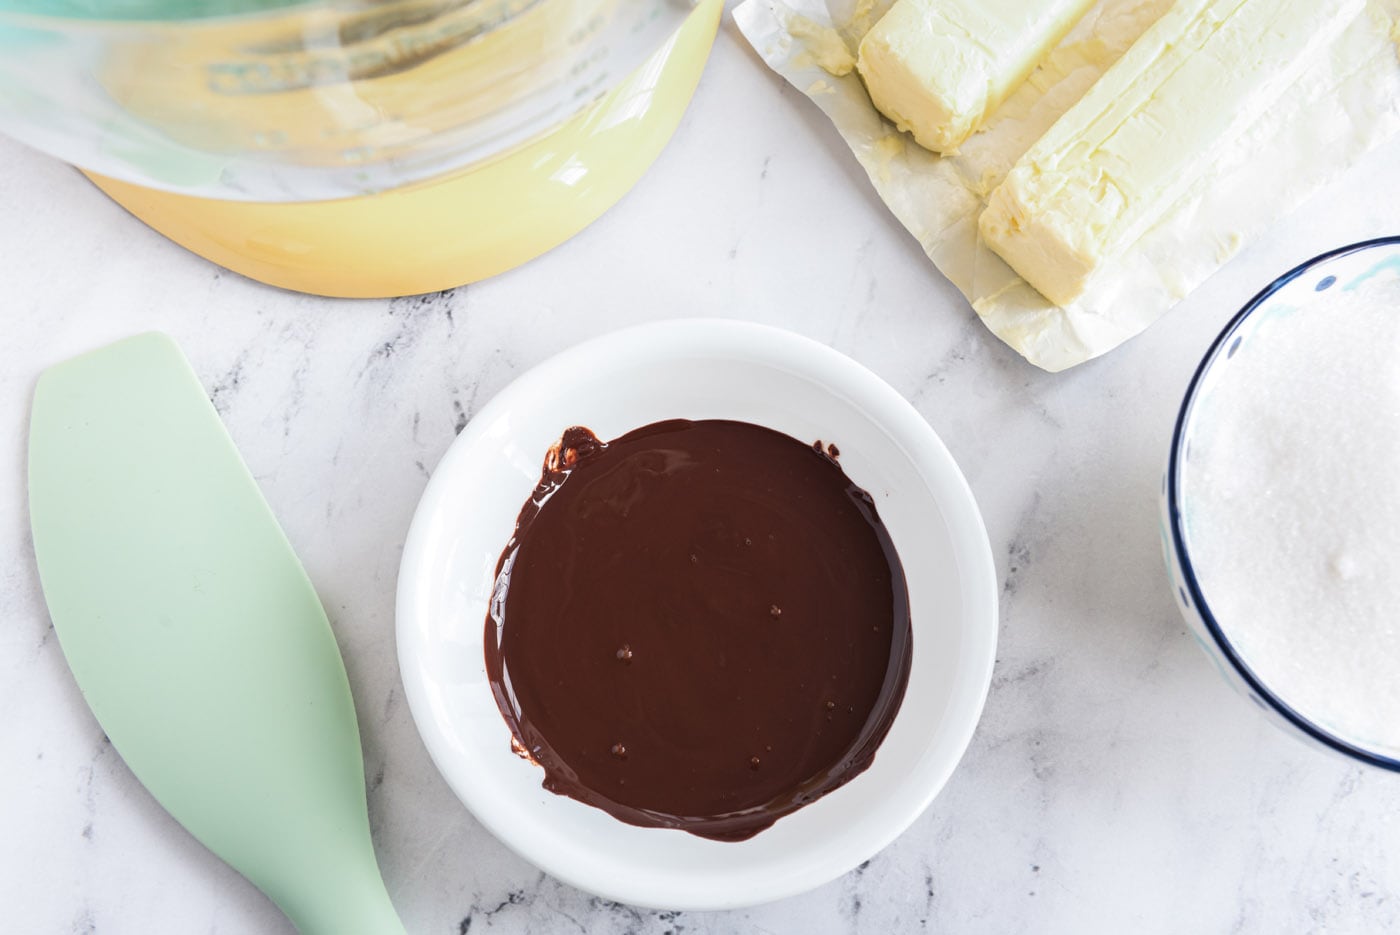
- Using a stand mixer, beat the sugar and butter on medium-high until light and fluffy, about 6-7 minutes.
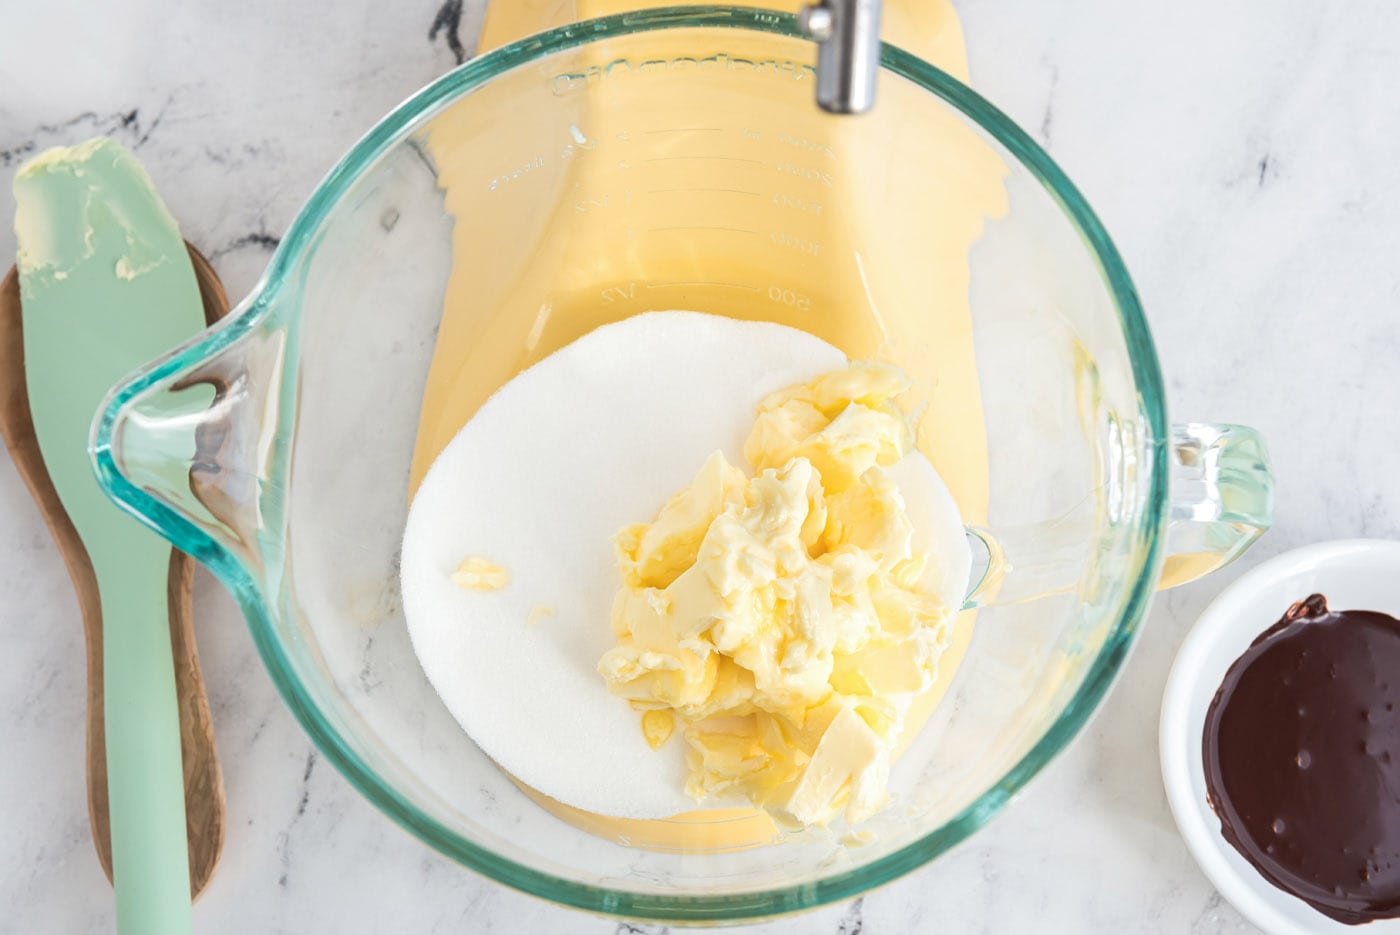
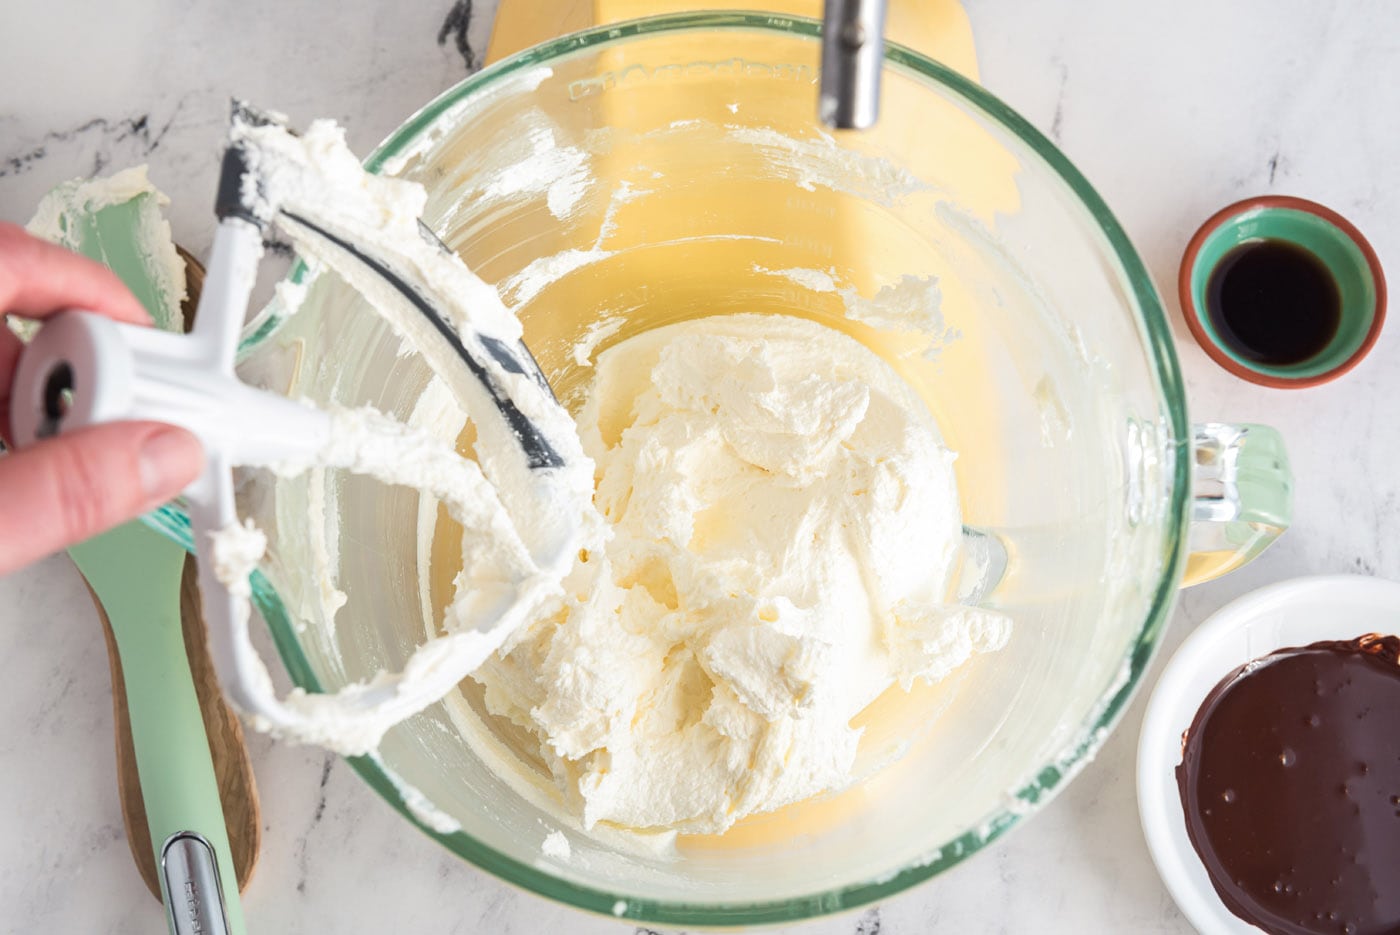
- Add cooled chocolate and vanilla and beat until incorporated.
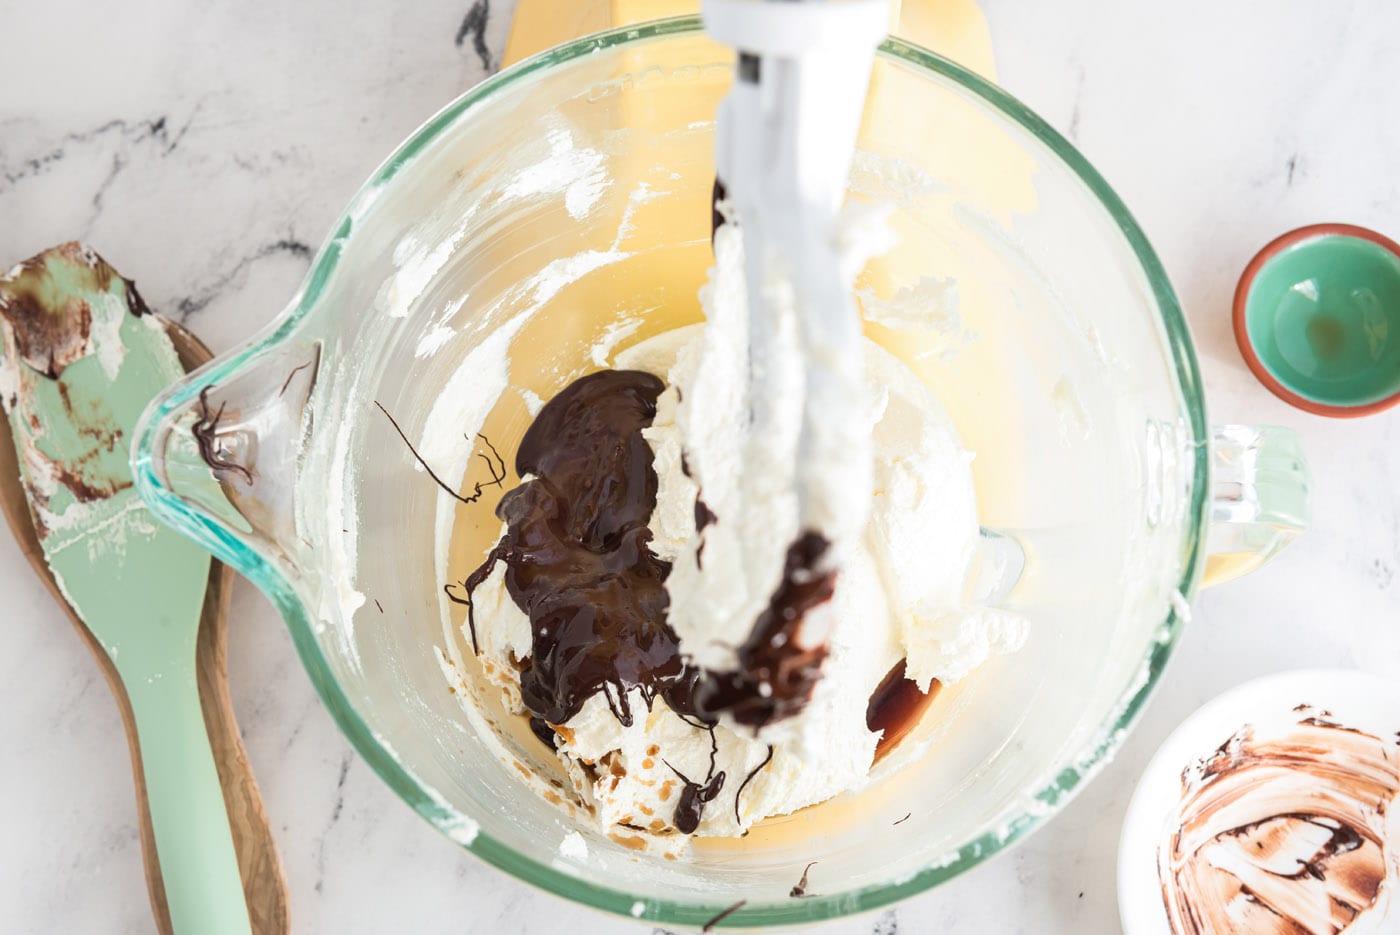
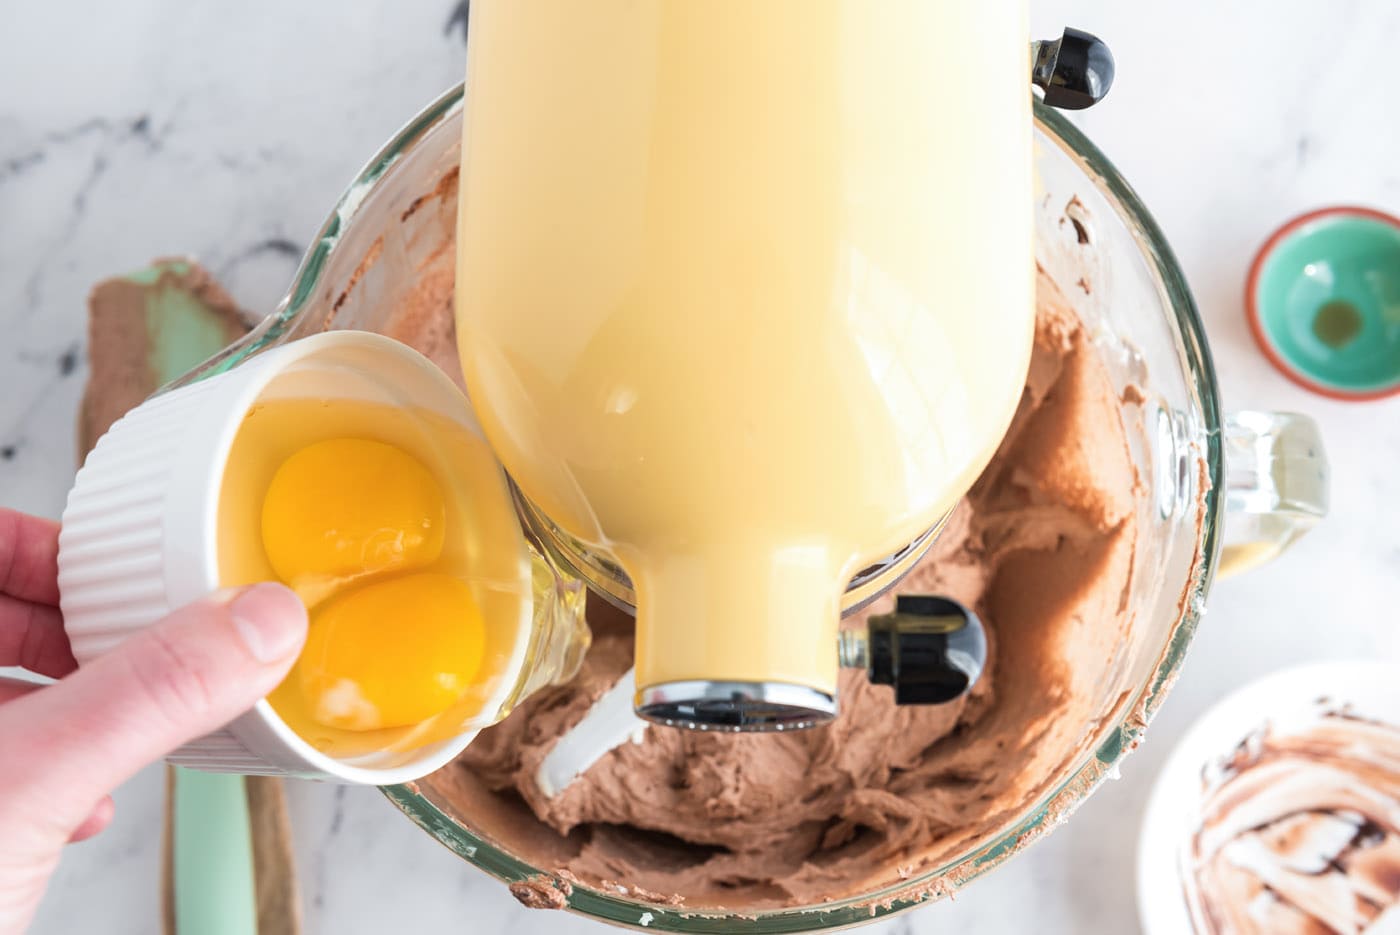
- Add eggs, two at a time, beating a full 5 minutes after each addition.
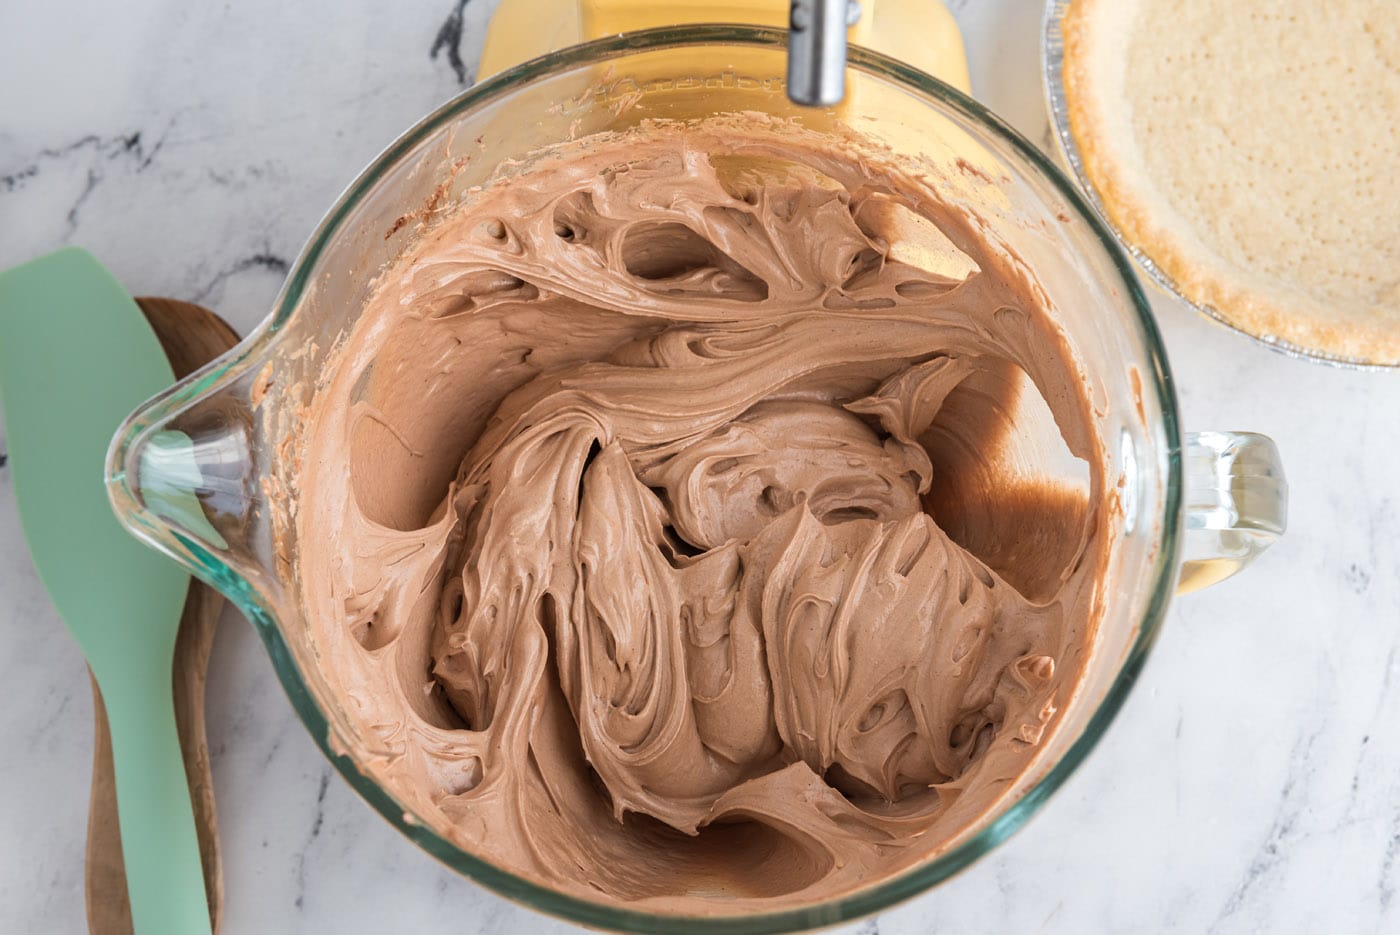
- Pour filling into cooled pie crust.
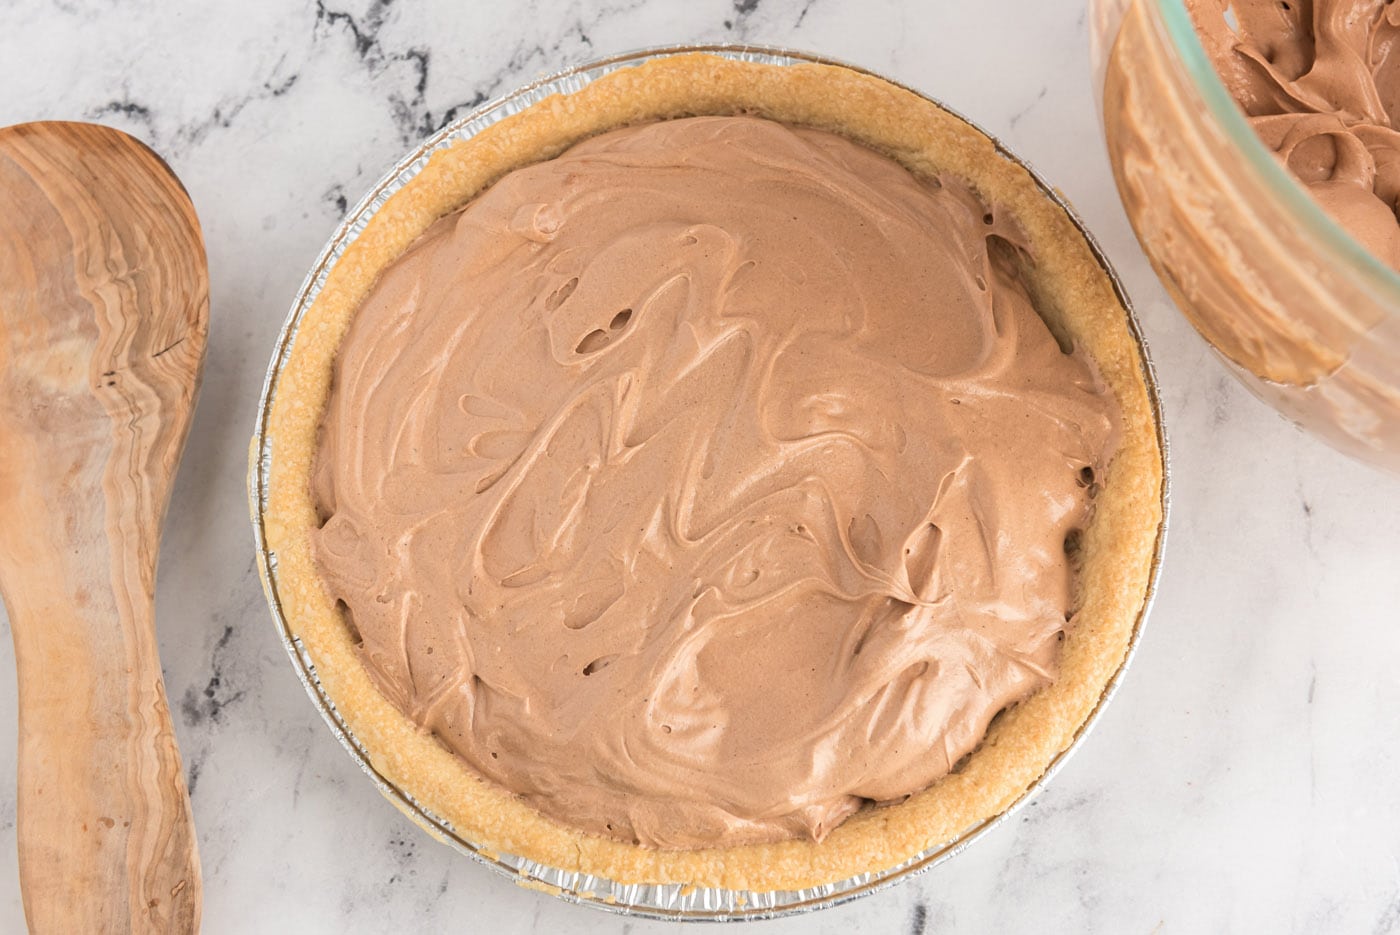
- Chill in the refrigerator for two hours then top with whipped cream. Then chill again in the refrigerator for 6 hours or overnight. You can also wait until two hours or so before serving to add the whipped cream.
- To make the whipped topping, beat the heavy whipping cream and powdered sugar with a whisk attachment on medium-high speed until stiff peaks just begin to form. Add prepared whipped topping to top of pie.
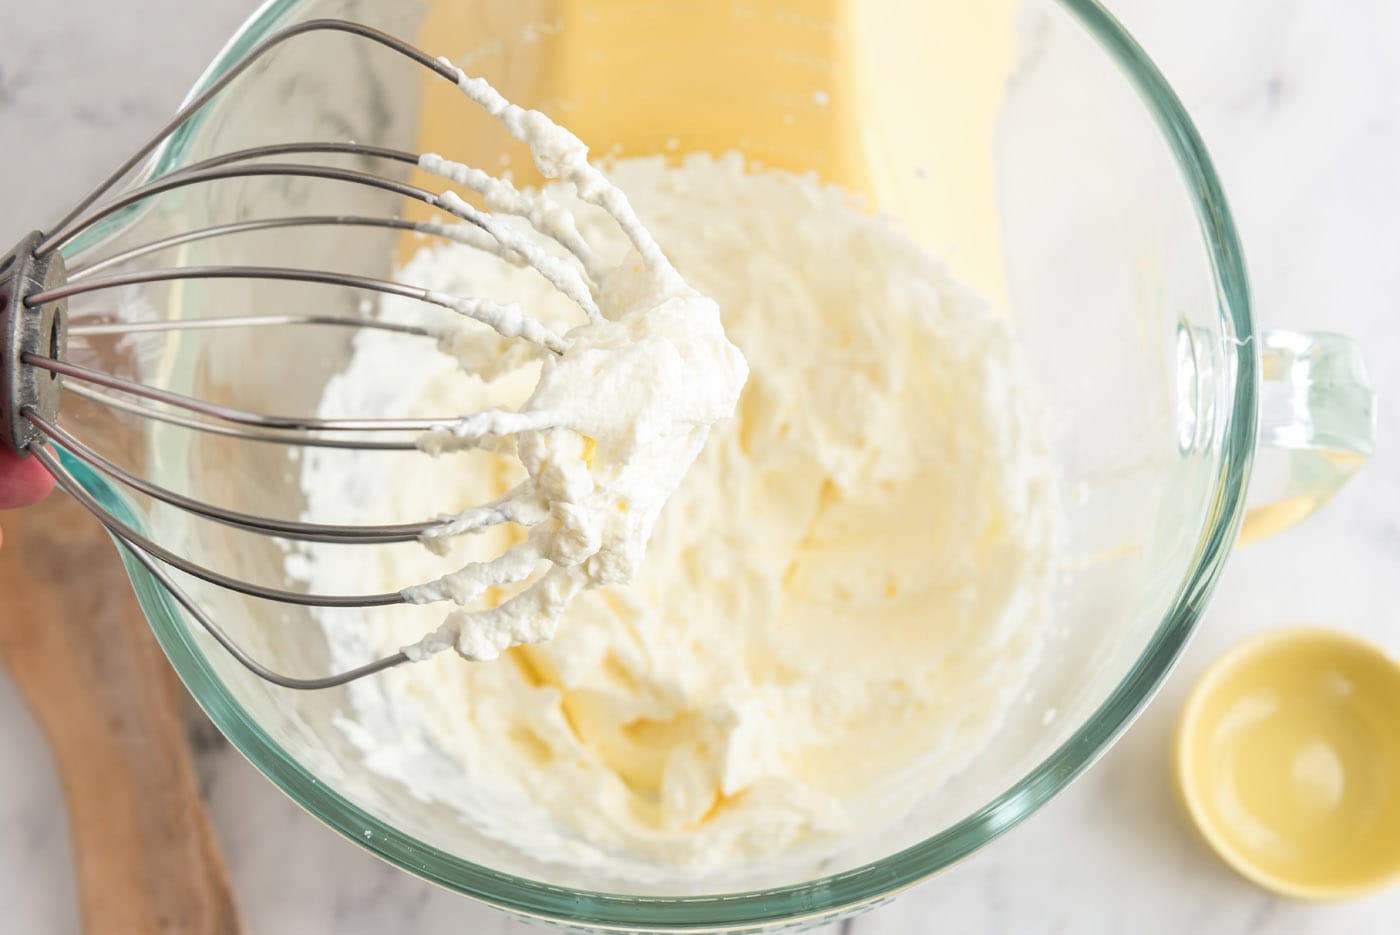
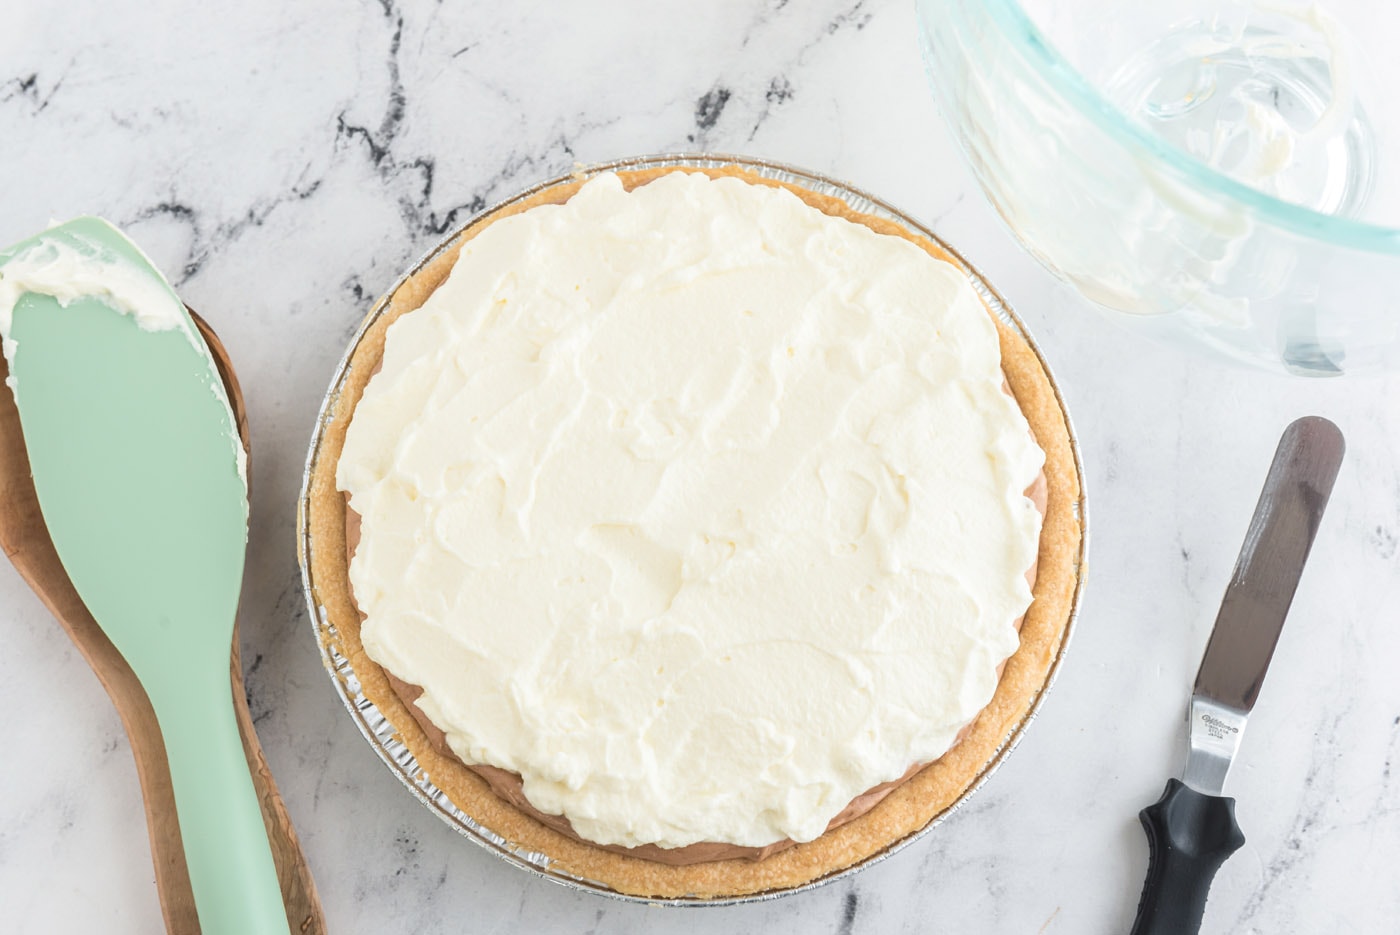
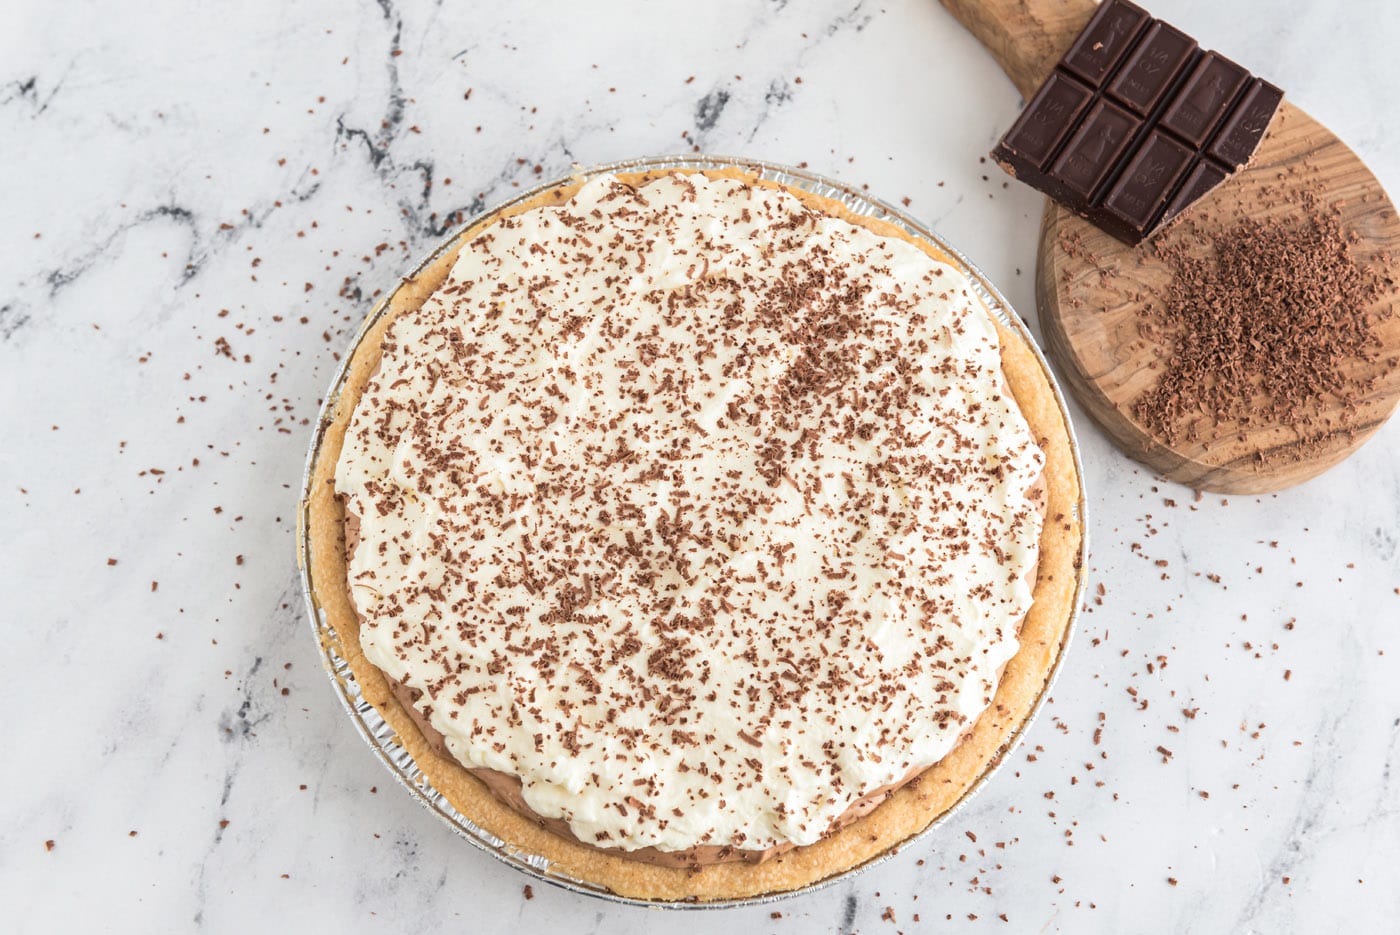
- When ready to serve, optionally garnish with shaved bittersweet chocolate.
Tips Before You Begin
- Make the filling first. The filling will be pale in color but will sometimes darken as it chills. Put it into a bowl, cover with plastic wrap and refrigerate. This allows it to set up and thicken a bit before adding it to the pie shell.
- Cool the chocolate. Melt the chocolate as instructed and let it cool completely. I usually melt the chocolate first so it’s cool by the time I need to add it to the filling in the mixer. If you add vanilla to hot or warm melted chocolate it may seize up.
- Make your pie crust. If making a crust from scratch, follow the instructions for a fully baked pie shell as this pie will not go in the oven. Let it cool completely.
- Add the chilled filling to the pie crust. Put it back in the fridge while you make the whipped topping. We like to chill the pie for two hours before topping with whipped cream, but it isn’t imperative. You can also wait to add the whipped topping until an hour or two before serving, either way will work. If you are using Cool Whip, go ahead and top the pie right away and refrigerate.
- WAIT until tomorrow to eat. You can certainly eat it after it has chilled for several hours, BUT believe me when I tell you that you will be very thankful that you waited overnight. The filling needs time to set up. Any graininess you may have detected when you tasted the filling will be gone after a good night’s rest.
Frequently Asked Questions & Expert Tips
Your pie filling may look grainy when mixing in the bowl, but don’t fret, simply beat it for several minutes until light and fluffy, about 6-7 minutes. The cause of graininess in your French silk pie is due to the sugar granules, which will melt while chilling overnight in the refrigerator. This isn’t necessarily a make-and-serve kind of pie. Be sure to chill it overnight for best results!
Yes, I highly suggest making this pie at least a day in advance. Though you can also make it up to 2 days in advance to save you even more time. Because we don’t bake this pie, you want to allow it ample time to set up in the refrigerator otherwise the pie may be grainy.
Store the pie covered with an air-tight lid or wrapped with plastic wrap in the refrigerator for 4-5 days.
Yes, you can freeze French silk pie! If you want to freeze the whole pie and thaw the entire thing later, place it in the freezer for a few hours. Then remove it and wrap the frozen pie in plastic wrap. Place the wrapped pie in a freezer bag. If it won’t fit, just double-wrap it with plastic wrap instead.
If you want to freeze slices, cut the pie into slices and place them on a waxed paper-lined cookie sheet. Place the entire thing in the freezer, making sure the slices are not touching each other. After a few hours, and the slices are frozen, remove from the freezer and wrap each one in plastic wrap. Place the wrapped slices into a freezer bag.
To thaw them out, simply remove from the freezer and immediately remove the plastic wrap. Allow to thaw at room temperature if you plan to eat it fairly soon. You can also thaw in the refrigerator but it will take quite a bit longer – probably a day.
Serving Suggestions
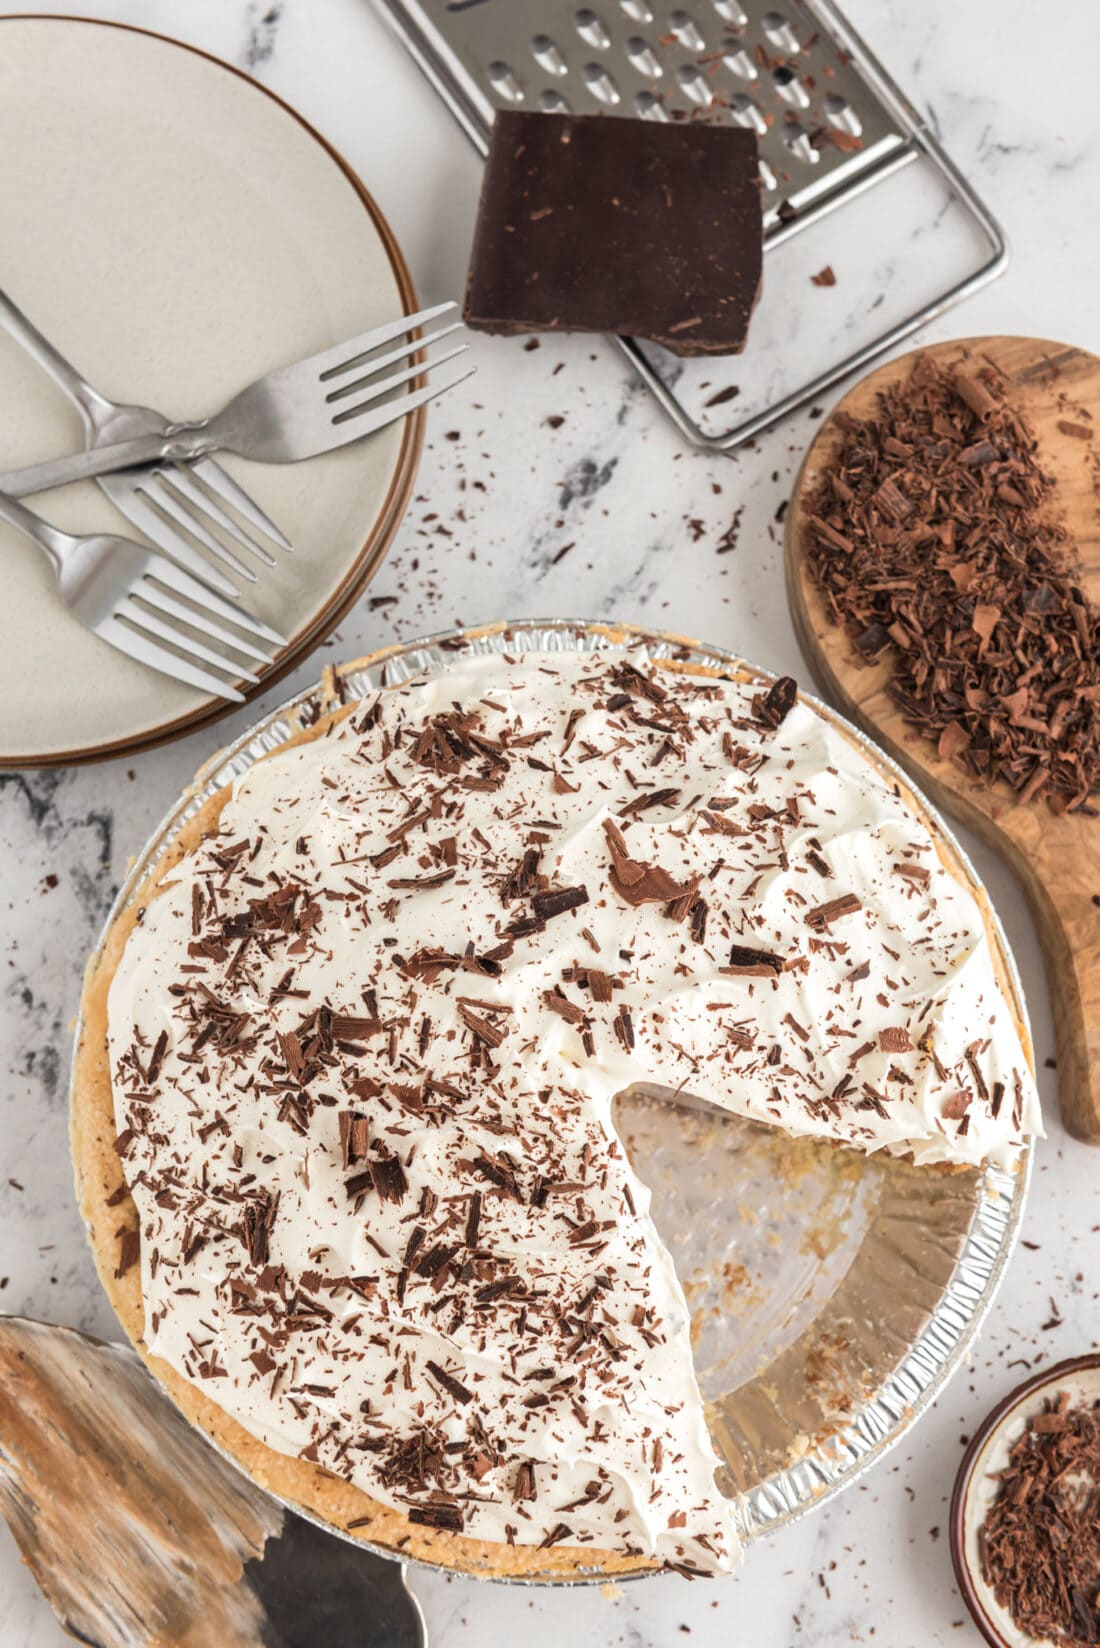
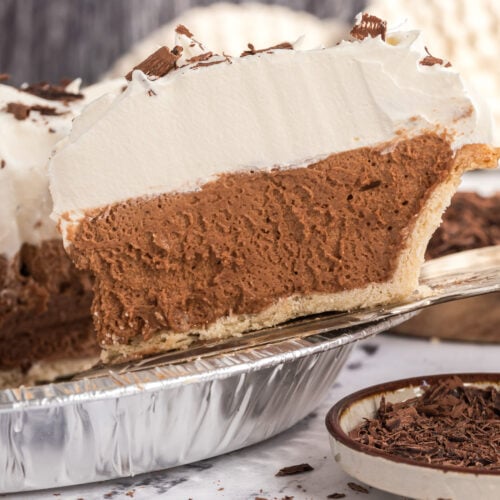
You can dress up the French silk pie by shaving some bittersweet chocolate through a mandolin or a vegetable peeler. Sprinkle the shavings on the top of the pie. You can also grate the chocolate for garnish. Serve chilled.
More Dessert Recipes
I love to bake and cook and share my kitchen experience with all of you! Remembering to come back each day can be tough, that’s why I offer a convenient newsletter every time a new recipe posts. Simply subscribe and start receiving your free daily recipes!
French Silk Pie
IMPORTANT – There are often Frequently Asked Questions within the blog post that you may find helpful. Simply scroll back up to read them!
Print It Rate ItIngredients
- 6 ounce deep dish frozen pie crust baked according to package
- 1 cup unsalted butter softened
- 1 ½ cups granulated sugar
- 2 ounces unsweetened chocolate melted and cooled COMPLETELY
- 2 teaspoons vanilla
- 4 large eggs
- 8 ounces heavy whipping cream or 8 ounce tub Cool Whip
- 1 Tablespoon powdered sugar
Things You’ll Need
Before You Begin
- We highly recommend making this pie a day ahead.
- The eggs in this recipe are not cooked. If that concerns you, you can use pasteurized eggs or learn how to pasteurize the eggs in your fridge.
- Do NOT use margarine, I have not tested this pie using margarine. Do NOT melt the butter. The butter should be softened, which means removing it from the fridge and letting it sit at room temp about 20-30 minutes.
- Make your pie crust first. If making a crust from scratch, follow the instructions for a fully baked pie shell as this pie will not go in the oven. Let it cool completely.
- We like to chill the pie for two hours before topping with whipped cream, but it isn’t imperative. You can also wait to add the whipped topping until an hour or two before serving, either way will work.
- I have used both Cool Whip and homemade whipped cream in the past when making this pie. It’s up to you on what you prefer.
Instructions
- Bake a homemade pie crust or use a Pillsbury refrigerated crust and make according to package directions for a fully baked crust. Set aside to cool.
- Melt the chocolate and set aside to cool completely.
- Beat sugar and butter on medium high until light and fluffy, about 6-7 minutes.
- Add cooled chocolate and vanilla and beat until incorporated.
- Add eggs, two at a time, beating a full 5 minutes after each addition.
- Pour filling into cooled pie crust.
- Chill in the refrigerator for two hours then top with whipped cream. Then chill again in the refrigerator for 6 hours or overnight. You can also wait until two hours or so before serving to add the whipped cream.
- To make the whipped cream, beat the heavy whipping cream and powdered sugar with a whisk attachment on medium-high speed until stiff peaks just begin to form. Add prepared whipped topping to top of pie.
- When ready to serve, optionally garnish with shaved bittersweet chocolate.
Expert Tips & FAQs
- WAIT until tomorrow to eat. You can certainly eat it after it has chilled for several hours, BUT believe me when I tell you that you will be very thankful that you waited overnight. The filling needs time to set up. Any graininess you may have detected when you tasted the filling will be gone after a good night’s rest.
- Store leftover pie covered with an air-tight lid or wrapped with plastic wrap in the refrigerator for 4-5 days.
- If you want to freeze the whole pie and thaw the entire thing later, place it in the freezer for a few hours. Then remove it and wrap the frozen pie in plastic wrap. Place the wrapped pie in a freezer bag. If it won’t fit, just double-wrap it with plastic wrap instead.
- If you want to freeze slices, cut the pie into slices and place them on a waxed paper-lined cookie sheet. Place the entire thing in the freezer, making sure the slices are not touching each other. After a few hours, and the slices are frozen, remove from the freezer and wrap each one in plastic wrap. Place the wrapped slices into a freezer bag.
- To thaw them out, simply remove from the freezer and immediately remove the plastic wrap. Allow to thaw at room temperature if you plan to eat it fairly soon. You can also thaw in the refrigerator but it will take quite a bit longer – probably a day.
Nutrition
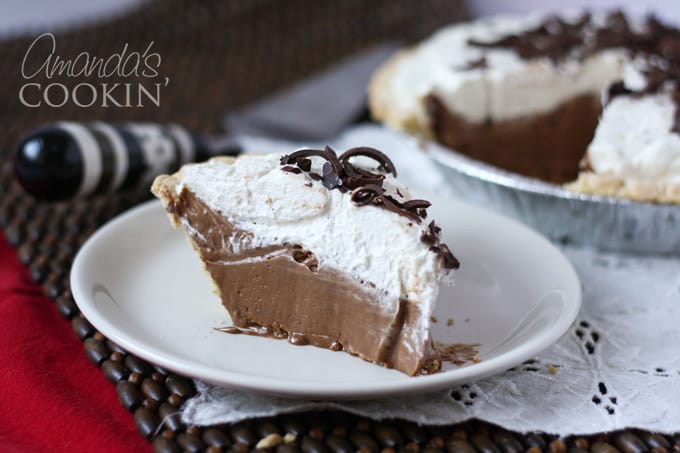
This post originally appeared on this blog on December 6, 2008 and has since been updated with new photos and expert tips. Pictured above is one of our old photos which you may recognize.
Amanda Davis
Latest posts by Amanda Davis (see all)
- Appetizer Veggie Pizza - December 23, 2024
- Pretzel Chocolate Chip Cookies - December 19, 2024
- Christmas Tree Cheese Platter - December 16, 2024



Woodrow says
Hi Amanda,
I too am searching for a recipe for Strawberry Silk pie. It was the same as French silk but Strawberry, only available in February for Valentines Day. I do not remember it having any seeds in it so I assume the recipe must have had a strawberry syrup, just a guess. Any suggestions for the strawberry flavoring!? Thank you for sharing your recipe.
Amanda Formaro says
I couldn’t even begin to make a suggestion, other than creating a syrup from real strawberries and sugar and water. i wish i could help with this one!
Katie Anne says
I’m just curious…so you use the whole egg right? not just the egg whites? I’ve been stuck with the thought that one can never eat raw eggs so I’m just curious!
Amanda Formaro says
Yes the whole egg! You can buy pasteurized eggs if that makes you more comfortable :)
Sara says
Hi Amanda,
I’m on the hunt for Baker’s Square’s Strawberry Silk Pie (the strawberry version of French Silk Pie). It used to be their pie of the month every February and now the restaurants around me don’t make it any more. This is my all time favorite pie! Have you had it? If so, any thoughts on how you could convert this recipe to the strawberry version???
Amanda Formaro says
Wow I’ve never even heard of strawberry silk pie! I’m sorry, without having seen or tried it I couldn’t begin to try and adapt the recipe. I don’t know if this is similar, but I did find this http://saffronblossom.hubpages.com/hub/No-Bake-Strawberry-Silk-Shortbread-Pie
cathi says
i just want to say that it is one of the if not the best french silk pie that i have ever made. and i have made alot, i love chocolate!!!!
Amanda Formaro says
So glad you loved it as much as we do Cathi!
Claire says
I made this pie for Thanksgiving and it turned out great! I even got a compliment from my hard to please aunt(: Making it again for Christmas!
Amanda Formaro says
Awesome!
Natalie says
I made this pie Thanksgiving 2010 and it was amazing! I made my family wait until Thanksgiving this year to have it again. Unfortunately, I didn’t realize the importance of a hand mixer! My pie was runny and soup-like. I’m currently making it again, this time with my sister’s hand mixer, in order to redeem myself and prove I am the dessert master. Thank you for your recipe! And, for updating it. I need all the extra hints and tricks. :)
Amanda Formaro says
Oh yes a mixer is definitely a must for this one! :) So glad you enjoyed it and will enjoy it again!
S says
Amanda
Loved the pie! Made it for Thanksgiving!! Everyone loved it. But to me it wasn’t like Bakers Square. It wasn’t as silky–my turned out more thicker–custardy. Not as chocolatey. I used Ghiradelli chocolate and I mixed it a lot–10 mins between eggs and items. I didn’t want it to be runny. My sugar and egg mixture was very runny so I kept mixing. Did I over mix it?
-S
Amanda Formaro says
Glad you loved the pie, but sorry it didn’t quite come out for you! It is possible you beat the eggs too long, but I almost wonder if maybe your butter was too soft to begin with? That could have been a factor as well. Butter should be softened, meaning the chill is off but it’s still firm. If touching the butter with your finger caused an immediately indent, it’s possible it’s too warm. The butter and the sugar should have been beaten for about 6-7 minutes, until light and fluffy looking. After adding the melted chocolate (which should have been cooled first, it should not be hot), then you add two eggs, beat five minutes on medium high, then add the other two eggs and beat five more minutes. Did you use UNsweetened chocolate? That’s important too as the added sugar in bittersweet, semisweet or milk chocolate can definitely affect the final result. I hope you’ll try it again! I’ve made this pie half a dozen times and loved it every time :) Thanks!
Sandra says
…But is it SAFE to eat 4 uncooked eggs?
Amanda says
I have made this pie probably 15 times and I’m still here ;-) However you can always used pasteurized eggs if that makes you more comfortable.
Lisa says
Hey I just finished making the pie…. The filling tasted good off the spoon but it wasn’t as rich and chocolatety as normal will that. Change as it sits or did I do something wrong???
Amanda Formaro says
Yes it will absolutely change! Let t sit overnight, you will be amazed :) You did nothing wrong, I promise!
Lisa says
Thanks … You are my hero for making it so simple
Ann says
So do you use pasteurized eggs or egg sub.? I wouldn’t want to use raw eggs. Thanks
Amanda Formaro says
I get my eggs directly from a farmer, so I use those and don’t do anything special. You can certainly purchase pasteurized eggs if you prefer :) I have never tried egg substitute so I couldn’t recommend that. We just had this pie again last week. Love it!
BusyWorkingMama says
I was searching for french silk pie recipes and stumbled across yous. I had nearly forgotten eating Baker’s Square french silk every Sunday after church when I lived in the Chicago area. I will be trying this out! Thanks for sharing the recipe.
Amanda Formaro says
You’re welcome, hope you love it as much as we do!
Amanda says
Hi Evonne – you can actually purchase pasteurized eggs, or you can follow the methods listed here http://wickedgooddinner.blogspot.com/2010/08/how-to-pasteurize-eggs-at-home-2-ways.html
Evonne says
I am a little worried about the raw egg part, is there a way to pasteurized it first or another method in making this pie?
Amanda says
That's wonderful! So glad we were able to figure it out! :)
Anonymous says
Amanda, thanks for the response. I made it with real butter last night and it turned out great. I know baking is always better with butter but you get so use to using margarine that I didn't even think about it.
Thanks so much.
Amanda says
I have only ever used unsalted butter to make this, never margarine, so I can't tell you if it would work using margarine. Margarine is made from vegetable or soybean oil where butter is made from cream, so they really are quite different and that could be causing the problem.
In the first step, be sure to beat the butter and sugar until nice and fluffy, this can take several minutes. Add the cooled, melted chocolate and the vanilla beat them together until homogenous. Scrape the bowl down if needed. Make SURE you are using unsweetened chocolate, not bittersweet or semisweet.
Add two eggs, keep beating at medium speed for five full minutes. Add the other two eggs then beat another five full minutes.
At this point I put mine in a bowl in the fridge. I let it sit in the fridge for a few hours before adding it to the pie shell. It helps to be able to pile it into the shell if it's had time to firm a bit.
For best results, let the pie sit in the fridge overnight.
Let me know how it goes, sorry you've had so much trouble!
Anonymous says
I love this pie and have tried to make it twice in the last 2 days? Does it require real butter vs margarine? We've beaten and beaten and can't get it to firm up. Ends ups as loose pudding at best even after refrigerating and freezing.
Thanks for the help.
Amanda says
Medium-HIGH speed after each egg addition. Sorry!
Amanda says
I used a mixer (i'm eating a piece right now heehee) and beat the sugar and butter until really fluffy, takes a good 4 or 5 minutes. Then add the melted, cooled chocolate and the vanilla, beat again to incorporate. Keeping mixer at medium speed, add two eggs and beat 5 mins, then again, two eggs, five minutes. Set your timer – 5 minutes is a lot longer than you might think :)
If it makes you feel better, I made mine 3 times this holiday. Why? Because I screwed up the first two using semi sweet chocolate instead of unsweetened. Didn't realize it until after the second batch. ha!
Anonymous says
I sure did. I don't know where I went wrong. But it's still yummy. I'm going to try it again. Do I use a mixer or beat by hand?
Amanda says
I'm sorry about that :( I hope it turns out. Did you be sure to add 2 eggs, beat 5 minutes, then the other two and beat five minutes? That ten minutes or beating is really important.